
How to Use a Measuring Wheel Accurately
A measuring wheel can estimate a driveway, fence line, garden border, lawn, or long indoor route faster than a tape. Good results, however, depend on setup and technique. This guide explains how to choose the correct wheel, establish clear start and finish points, maintain steady contact, handle curves and slopes, repeat a measurement, and recognize when a tape or laser is the better tool.
Compare Measuring Wheels on Amazon →Affiliate disclosure: As an Amazon Associate, AccurateGoods earns from qualifying purchases. This does not change the price you pay. Product details can change, so confirm the current model and manufacturer instructions before ordering or use.
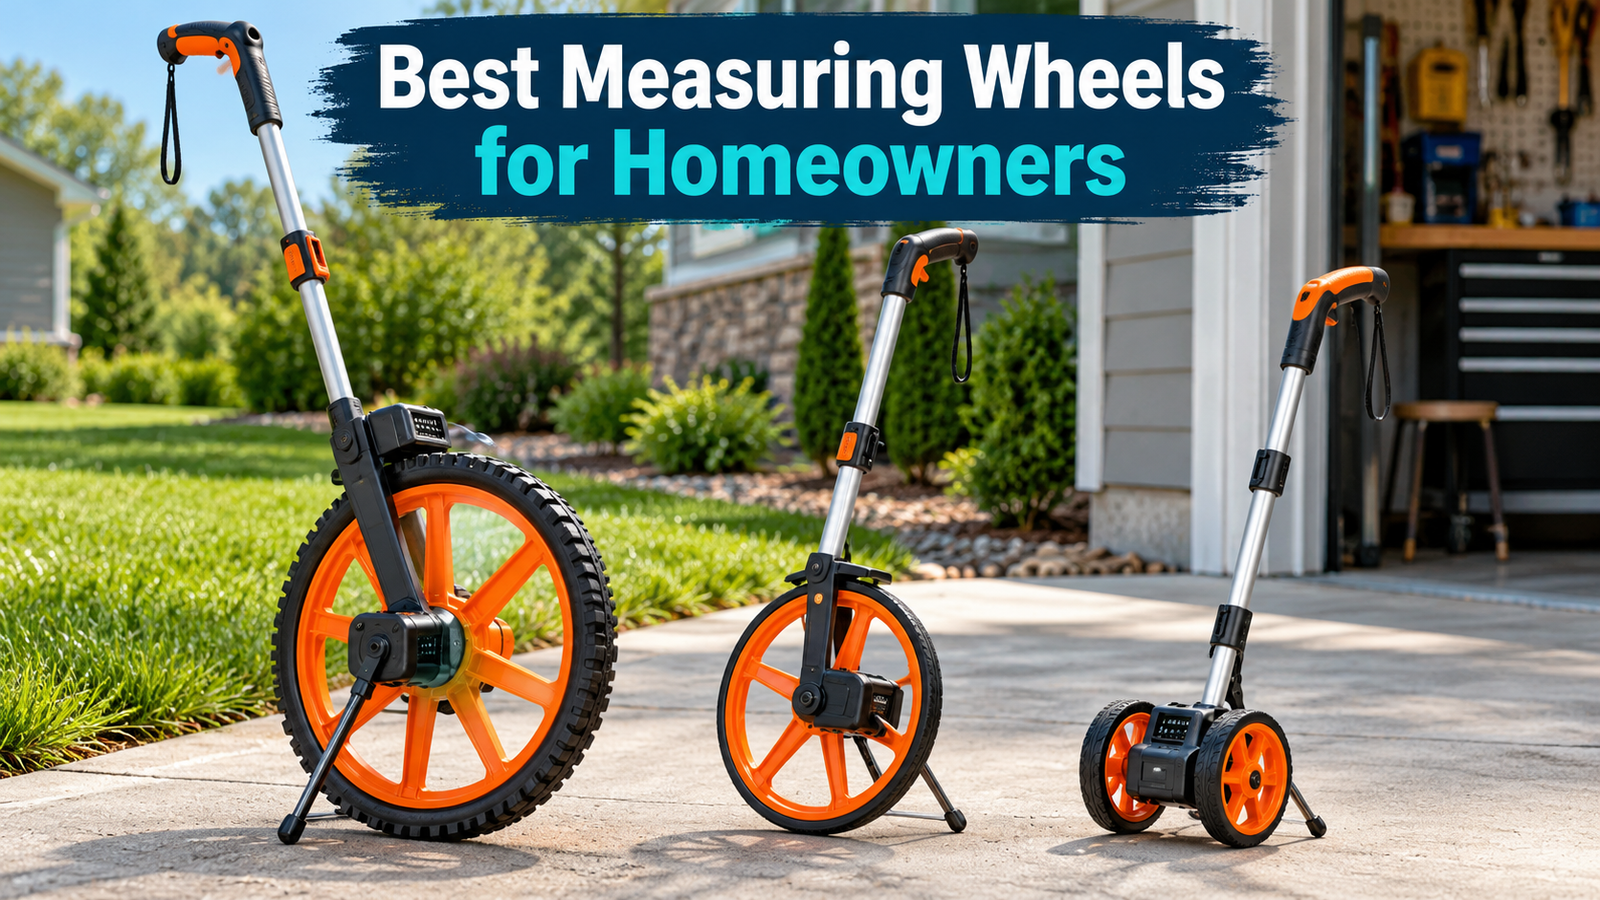
Related guides: If you still need a wheel, see our best measuring wheels for homeowners. For tool selection, compare a measuring wheel vs tape measure and a laser measure vs measuring wheel.
What a Measuring Wheel Actually Measures
A measuring wheel converts wheel rotation into distance. Each full rotation represents the wheel circumference, while internal gears and a mechanical or digital counter total those rotations. The reading therefore describes the path the wheel followed across the surface. If the route rises over a bump, drops into a depression, curves around an obstacle, or wanders from side to side, the counter includes that extra travel.
This is the most important idea in the entire process: a wheel measures rolled surface distance, not an invisible straight line between two points. That is useful when estimating edging along a curved garden, cable along a path, or fencing that follows the ground. It can be less suitable when you need a level horizontal distance, exact room dimensions to a fraction of an inch, or legally recognized property boundaries.
Before You Start: Choose the Right Wheel and Route
Match the wheel to the surface
A 10- to 12-inch wheel is a practical all-around choice for driveways, sidewalks, lawns, and property projects. Larger wheels cross uneven ground more smoothly. Compact wheels are easier to store and control indoors but follow small surface irregularities more closely.
Confirm the counter format
Check whether the wheel reads feet and inches, decimal feet, meters, or another scale. A value of 12.5 feet is twelve feet six inches, while a counter designed for feet-and-inches may display the same distance differently. Do not convert by assumption.
Define what you need
Decide whether you need surface distance, a straight plan distance, or the length of a curve. Mark the intended path before rolling so that your technique matches the project rather than changing halfway through.
Inspect the tool
Make sure the wheel rotates freely, the tire is clean and dry, the handle locks securely, and the counter resets properly. Keson specifically recommends starting with a clean, dry wheel for better accuracy.
How to Use a Measuring Wheel Accurately: 10 Steps
Mark an exact starting point
Use chalk, painter’s tape, a small flag, a stake, or an existing joint in the pavement. A vague starting area creates uncertainty before the wheel even moves. For a fence or landscape layout, place the marker where the installation will actually begin rather than at the nearest convenient walking position.
Decide which part of the wheel aligns with the mark. A centerline wheel is normally referenced through the center of the wheel. Follow the manufacturer’s instructions if the tool uses a specific pointer or offset. Use the same reference at the finish.
Extend and lock the handle
Adjust a telescoping or folding handle to a comfortable height and confirm every latch or clamp is secure. The goal is to walk upright with a relaxed arm. If the handle is too short, you may lean forward and push the wheel at an angle. If it is too long, steering can become awkward. Crescent highlights balanced centerline designs and adjustable handles because control and reduced strain matter over longer routes.
Reset the counter and verify operation
Reset the counter to zero only after the wheel is positioned near the start. Check that every digit returns correctly. For a digital model, confirm the battery indicator, selected unit, saved-reading status, and direction setting if the model supports forward and reverse counting. Roll the wheel a short known distance, such as ten feet along a tape, when using an unfamiliar or stored tool.
Place the wheel precisely on the mark
Lower the wheel so it touches the surface exactly at the chosen reference point. Keep the handle close to vertical from side to side. Do not begin with the wheel several inches behind the mark and try to compensate mentally; small setup shortcuts can create large inconsistencies across repeated measurements.
Push—do not drag—the wheel
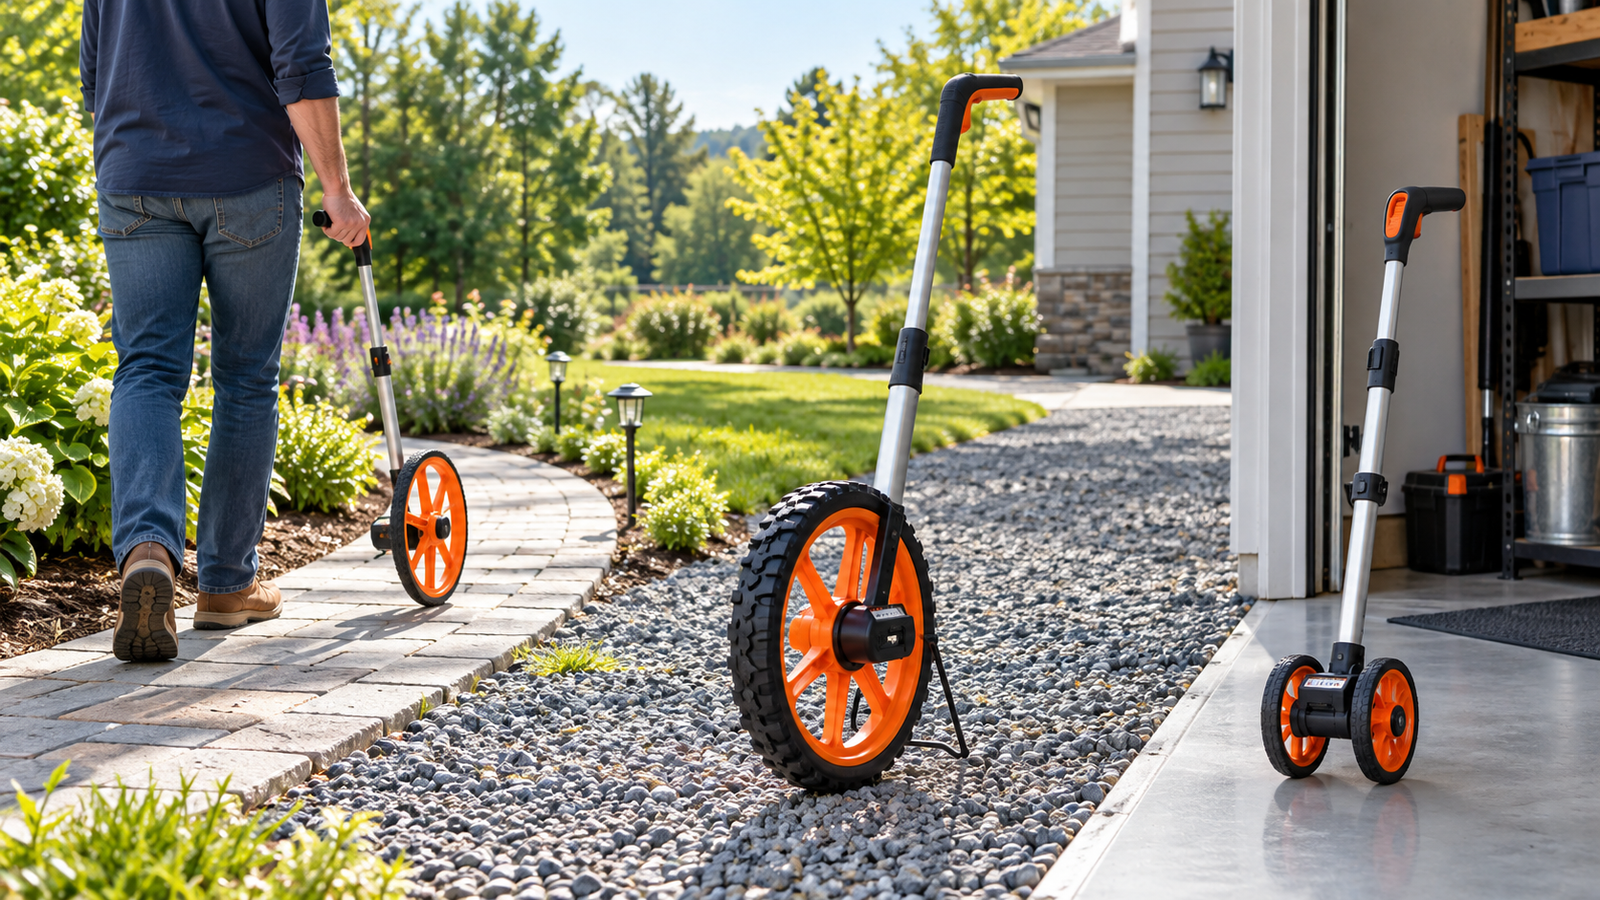
Walk forward while gently pushing the wheel. Pushing gives you a clear view of the route and helps maintain contact. Avoid pulling it behind you unless the manufacturer specifically supports that method and you have verified how reverse rotation affects the counter. Keep your hand relaxed and guide rather than force the tool.
Maintain a straight line and steady pace
Look toward the endpoint rather than staring continuously at the wheel. Use a curb, chalk line, stretched string, pavement joint, or a line of flags as a visual guide. Walking in an S-shape adds distance. Move at a normal, consistent pace; racing can cause bouncing or skipped contact, while repeated starts and stops can introduce small movements around each pause.
Manufacturer guidance from Keson recommends an even pace and explains that deviation from a straight line appears in the result. Consistency matters more than speed.
Keep continuous surface contact
The wheel must roll rather than slide, hop, or spin. Slow down over gravel, lawn edges, expansion joints, and transitions. Clear movable debris when practical. If the wheel loses contact, stop, return to the last reliable reference point, reset or note the partial reading, and resume carefully. Do not guess how much distance was lost.
Handle curves deliberately
For a curved route, follow the centerline of the intended path with small, smooth steering inputs. Sharp zigzags add distance. If you are estimating edging around a garden, decide whether the wheel should follow the inside edge, outside edge, or planned centerline; those paths have different lengths. Record which line you used so a second person can reproduce it.
Stop and lift straight up at the endpoint
Approach the finish slowly. Align the same wheel reference used at the start with the endpoint. Stop all forward motion, then lift the wheel straight up before turning, stepping aside, or carrying it. Keson recommends lifting straight up to prevent extra rotations from changing the reading.
Record, repeat, and compare
Write the value immediately with its units and route description. Reset and repeat the measurement from the same marks. For most homeowner estimates, two close readings provide useful confidence. If the difference is material to the project, perform a third run and investigate the cause instead of simply averaging inconsistent numbers.
Technique by Surface
| Surface | Best technique | Main error risk |
|---|---|---|
| Smooth concrete or indoor floor | Use a compact or medium wheel, a straight visual reference, and an even pace. | Starting or stopping beyond the marks. |
| Asphalt driveway | Use a 10- to 12-inch wheel and follow a chalk line or edge. | Wandering around cracks or parked objects. |
| Short lawn | Use a larger wheel, move slowly, and keep light downward contact. | Grass resistance, hidden dips, and wheel lift. |
| Gravel or dirt | Choose a large wheel and make multiple passes on the same route. | Slip, sinking, loose stones, and uneven surface travel. |
| Curved garden border | Define and follow one edge or centerline consistently. | Changing between inside and outside radius. |
| Slope | Measure the actual surface path; use a laser or survey method if horizontal distance is required. | Confusing slope distance with horizontal distance. |
How to Check a Measuring Wheel for Accuracy
Create a test course on a flat, even surface. Use a quality tape to mark a known distance—25 or 50 feet is useful for a homeowner check. Reset the wheel, align it exactly, and roll the course three times using the same technique. Compare each reading with the reference and with the other readings.
A consistent small difference may indicate a repeatable tool or setup offset. Widely scattered readings usually point to technique, wheel slip, surface conditions, a loose handle, or a counter problem. Clean the wheel and inspect it for damage or material wrapped around the axle. Follow the manufacturer’s calibration or service instructions rather than changing wheel diameter or counter parts on your own.
Published claims apply under defined conditions. Keson states that its measuring wheels can reach 99.7% accuracy on a flat, even track, while one Keson model manual notes an ideal-condition accuracy within two inches per 100 feet. The same manual emphasizes that real-world terrain and user path change the result. Treat such figures as manufacturer-specific context, not a universal promise for every wheel and every yard.
Common Mistakes That Reduce Accuracy
- Failing to reset: A previous reading or digital memory can contaminate the next measurement.
- Using the wrong units: Decimal feet, feet-and-inches, and metric displays are not interchangeable.
- Starting approximately: A few inches of uncertainty at both ends can matter on a short project.
- Walking a wavy route: Every side movement becomes additional rolled distance.
- Allowing the wheel to bounce: Lost contact can undercount; spin or slip can create unpredictable error.
- Rolling over avoidable obstacles: A rock, hose, or curb adds surface travel that may not belong to the intended route.
- Turning before reading: Extra wheel rotation after the endpoint changes the counter.
- Measuring only once: A repeat run is the simplest way to catch a technique problem.
- Treating an estimate as a survey: A measuring wheel does not locate a legal boundary.
When a Measuring Wheel Is the Wrong Tool
Use a tape measure when you need precise short dimensions, material cuts, or measurements between physical faces. Use a laser measure for unobstructed straight-line indoor distances and height calculations where a wheel cannot follow the required line. Use appropriate surveying equipment and a qualified professional when property boundaries, construction control points, or legal documentation are involved.
A wheel is strongest when you need one-person speed over a long accessible route and an estimate accurate enough for planning quantities, comparing options, or marking a layout. Knowing that boundary makes the tool more useful—not less.
Practical Homeowner Examples
Fence estimate
Mark each corner, measure straight segments separately, and record each section. Add the segments rather than cutting tightly across corners. Confirm gates and openings before calculating material.
Landscape edging
Follow the exact planned curve at a slow pace. Measure twice along the same edge, then include only the installation allowance recommended for the material.
Driveway or walkway
Use visible pavement joints or a chalk line. Measure length and width separately. A wheel gives length efficiently, but a tape or laser may be easier for short widths.
Outdoor cable route
Measure the intended path around structures rather than a straight shortcut. Do not use the wheel reading to determine electrical conductor sizing or code compliance; consult applicable requirements.
A Simple Field-Note Method
Do not rely on memory when a project has several segments. Give each run a short label, such as “driveway north edge,” “rear fence,” or “garden centerline.” Record the start marker, finish marker, reading, units, surface, direction, and run number. A phone note is fine, but a small notebook is faster when your hands are dusty or the weather is bright.
For a multi-segment route, reset between sections and record each value separately. This makes mistakes easier to find than one uninterrupted total. Add the sections only after the fieldwork is finished. If a repeated run disagrees, circle it rather than erasing the earlier value; the pattern can reveal that one direction, surface transition, or obstacle is causing the problem.
Weather, Temperature, and Maintenance
Dry conditions are easiest because mud, wet grass, packed debris, and water on a smooth surface can change traction. If you must measure in damp conditions, slow down, clean the tread between runs, and expect more variation. Avoid forcing a wheel through standing water or deep mud unless the manufacturer approves that environment.
Before storage, wipe the wheel and axle area, check that the counter operates freely, and inspect the handle locks. A pebble, string, plant fiber, or dried soil near the axle can add resistance. Do not lubricate internal parts unless the manual calls for it, because the wrong product can attract grit or damage plastic components. Digital wheels also need healthy batteries; replace weak cells as a set and confirm the selected measurement unit after battery service.
Frequently Asked Questions
Should I push or pull a measuring wheel?
Push it forward unless the manufacturer specifies another method. Pushing improves route visibility and control. Confirm whether your counter subtracts, adds, or ignores reverse movement before relying on a pulled measurement.
How fast should I walk?
Use a normal, even walking pace that keeps the wheel in continuous contact. Slow down on rough surfaces and near the endpoint. Consistency is more important than a specific speed.
Does wheel size affect accuracy?
Wheel size affects how smoothly the tool crosses a surface. A larger wheel generally handles grass, gravel, and small irregularities better, while a compact wheel is convenient on smooth indoor surfaces. Technique and route conditions still matter.
Can I measure a curved path?
Yes. Follow one defined line—inside edge, outside edge, or centerline—from start to finish. The result is the length of that traveled curve.
Can a measuring wheel find my property line?
No. It can estimate distances between points you already know, but it cannot establish legal boundary locations. Use recorded survey information and a licensed surveyor when a boundary matters.
Why do repeated readings differ?
Common causes include a different start position, wandering path, wheel slip, debris, changes in surface contact, inconsistent endpoint alignment, or a loose or damaged tool. Repeat the test on a flat known course to separate technique from equipment issues.
How should I store the wheel?
Clean and dry it, fold or collapse it according to the instructions, and store it where the wheel and counter will not be crushed. Remove leaking batteries promptly from digital models and follow the manufacturer’s storage guidance.
Sources and Manufacturer References
- Keson: Measuring Wheels—What They Are and How They Are Used
- Keson Measuring Wheels and Accuracy Information
- Keson MP401E Instructions and Accuracy Notes
- Crescent Lufkin CMW12 Product Information
Final Checklist
Clean wheel, correct units, counter at zero, exact marks, locked handle, straight route, steady pace, continuous contact, precise stop, immediate recording, and at least one repeat run. Those habits do more for real-world accuracy than rushing to buy the most complicated wheel.
Compare Homeowner Measuring Wheels →