
MEASURING TOOLS • PRACTICAL GUIDE
Give your laser measure a better target
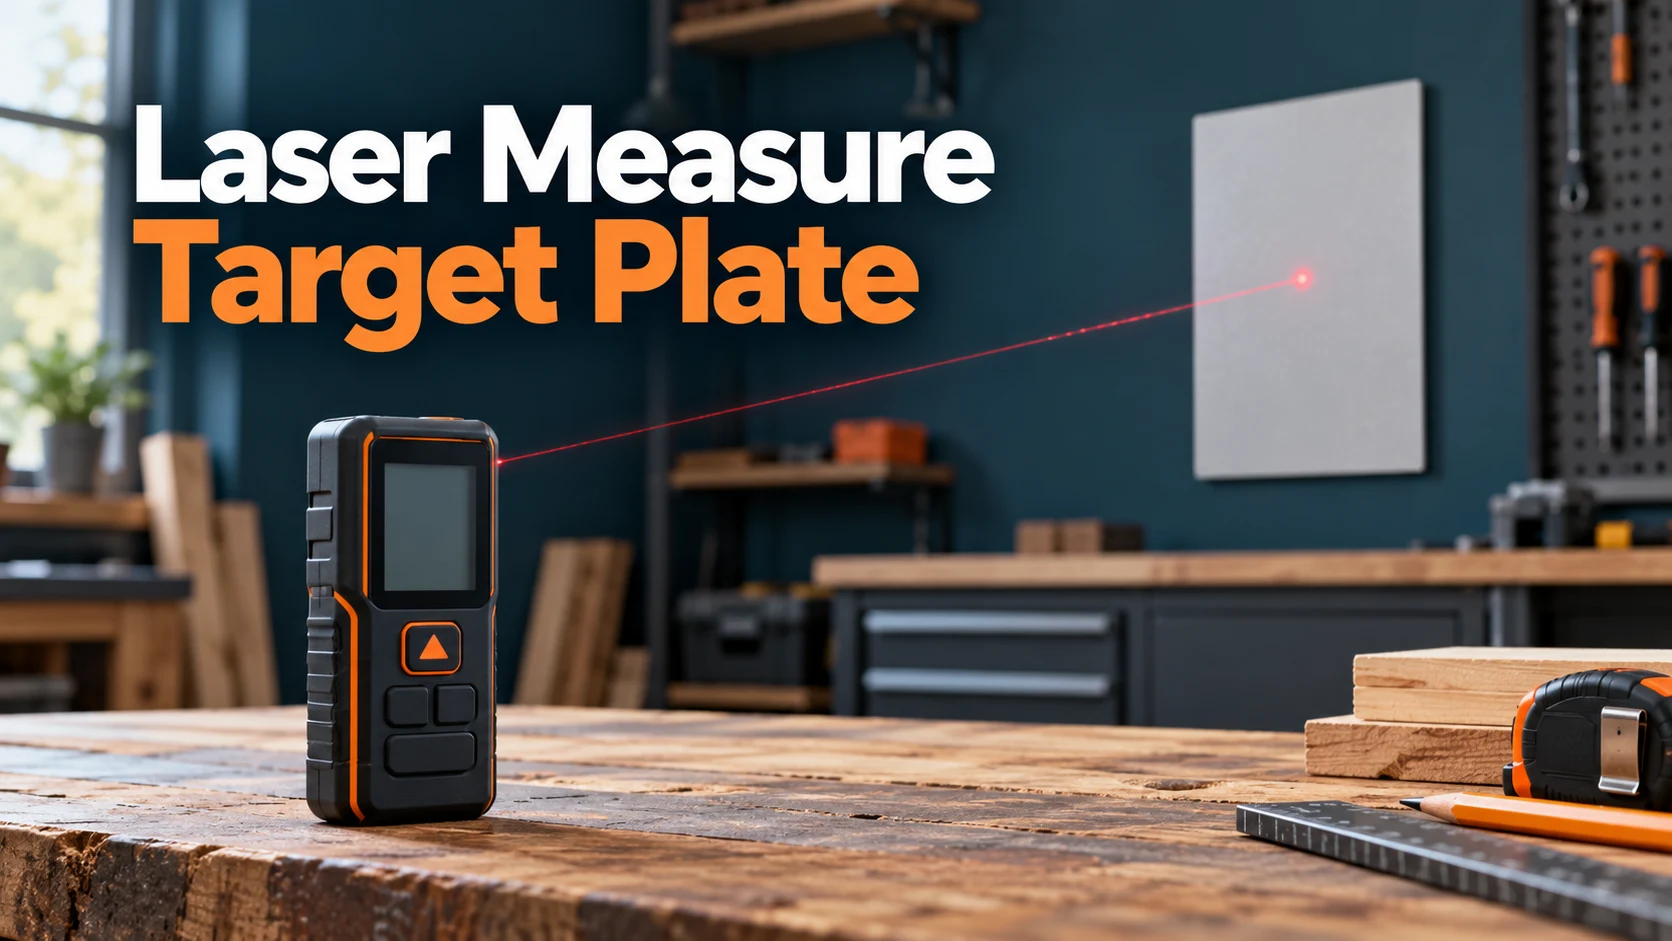
A target plate can help when a wall, edge or outdoor surface gives your distance meter a difficult reading. The important part is putting its measuring face at the point you actually want to measure.
Affiliate disclosure: As an Amazon Associate, we earn from qualifying purchases. We may also earn a commission through other affiliate links, at no extra cost to you.
Compare target plates before you buy
These links open retailer search results. Match the exact accessory, seller, delivery cost and return terms before choosing.
Check Options on Amazon Compare Options on Walmart
Prices, stock and sellers change. Compare the checkout total; neither retailer is guaranteed to be cheaper.
What is a laser measure target plate?
A target plate is an accessory placed at the far end of a distance measurement. Instead of aiming at an awkward surface, you aim at the plate. Depending on its design, it may be a flat panel, a small rigid card, or a plate intended to sit on an edge or floor mark. Some have contrasting sides or aiming marks. Those features help with different tasks, so appearance alone does not establish compatibility.
Think of it as a controlled endpoint. The meter still performs the measurement, and you still choose its starting reference. The plate simply gives you a more deliberate endpoint than a curtain, narrow trim edge or dark recess. That distinction matters because a clean reading can still be the wrong dimension if you position either end incorrectly.
When does a target plate help?
Difficult surfaces
Leica’s DISTO guidance identifies poor reflection and daylight as situations where an appropriate target plate can help. The same guidance notes that transparent and high-gloss surfaces can cause measuring problems. A plate can provide an alternative surface, but the correct accessory and method still depend on the distance meter. Do not assume any reflective sticker produces the same result.
Edges and corners
A bare outside corner may offer little surface area for the laser spot. If you miss, the meter can read something behind it. A suitable edge target makes the intended endpoint easier to identify. Before recording the result, look at where the plate’s measuring face sits relative to the corner. Its front face may not coincide with the finished edge unless you deliberately align it.
Repeated measurements
A fixed plate can give several measurements a consistent endpoint. For example, when checking distances from different positions to one workshop wall, a secured plate avoids repeatedly choosing a slightly different patch of wall. Keep the plate stationary throughout the set, and record what physical point it represents. This is particularly useful when another person needs to reproduce your setup later.
When you can skip the accessory
For an ordinary indoor room with a broad matte wall and a clearly visible spot, a target plate may add setup time without solving a real problem. Start by checking the instrument’s batteries, lens cleanliness, units and reference setting. Then take repeat readings from a stable position. If the measurements are consistent and suit the job’s tolerance, there may be no reason to buy another accessory.
A plate also cannot correct a damaged instrument, an incorrect starting reference, movement during measurement or a distance beyond the meter’s operating limits. If your device repeatedly errors on simple indoor measurements, work through our laser measure troubleshooting guide before purchasing a target plate. Replacing a failing meter and improving a difficult target are different decisions.
Target options compared
| Option | Useful starting point | Main check |
|---|---|---|
| Manufacturer target plate | Regular use on difficult targets | Intended meter, plate face and instructions |
| Edge or corner target | A defined endpoint on narrow features | Where the measuring face sits |
| Rigid matte card | A simple indoor comparison setup | Flatness, movement and repeatability |
| Reflective tape or shiny foil | Only where your manual permits it | Do not assume equivalence to a target plate |
The right choice depends on your measurement problem. A larger panel is not automatically more accurate, and a brighter-looking material is not automatically better for the receiver. Choose the accessory for its intended application rather than treating every product labeled “laser target” as interchangeable.
How to use a laser measure target plate
1. Define the dimension first
Decide whether you need a finished wall-to-wall distance, the gap to a cabinet face, or the position of an outside corner. Write that down before positioning the plate. This keeps a convenient place to mount the accessory from quietly becoming the wrong endpoint. For fit-sensitive work, also decide the acceptable tolerance and how you will independently confirm the final dimension.
2. Check the meter’s reference
Distance meters can use different starting references, depending on the model. Read the display indicator and your manual rather than assuming the rear of the housing is selected. Place the chosen starting face against the intended starting point. If you change the reference setting halfway through a job, mark that change in your notes so readings from different setups are not mixed together.
3. Secure the plate at the endpoint
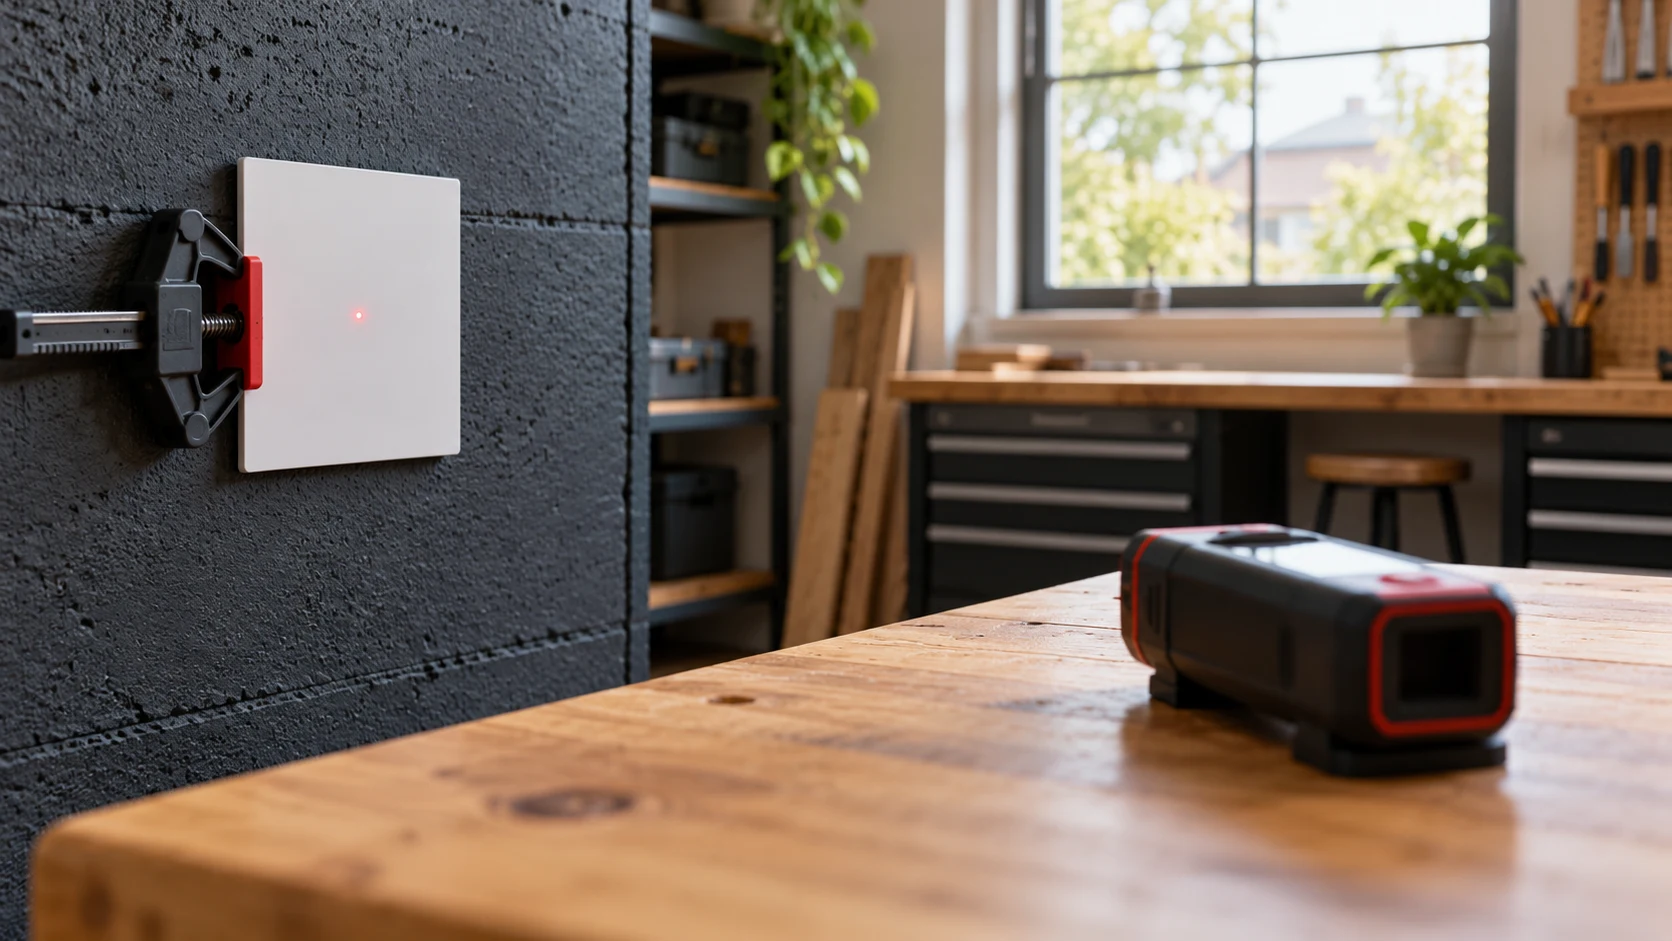
Use the mounting method appropriate to the accessory and surface. Avoid a setup where the plate rocks, bows or slides. Protect finished surfaces from clamps or adhesive, and get permission before attaching anything to someone else’s property. If a helper holds the target, agree on the exact position and wait until it is stationary before taking each measurement.
4. Aim at the intended face
Locate the laser spot on the target itself. At longer distances, it is easy to see a bright mark nearby and assume it is on the correct surface. Do not aim through glass and presume the plate beyond it is the endpoint. Keep people out of the beam path and follow the instrument’s laser safety label, including avoiding eye exposure and aiming at reflective surfaces.
5. Take several readings
Support the instrument, take a reading, and repeat without moving either endpoint. If the values vary more than your task allows, resolve the cause before choosing a convenient average. Recheck the target location, the beam position, the starting reference and the meter’s permitted conditions. A useful result should be reproducible, not simply one number that appears plausible on the screen.
6. Confirm the endpoint offset
If the plate stands in front of a wall, you measured to the plate’s face rather than directly to the wall. Account for that geometry only when you know the offset and its direction. Do not automatically add or subtract a number from every measurement. Depending on the setup, the offset may be irrelevant, known, uncertain, or already included in the accessory’s intended procedure.
A practical cabinet example
Suppose you are checking the space between an existing cabinet and a dark wall. A small rigid target placed against the wall makes the endpoint easier to see. Start with the meter supported at the cabinet-side reference. Take repeat readings, then confirm the physical opening with a tape where accessible before ordering a fitted component. Include installation clearance separately; the meter cannot decide that allowance for you.
If you temporarily clamp the target to a block several inches in front of the wall, the displayed result represents a shorter opening. That can be a useful intermediate measurement, but only if the block’s position is known. The better solution is usually to simplify the setup so the target face represents the intended endpoint directly. Fewer corrections make mistakes easier to spot.
Does a target plate improve accuracy?
It can make a difficult measurement more practical by giving the meter an appropriate surface to read. That does not justify claiming a tighter accuracy specification than the manufacturer publishes. There are two separate questions: can the instrument obtain a reading, and does the full measurement setup deliver the right dimension for the task? A successful reading answers only the first.
For example, five similar readings can all be wrong if the meter is using the front reference while you are placing its rear against a wall. Likewise, a perfectly stable target mounted at the wrong location gives a repeatable but unsuitable endpoint. Check both instrument specifications and setup errors. Read our laser measure accuracy guide for more context on realistic expectations.
Using a target outdoors
Outdoor work introduces a separate aiming problem: seeing precisely where the spot lands. A plate may help with the target surface, yet still leave you unable to aim reliably in bright light. Work within the conditions and distance limits stated for your model. If the spot cannot be identified, stop treating the displayed number as proof that you measured the intended object.
Choose a shaded endpoint when practical, keep the instrument stable, and avoid measuring across areas where people or vehicles can cross the beam. For frequent long-distance work, compare instruments designed for that application rather than building a collection of accessories around an unsuitable meter. For ground-distance projects, our laser measure vs measuring wheel comparison explains another way to approach the job.
Buying checklist: what matters before price
- Intended use: Distinguish distance-meter targets from laser-level alignment cards and surveying accessories.
- Manufacturer guidance: Confirm the accessory is suitable for the instrument and the problem you need to solve.
- Working face: Check whether the plate has designated sides or a particular orientation.
- Mounting: Choose a format you can hold securely at the endpoint without introducing an unknown offset.
- Portability: A plate that fits your tool bag is more likely to travel with the meter.
- Listing detail: Verify whether the purchase includes the plate alone, a holder, a clamp or other accessories.
For a concrete manufacturer example, Leica lists the GZM26 as a two-sided plate measuring 210 × 297 mm, with different faces intended for shorter and longer distances. Those details describe that accessory; they are not a universal specification for target plates. Check the current product page and your instrument’s instructions before choosing it for your setup.
Amazon vs Walmart: compare the actual item
Start with the exact accessory name and model number, if one is available. Search results can mix target plates, replacement parts, laser levels and complete meters. A cheap result is not a bargain if it is for the wrong category of tool. Open the listing and confirm the photographs, included pieces and description agree before comparing totals.
Next, check who sells and ships the item. Compare delivery dates, shipping charges, return conditions and the final checkout cost. If two listings describe different sizes or include different holders, record that difference rather than presenting them as equal products. A search page can help discover options, but it does not verify availability or provide a reliable fixed price comparison.
Compare target plates before you buy
These links open retailer search results. Match the exact accessory, seller, delivery cost and return terms before choosing.
Check Options on Amazon Compare Options on Walmart
Prices, stock and sellers change. Compare the checkout total; neither retailer is guaranteed to be cheaper.
If a seasonal sale appears, compare the accessory on its own merits. An advertised discount does not establish that it suits your meter, and a crossed-out reference price does not establish value. Buy when the correct item solves a recurring problem at an acceptable total cost. For occasional straightforward indoor measurements, keeping your existing setup may be the better decision.
Common mistakes to avoid
Confusing visibility with measurement reliability
A brightly colored target may be easy to see while still being unsuitable for a particular instrument or condition. Conversely, the meter may display a distance when you cannot confirm the spot is on the desired endpoint. Use visibility, repeatability and the correct setup together. None of those checks replaces the others.
Letting the accessory move
A target held loosely against an uneven surface may change position between readings. Small movements can matter for fitted work even if the display looks steady. Choose a rigid mounting location and repeat the whole setup when a result seems questionable. If the endpoint must be estimated, label that uncertainty in your notes rather than hiding it in a precise-looking number.
Using a plate to avoid a cross-check
Before cutting expensive material or ordering a custom item, check critical dimensions independently using an appropriate method. A target plate is an aid to measurement, not evidence that a job is ready for fabrication. Confirm the actual fit requirements, including clearance, square and any uneven surfaces that a single straight-line distance will not capture.
Frequently asked questions
Can I use white paper instead of a target plate?
A flat matte card can provide a temporary indoor endpoint for a simple comparison, but loose paper can bend or move. It is not equivalent to a manufacturer-specified plate and should not be assumed to extend the instrument’s range. Check repeatability and confirm important measurements another way.
Will any laser target work with my distance meter?
No universal compatibility should be assumed. Accessories sold for alignment lasers or surveying equipment may serve a different purpose. Check your instrument manual and the accessory maker’s stated application before buying.
Does it let me measure through glass?
Do not assume a target beyond glass gives a valid distance through it. Transparent surfaces can complicate the measurement. Arrange an unobstructed measurement path or use another suitable method.
Should I buy a bigger target plate?
Choose a size that is practical to aim at and mount for your task. Bigger is not a substitute for compatibility, correct placement or stable support. Consider storage and working distance alongside the surface area.
Is Amazon or Walmart cheaper?
There is no fixed winner. Compare the exact item, seller, delivery charges, return terms and current checkout total. The buttons in this guide open search results, so verify each listing before purchasing.
What to choose
Buy a compatible target plate when you repeatedly face difficult endpoints and can position it correctly. Start with the manufacturer’s intended accessory or documented method, then compare retailers for the exact item. Skip the purchase when a broad indoor wall already gives consistent results. For every setup, identify both endpoints, keep them stable, and independently confirm dimensions that control an expensive cut or purchase.
About AccurateGoods
AccurateGoods publishes practical guides to measuring tools, inspection equipment and workshop accessories. This article explains setup and buying considerations using manufacturer documentation; it does not claim hands-on testing of the accessories shown. Images are illustrative and do not identify an exact retail product.
Manufacturer references
- Leica GZM26 product information — plate size and designated working faces.
- Leica DISTO D5 user manual — measuring conditions and difficult target surfaces. Consult your own model’s manual for its operating limits.
