
Affiliate disclosure: As an Amazon Associate, AccurateGoods earns from qualifying purchases. Links to Amazon may earn us a commission at no extra cost to you.
ELECTRICAL TESTING • BEGINNER GUIDE
Get a useful reading by setting up the right test
Learning how to use a clamp meter starts with knowing what its jaws measure and what the display can tell you. The tool can make current checks convenient, but the wrong mode or conductor arrangement can produce a misleading reading. This guide explains the basic method, the checks worth making first and the limits that matter when choosing a meter.
Quick answer: how do you use a clamp meter?
For a normal load-current measurement, choose the correct AC or DC current mode, disconnect the test leads, and close the jaws fully around one safely accessible insulated conductor. Position it as the manual specifies, let the reading settle, and record the value and units. For DC current, use a DC-capable jaw and follow its zeroing instructions with the jaws empty. Never assume a zero reading proves a circuit is safe.
What a clamp meter measures
A conventional clamp meter senses current through its jaws. It detects the magnetic field associated with current in the conductor inside them. You do not normally have to disconnect that conductor and route its current through the meter’s probe sockets to obtain a jaw-current reading.
Many models also offer voltage, resistance and continuity through test leads. Those are separate measurement methods. The dial position, input sockets and connections needed for voltage are different from the setup used for current through the jaws. A non-contact voltage alert is another distinct function.
Not every clamp supports the same tests. An AC-only jaw may sit on a meter that measures DC voltage with leads. That combination still does not let the jaws measure DC current. Read the specifications for the individual function, not just a broad “AC/DC” phrase on the package.
If you are deciding between tools, our clamp meter vs multimeter comparison explains when a conventional DMM is a more useful first purchase.
Know the controls before connecting anything
| Control or marking | Typical purpose | What to check |
|---|---|---|
| A with AC or DC marking | Select current measurement | Whether the function uses jaws or leads |
| SEL or function button | Switch between functions sharing a dial position | The actual mode icon on the display |
| ZERO | Compensate a DC-current offset on supported meters | Model-specific empty-jaw procedure |
| HOLD | Freeze the displayed reading | That hold is off before a fresh measurement |
| Range | Select or change measurement range | Maximum input and useful low-end sensitivity |
| Jaw alignment marks | Guide conductor position | Complete jaw closure and correct positioning |
| COM and V/Ω sockets | Connect leads for supported probe measurements | Exact manual and lead ratings |
The same label can work differently across models. A button may need a short press for one function and a long press for another. Open the manual for your exact model and identify these controls before practicing. You should not have to guess the setting while holding the instrument near equipment.
Prepare for the measurement
Define the question first
Write down what you want to learn. “Measure the current in this individual low-voltage load wire” is a clear task. “Check whether the machine is okay” is too broad. A current reading addresses one part of a system’s behavior and cannot, by itself, establish the condition of the entire machine.
Identify the expected current type and likely range. Also decide what operating condition matters: idle, steady load or a brief startup event. Taking an ordinary steady display reading when the question concerns a transient can send you toward the wrong conclusion.
Inspect the instrument and work area
Check the case, jaw mechanism and insulation for damage. The jaws should open and close normally without debris preventing closure. Follow the manufacturer’s cleaning instructions; do not grind, file or modify the jaw surfaces to make them fit better.
Make sure the battery condition, instrument rating and operating environment are suitable. Remove a meter from service if it behaves unexpectedly or has visible damage. A meter that powers on is not automatically fit for every electrical measurement.
Confirm that the conductor is safely accessible
Access is a real limitation. The conductor needs to fit inside the jaw without forcing wires aside or reaching around exposed hazardous parts. Do not open a panel, remove protective barriers or reposition energized conductors simply because a current clamp does not use probe contact.
For your first practice, use an appropriately current-limited, low-voltage training circuit prepared by a competent instructor. Select a load within the clamp’s useful range. Low voltage does not eliminate every hazard: batteries can still supply damaging short-circuit current, so use proper protection and intact insulation.
How to use a clamp meter: the basic sequence
- Check the manual and measurement limits. Confirm that your jaws support the required current type and that the equipment and range suit the task.
- Remove the test leads for jaw-current measurement. Follow the manufacturer’s instruction for the exact instrument.
- Select current and verify AC or DC. Use the display icon to confirm the setting; the dial alone may not identify the selected sub-function.
- Perform any required DC zero correction. Do this with the jaws closed and empty, following the model’s instructions.
- Place the jaws around one appropriate conductor. Keep fingers behind the instrument’s barrier and use only a setup you can access safely.
- Release the trigger fully. Make sure the jaws close, and align the conductor using the specified marks.
- Observe and record the reading. Note units, range and operating condition. Remove the instrument safely and switch it off when finished.
This sequence describes the measurement principle. It does not authorize access to hazardous wiring or replace the equipment’s work procedure. If you cannot complete any step without exposing yourself to an unfamiliar electrical hazard, stop and ask a qualified person.
Why one conductor matters
For ordinary load current, the clamp must generally surround a single outgoing or returning conductor. If it includes both, their fields can cancel. That is why clamping around an ordinary complete appliance cord can show little or no current while the appliance is operating.
Do not cut the cord or peel back its insulation to separate the wires. A purpose-made line splitter can provide a measurement path for compatible plug-in equipment. Specialized leakage-current tests intentionally use different conductor arrangements and require suitable instruments; they are not the same as this basic load-current test.
Measuring AC current
Use an AC-current jaw function for an AC-current task. Confirm the AC icon on the screen, including after changing a shared dial position. On some meters, a function button changes AC and DC selection, and the startup default may not match the setting you last used.
Position and range still matter. Let the reading settle under the operating condition you intend to document. If the load cycles, record that behavior rather than presenting one changing number as a stable result. For repeated comparisons, keep the same test point and operating condition.
True-RMS capability can help with certain AC waveforms within the meter’s specified limits. It does not turn the instrument into a universal analyzer. Equipment with unusual output waveforms may require an appropriate filter, bandwidth or specialized instrument.
Measuring DC current
Begin by checking that the jaw supports DC current. Use the documented zero function if required, with no conductor inside the closed jaws. Zeroing with a load conductor inside can subtract part of the value you wanted to measure and create a misleading result.
Observe the direction or polarity markings described in the manual. A negative indication may mean the current direction is opposite the chosen reference. Do not automatically label it a fault. First verify the mode, orientation and purpose of the measurement.
A general-purpose clamp may be unsuitable for very small DC draws. Compare its accuracy and resolution in that range. A device capable of displaying a small number does not necessarily measure it accurately enough for your diagnosis. Automotive parasitic-current work may need a more sensitive instrument and a specific service procedure.
Using a line splitter for compatible plug-in equipment
A line splitter is an accessory that creates a suitable measurement location without modifying the appliance cord. Choose one whose outlet format, voltage and current ratings match the equipment. Check its condition and manual before use, and keep the appliance within the accessory’s limits.
Some splitters use a multiplier to make smaller current easier to read. For example, a documented 10× measurement path produces a clamp indication ten times the load current, so you divide that indication by ten. An indicated 12.0 A would represent 1.20 A only when the selected path is explicitly specified as 10×.
Never assume that every opening has the same multiplier. A useful note in your measurement record is “splitter path: 10×; indicated: 12.0 A; calculated: 1.20 A.” That makes the result understandable later and reduces accidental comparison with an uncorrected reading.
Accessory to compare: Klein Tools 69409
Klein documents the 69409 as a 10× line splitter for standard 120-volt outlets. Check its full limits and compatibility before ordering; it is not a universal adapter for every appliance or electrical supply.
Compare Klein 69409 Line Splitter Listings →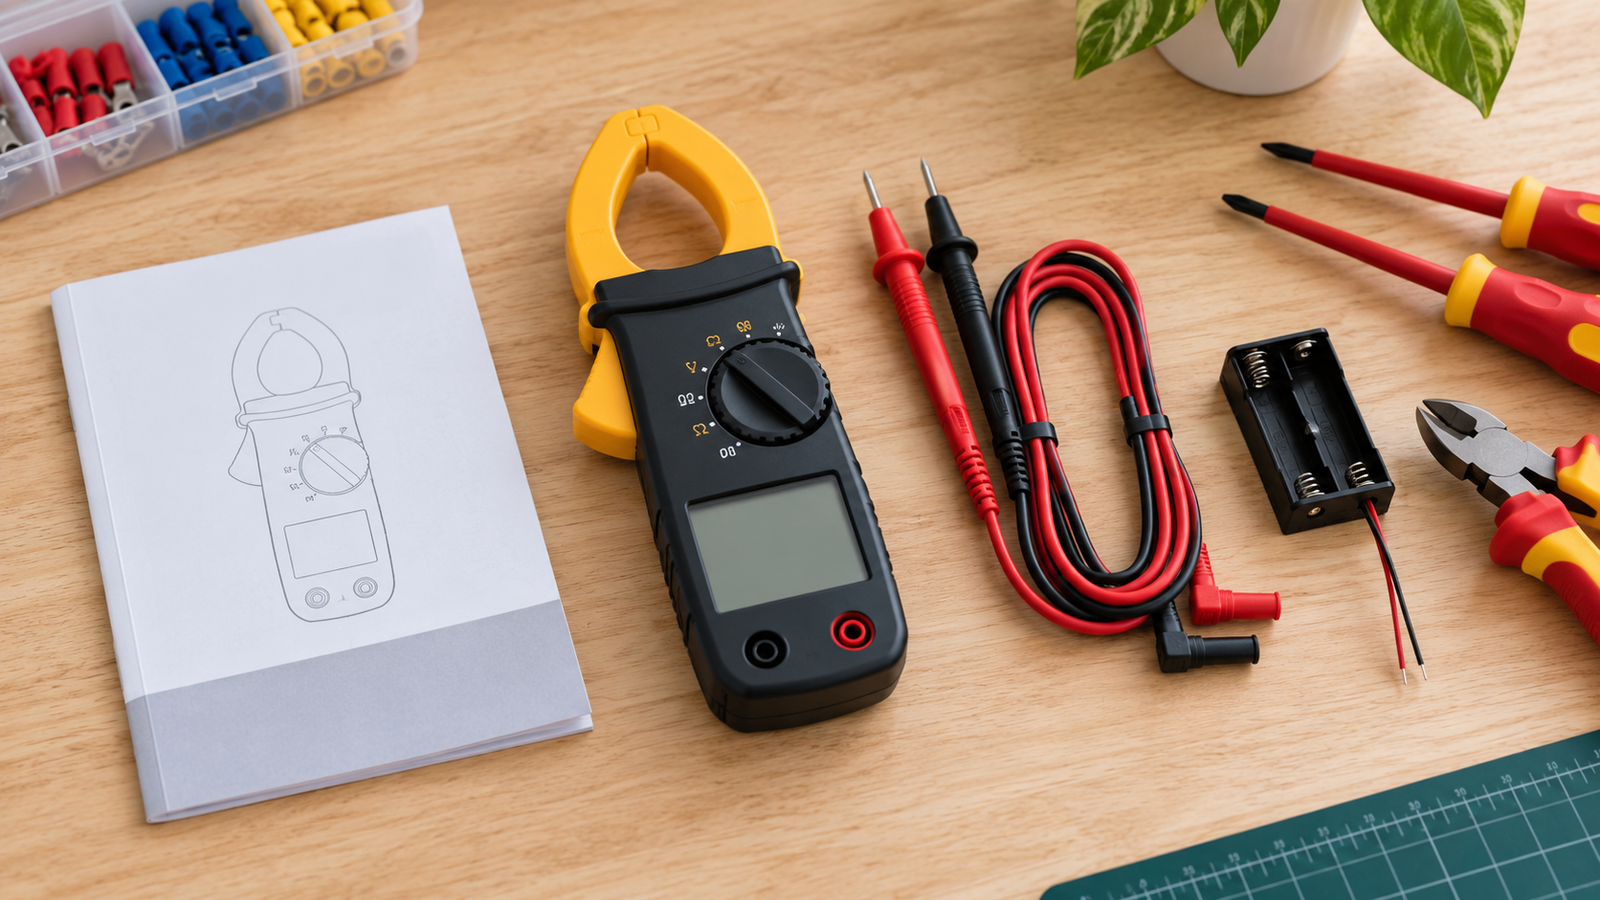
Understand the reading before judging the equipment
Record the number with its unit. Amps, milliamps and microamps are different scales. Also record the current type and any accessory multiplier. A bare number copied into a notebook can become confusing when you return to the task days later.
Compare the reading with the expected behavior for that particular operating condition. A nameplate value is useful context but does not always describe what a device should draw at every instant. Idle, partial-load and startup behavior can differ, so use the equipment’s service documentation where diagnosis requires it.
Current alone does not establish energy use or full electrical condition. Avoid multiplying a casual current reading by a nominal voltage and presenting the result as a precise power measurement for every kind of load. Choose a suitable power or energy meter when that is the question you actually need to answer.
Why your clamp meter reads zero or fluctuates
| Symptom | Possible explanation | Useful next check |
|---|---|---|
| Near zero on a whole cord | Outgoing and returning fields cancel | Use a suitable approved measurement path |
| Zero on a DC task | Wrong mode or AC-only jaw | Verify explicit DC-current capability |
| Unstable small reading | Insufficient sensitivity or changing load | Check low-end specifications and operating condition |
| Unexpected fixed value | Display hold remains enabled | Check the hold indicator |
| Reading ten times expected | A 10× splitter path is in use | Apply only the documented correction |
| Unexpected negative DC value | Reference direction differs | Check the jaw’s polarity instructions |
These are possible causes, not guaranteed diagnoses. Do not keep repositioning the tool in a hazardous area to chase a nicer-looking number. Verify the setup in a safe condition, review the manual and use another suitable instrument or qualified help if the result remains unexplained.
Voltage and continuity use a different method
On a conventional clamp meter, a voltage reading normally uses leads in the specified sockets and the voltage function. The jaws are not a substitute for that connection. Follow the manual for lead placement, polarity, category suitability and measurement limits.
Resistance and continuity checks are for de-energized conditions, with stored energy addressed according to the equipment instructions. Do not switch into those modes on a live circuit. A continuity beep also does not certify a connection’s ability to carry its intended load.
For frequent component checks, consider a separate DMM. Our multimeter guide for electricians and home-use multimeter guide provide starting points for comparing that tool category.
Choose a meter that suits the learning task
For beginners, clear controls and a usable manual are more valuable than a long list of unfamiliar functions. Start with the current type and range you need, then consider jaw access, display readability and the additional measurements you expect to use.
Model-specific features matter when your tasks become more demanding. Inrush capture differs from ordinary hold. Temperature measurement needs the right sensor. A large maximum current range may be less useful than better low-range sensitivity when your work concerns small loads.
Meter to compare: Klein Tools CL800
The CL800 manual documents AC/DC jaw-current measurement, auto-ranging and true-RMS capability. It also covers several lead-based functions. Compare its exact ranges, accuracy, safety markings and included accessories with your needs rather than assuming every clamp meter offers the same capabilities.
We have not performed hands-on testing for this guide. This is a documentation-based example, not a claim that one model is the best choice for every beginner.
Check Klein CL800 Availability →For more options organized by intended work, see our best clamp meter buying guide. Check the exact listing’s model number against the manufacturer’s current documentation before purchasing.
Build a repeatable measurement record
A short record makes a basic test much more useful. Note the equipment, accessible test point, current mode, displayed value and units, accessory multiplier and operating condition. Add anything that might affect comparison, such as the load cycling during the reading.
If you repeat a check later, use the same conditions where practical. Otherwise a difference may come from the setup rather than a developing fault. Keep the record factual: “reading changed when the load switched on” is more useful than “meter says equipment is good.”
Afterward, turn off the meter, store it in a protective case and inspect accessories before the next use. Follow manufacturer maintenance and calibration requirements, especially when readings support formal service records or workplace decisions.
Frequently asked questions
Do I need to disconnect a wire to measure current?
Not for a normal jaw-current measurement when one suitable conductor is safely accessible. The meter surrounds that conductor. This does not remove the need for safe access, the correct instrument rating or the required work procedure.
Can every clamp meter measure DC current?
No. Check the jaw-current specification specifically. DC voltage through test leads does not establish DC-current capability through the clamp.
Why does my meter show zero around a complete power cord?
The outgoing and returning currents can cancel in the clamp. Use a compatible, rated line splitter when appropriate. Do not modify the cord, and do not treat the zero indication as proof that power is absent.
When should I use the zero function?
Use it as instructed for the exact model, typically to correct a DC-current offset with the jaws closed and empty. Do not zero around the conductor whose load you intend to measure.
Does hold capture starting current?
Ordinary hold usually freezes a displayed reading. Capturing a brief starting-current event requires a suitable inrush or recording function and its specified procedure. Check what your instrument actually supports.
Can a beginner use a clamp meter at home?
A beginner can learn the controls and basic method using a suitable low-voltage training setup with competent guidance. Mains wiring, panels and high-energy equipment require appropriate training and safe work procedures.
The habit that matters most
Identify the measurement before you select the setting. Correct current type, one appropriate conductor, fully closed jaws and a suitable range make the reading meaningful. Safe access and the exact manual determine whether you should perform the test at all.
Practice one straightforward task until you can explain both the value and its limits. A useful beginner does not just obtain a number; they understand the setup that produced it and know when to stop.
Sources and editorial approach
This guide uses manufacturer instructions to explain the tool’s basic operation. It is not a substitute for your model’s manual, equipment service instructions or required electrical training.
