
AccurateGoods may earn a commission from qualifying purchases made through links on this page, at no extra cost to you.
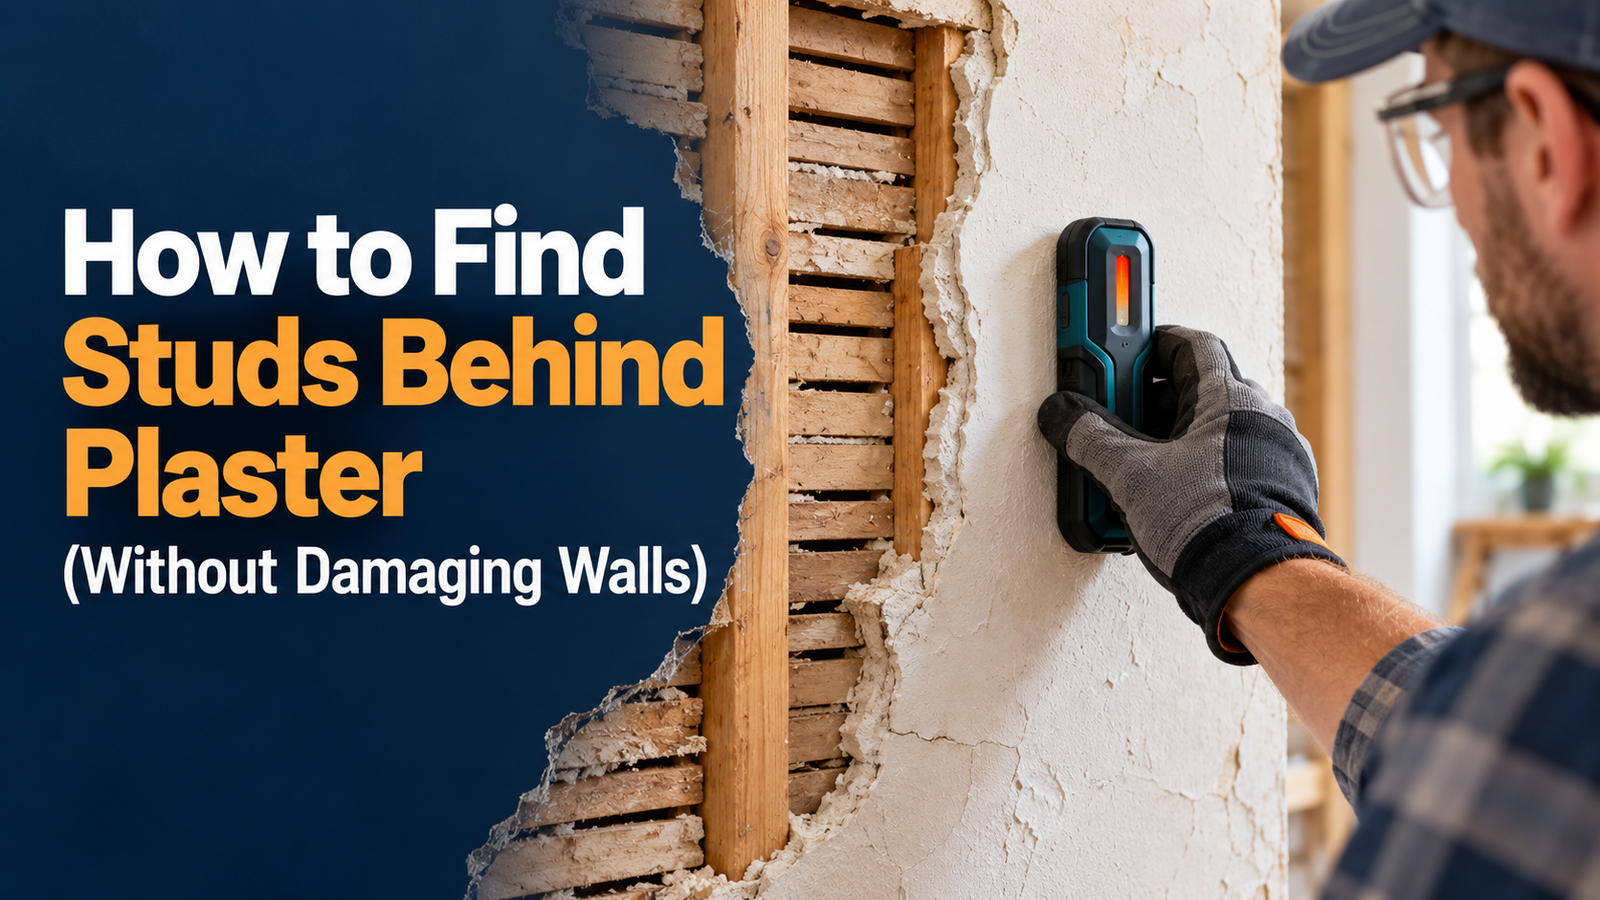
Learning how to find studs behind plaster takes a different approach than scanning modern drywall. Old plaster can be thick and uneven, wood lath creates repeated density changes, metal mesh can confuse electronic sensors, and hidden nails may appear as isolated targets. The most dependable method is to combine clues: map likely framing, locate a vertical line of lath fasteners with a strong magnet or metal-scan tool, repeat the scan at several heights, and verify the proposed stud width before drilling.
Check Magnetic Stud Finders on Amazon
Why Finding Studs Behind Plaster Is Different
Drywall is manufactured in uniform sheets. A basic electronic stud finder can often detect the density transition between the hollow wall cavity and a framing member. Traditional plaster-and-lath is more complicated. Thin strips of wood are nailed horizontally across the studs, then covered with multiple plaster coats. The lath, plaster keys, uneven thickness, old patches, and accumulated paint all change what a capacitive sensor sees.
This explains why a tool can beep across much of an old wall or give a different result on every pass. It may be reacting to lath, a dense repair, a fastener, corner reinforcement, a pipe, or metal mesh rather than a wood stud. Zircon’s published guidance specifically says basic models that only have Stud Scan or DeepScan are not recommended for lath-and-plaster walls. Its instructions instead point users toward metal scanning to locate the nail heads that secure lath to framing. That distinction is central to a reliable method.
Tools You Need
| Tool | What it helps find | Main limitation |
|---|---|---|
| Strong magnetic stud finder | Nails or screws that may secure lath to studs | Does not detect wood directly; fasteners may be deep or irregular |
| Wall scanner with metal mode | Ferrous fasteners, pipes, metal studs, mesh patterns | Must interpret the target shape and pattern |
| Electronic stud mode | Density changes on relatively uniform plaster | Lath and patches can produce false readings |
| Tape measure | Checks spacing from a confirmed framing point | Spacing is a clue, not proof in an older house |
| Painter’s tape | Records repeat hits without marking fragile plaster | Use low-tack tape and remove gently |
| Inspection camera | Visual confirmation through an existing or carefully planned access point | Requires an opening and safe access |
A compact magnetic finder such as the C.H. Hanson design needs no battery and includes a level. It reacts to metal fasteners rather than the wood itself, which is exactly why it can be useful on wood-lath walls. A multifunction scanner can add metal and live-wire indications, but the manufacturer’s stated surface and depth limits still matter.
If you are shopping for a scanner, compare the options in our best stud finders for plaster walls guide. For realistic expectations before you start, also read whether stud finders really work through plaster.
Compare Wall Scanners and Stud Finders
How to Find Studs Behind Plaster: Step by Step
1. Identify the wall construction
Look at an unfinished edge around a heat register, attic access, basement stair, or existing electrical box without removing protective covers or disturbing wiring. Traditional wood lath appears as narrow horizontal strips with small gaps. Plasterboard, rock lath, metal lath, and modern drywall with a plaster skim coat behave differently. If a magnet seems attracted almost everywhere, the wall may contain metal mesh or wire lath, making the fastener method far less useful.
Do not chip an intact wall just to identify it. The age of the house, the wall’s hard sound, irregular surface, hairline cracking, and thick return at trim can suggest plaster, but none alone proves the backing material.
2. Choose a low-risk scanning area
Begin away from outlets, switches, plumbing fixtures, radiators, wall-mounted HVAC equipment, and obvious repairs. Remove nearby metal objects that could attract the magnet. If the wall has wallpaper or delicate paint, test low-tack painter’s tape in an inconspicuous spot before using it for marks.
3. Establish likely framing clues
Door and window openings typically have framing around them, while electrical boxes are often fastened to framing on one side. Baseboard nail patterns may also provide clues. These are starting points, not guarantees. Older houses may have nonstandard spacing, added blocking, diagonal bracing, relocated boxes, or several generations of renovation.
Use a reliable tape measure to record distances from a likely framing reference. Common spacing can help predict the next stud, but never drill from spacing alone.
4. Sweep with a strong magnet
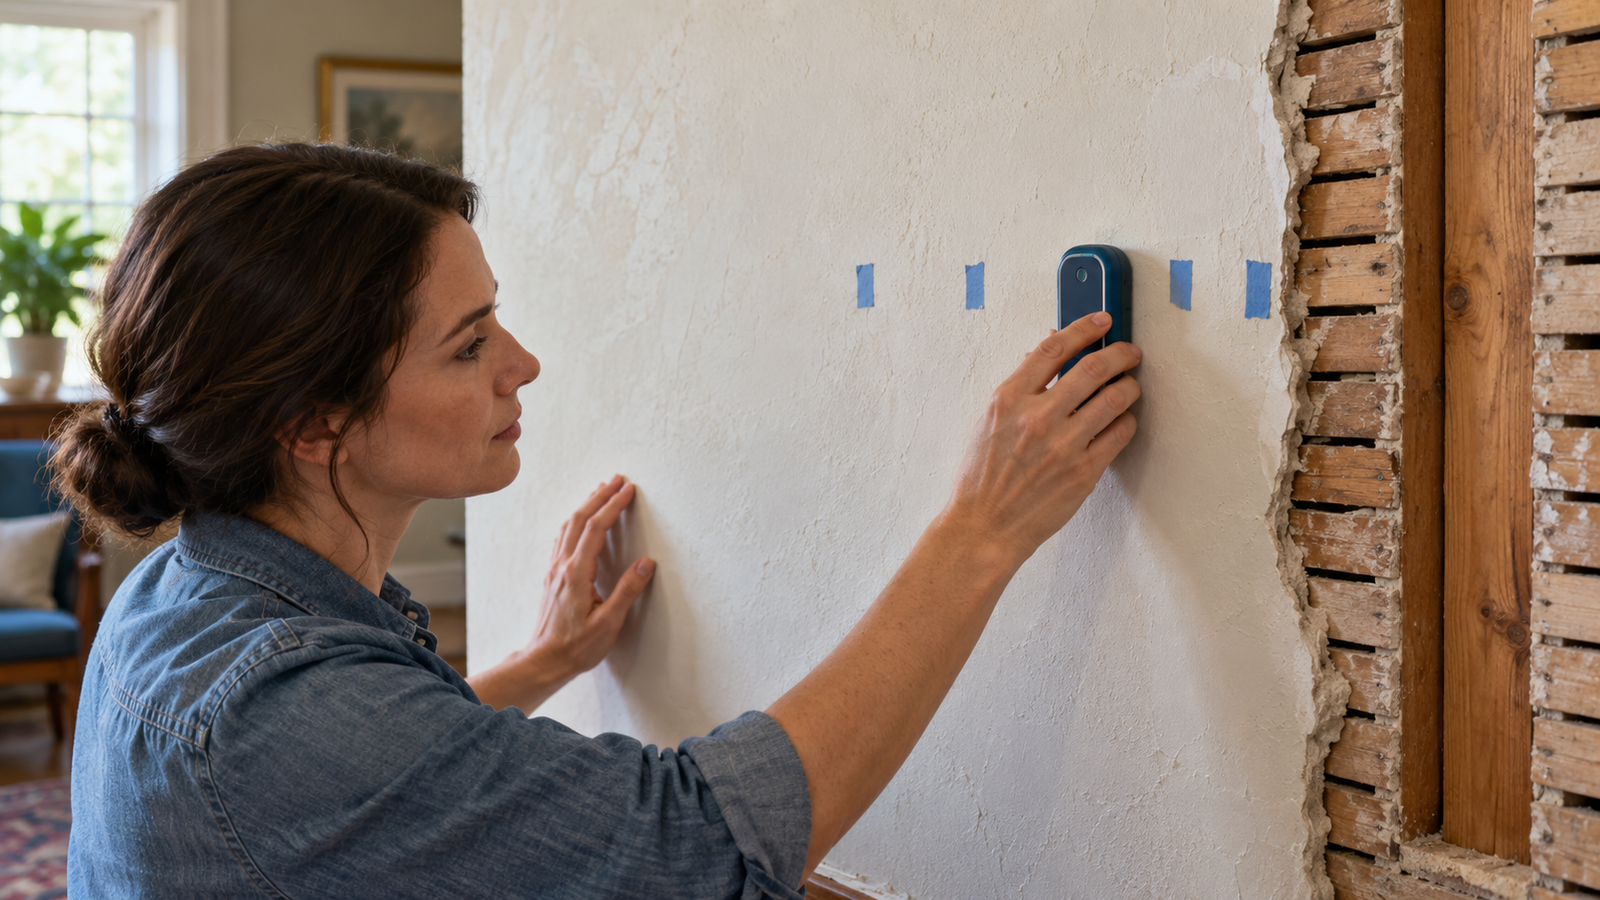
Move the magnetic finder slowly across the plaster in overlapping horizontal passes. A wide S-pattern covers the area without leaving gaps. When the magnet pulls, slides less freely, or holds itself to the wall, place a small piece of painter’s tape at that location. Then move several inches above and below and repeat.
A single hit may be a picture hook, isolated nail, corner bead, pipe strap, or repair fastener. Three or more hits that align vertically are more persuasive because lath fasteners were driven into the same stud at multiple heights. Check the pattern over at least a foot or two where practical.
5. Cross-check with metal scan
If your scanner offers a dedicated metal mode, follow its manual exactly. Calibrate or initialize it on the wall as directed, keep it flat, and move slowly. Scan past the proposed stud line from left to right and right to left. Mark repeatable target zones rather than reacting to every alert.
Metal scan may detect the lath nails, but it may also detect plumbing, wiring conduit, metal studs, corner bead, or mesh. Target shape and continuity matter. A narrow series of vertically aligned fastener indications is different from a broad field of constant metal detection. If the wall contains mesh, stop treating metal results as a stud map.
6. Try electronic stud mode only as a cross-check
On relatively smooth, uniform plaster without metal lath, an electronic center- or edge-finding mode may add supporting evidence. Start on a clear area, place the tool flat before activating it, and move at the speed specified by the manufacturer. Repeat from both directions and at several heights.
Do not keep recalibrating directly over the suspected stud; some tools can misread when initialized over dense material. If the indicated edges wander widely or the tool alerts across the full wall, the mode is not providing reliable evidence for that construction.
7. Estimate the stud center
Once you have a consistent vertical fastener line and supporting scan, find the left and right boundaries when possible. The midpoint is your proposed center. With a magnetic method, the fastener itself is normally near the framing member, but old nails can angle and lath can split. For a heavy mount, do not treat one nail location as a perfectly measured center.
8. Check the full vertical path
Follow the proposed line upward and downward. A real stud should normally create a repeatable vertical pattern, although blocking, openings, and repairs can interrupt it. Compare the result with trim, box, and spacing clues. Agreement among two or three independent clues is far more useful than the strongest single signal.
A stud finder’s AC warning is a secondary alert, not an all-clear system. Detection can be affected by circuit state, wire depth, grounding, moisture, shielding, wall material, and the user’s contact with the tool. Our guide on whether stud finders can detect wires explains these limitations.
Use an appropriate non-contact voltage tester for preliminary checks where accessible, while recognizing that it also has limitations. Never drill on a likely pipe route, directly above or below an outlet without understanding the wiring path, or where plumbing fixtures suggest hidden supply or drain lines.
Four Methods Compared
Method 1: Magnetic fastener mapping
Best for: traditional wood lath secured with steel nails. This method is inexpensive, quiet, and unaffected by uneven plaster density. Its weakness is that it depends on accessible ferrous fasteners and cannot distinguish every metal object.
Method 2: Metal-scan wall scanner
Best for: mapping deeper fasteners and distinguishing repeatable target zones. Zircon’s plaster guidance favors metal scanning over ordinary stud or deep-scan modes for lath-and-plaster. Broad continuous alerts can indicate mesh and may make the method unusable.
Method 3: Electronic density scan
Best for: newer, smoother plaster over a more uniform backing. A multi-sensor design may show a wider zone than a basic edge finder. Traditional irregular lath can cause unstable readings, so use this method only when passes repeat consistently.
Method 4: Visual inspection through an existing access
Best for: high-consequence mounting when a safe existing opening provides a view. An inspection camera can confirm framing direction, obstructions, and cavity conditions. Learn the process in our guide to using an inspection camera inside walls.
Check Bosch Wall Scanner Availability
How to Tell a Real Stud From a False Positive
- Several fastener hits align vertically
- The same position repeats at different heights
- Left-to-right and right-to-left scans agree
- Spacing makes sense from a confirmed reference
- The apparent target has plausible width
- Only one tiny isolated hit appears
- The signal runs horizontally like a pipe
- Metal alerts cover most of the wall
- Edges move significantly on every pass
- The target appears only near a patch or corner
Plaster keys behind the lath can create irregular mass. Old repairs may include screws, washers, mesh tape, or metal patches. Picture rails and baseboards add fasteners unrelated to the stud center. Treat every signal as evidence that must fit the larger pattern.
Special Situations
Metal lath or wire mesh
If a magnet pulls almost everywhere or the metal scanner reports a broad continuous field, metal reinforcement may be present. Neither magnetic mapping nor basic electronic scanning is likely to isolate studs confidently. Look for existing access, construction records, trim clues, or professional scanning instead of drilling through an uncertain target.
Plaster over masonry
Some plaster is applied over masonry or furring rather than conventional wood studs. A wood-stud search may be the wrong task entirely. Determine the substrate and choose anchors designed for that wall assembly and load. Do not assume hollow-wall hardware or wood screws are suitable.
Walls with many repairs
A repair zone can be denser than surrounding plaster and may contain new fasteners. Move beyond the visible patch, compare several heights, and avoid relying on the patch boundary. If the entire area has been rebuilt, construction may change within the same wall.
Near doors, windows, and corners
Openings often have additional framing, headers, trimmers, and blocking. A wide or multiple target is not necessarily an error. Map a larger area so you can see the pattern rather than forcing the reading to look like a single regular stud.
Common Mistakes to Avoid
- Trusting one beep: one indication is not a stud map.
- Assuming deep scan solves plaster: greater depth can also introduce more false targets.
- Moving too quickly: slow, even passes improve repeatability.
- Using standard spacing as proof: older framing and renovations vary.
- Ignoring tool calibration: placement and activation sequence can change results.
- Marking fragile paint aggressively: use tested low-tack tape or a light pencil mark.
- Drilling after an AC warning disappears: the absence of an alert is not proof of safety.
- Mounting heavy loads to lath alone: lath is not a substitute for structural framing.
Choosing a Tool for Plaster Walls
A magnet is the most logical first purchase when you have traditional wood lath because it searches for the fasteners that connect lath to framing. Choose one with a strong rare-earth magnet and a housing that slides without scratching the finish. No battery is required.
A multifunction wall scanner is useful when you also need metal detection and secondary live-wire indication. Bosch states that the GMS 120-27 detects wood and steel studs, magnetic and non-magnetic metals, and live wires in supported wall types. Those capabilities do not guarantee success on every plaster assembly, but multiple modes can help you interpret what is behind a wall.
Be careful with a standard deep-scan stud finder marketed mainly for drywall. For example, Zircon’s current HD900c product page explicitly says it is not recommended for lath and plaster even though it offers StudScan, DeepScan, metal, and AC modes. The metal function—not the ordinary stud mode—is the relevant plaster technique described in Zircon’s plaster guidance.
Compare Stud Finders for Plaster Walls
Frequently Asked Questions
Can a normal stud finder work through plaster?
Sometimes, especially on smooth, relatively uniform plaster over a modern backing. Traditional lath-and-plaster often confuses ordinary density-based stud modes. Use repeat passes and cross-check with fastener or metal detection.
Is a magnet better than an electronic stud finder?
For wood lath attached with steel nails, a strong magnet can be the better first method because it ignores density changes and locates fasteners. It still cannot prove the exact stud center or reveal hidden utilities, so pattern verification remains necessary.
Why does my stud finder beep everywhere?
The wall may have metal mesh, foil, moisture, dense plaster, many repairs, or incorrect calibration. Stop and reassess the wall construction. A broad continuous signal is not a useful stud location.
How many magnetic hits confirm a stud?
There is no universal number. Several hits that align vertically and repeat at different heights are substantially more convincing than one hit. Confirm with spacing, target width, and another method when the mounting job matters.
Can I find studs by tapping the wall?
Tapping can help identify broad tonal changes, but plaster is hard and resonant, so the difference may be subtle or misleading. Use it as a rough clue only—not as the final basis for drilling.
Are studs always 16 inches apart in old houses?
No. Regular spacing is common, but older construction, openings, renovations, blocking, and nonstandard framing can change it. Measure from a verified stud and confirm each new location independently.
Does live-wire detection make drilling safe?
No. It may fail because of depth, shielding, circuit state, grounding, wall material, or operating technique. Treat warnings seriously, but never treat no warning as proof that the wall is clear.
Should I drill a test hole?
Only when the location is low risk, the finish can be repaired, and hidden services have been considered. A small inspection point in an inconspicuous area may be reasonable, but a high-consequence mount deserves professional verification.
Final Checklist Before You Drill
- Identify whether the wall is wood lath, metal lath, masonry, or a newer plaster system.
- Map several magnetic or metal fastener hits, not one.
- Confirm a vertical pattern at multiple heights.
- Scan from both directions and mark plausible boundaries.
- Compare the result with measured spacing and nearby construction clues.
- Evaluate wiring and plumbing risk separately.
- Match the fastener and anchor to the wall assembly and load.
- Stop if your methods disagree or the metal field is continuous.
Final Verdict
The safest answer to how to find studs behind plaster is not “buy the deepest scanner.” Begin with the construction. On traditional wood lath, map fasteners with a strong magnet or metal-scan mode, require a repeatable vertical line, and cross-check the proposed center with other clues. Electronic stud mode can help on uniform plaster, but inconsistent readings should reduce—not increase—your confidence.
Patience protects both the wall and what is hidden inside it. For heavy or safety-critical mounting, verified framing and a load-appropriate fastening plan matter more than speed.
