
AccurateGoods may earn a commission from qualifying purchases made through links on this page, at no extra cost to you.
How accurate are infrared thermometers? A good infrared thermometer can provide repeatable surface-temperature readings within the tolerance stated by its manufacturer, but only when you use it on a suitable target and follow the specified distance, angle, ambient-temperature, and emissivity requirements. It does not measure the temperature inside an object, behind glass, or beneath skin. Most surprising errors come from technique and surface properties rather than a broken sensor.
Compare Adjustable-Emissivity Infrared Thermometers
What “Accuracy” Actually Means
Accuracy is the closeness of a reading to the true surface temperature under defined conditions. It is not the same as resolution. A display that shows tenths of a degree may look precise, but those extra digits do not guarantee that the measurement is correct to one tenth of a degree. The manufacturer’s specification is the useful number.
An accuracy statement may be written as a fixed tolerance, a percentage of the reading, or the greater of the two. It may also apply only within a particular temperature range and ambient environment. Read the complete specification. A thermometer can meet its published tolerance at room temperature and perform differently near the extremes of its range.
Accuracy
How close the result is to an accepted reference temperature.
Repeatability
How closely several readings agree when conditions remain the same.
Resolution
The smallest display increment, not a promise of real-world accuracy.
Response time
How quickly the instrument produces a reading after you pull the trigger.
Repeatability is especially valuable when diagnosing a pattern. If the same location reads similarly during several properly controlled passes, you can compare it with nearby surfaces. An exact temperature requires more care, correct settings, and sometimes professional calibration.
How Infrared Thermometers Measure Temperature
Every object above absolute zero emits infrared energy. An IR thermometer collects a portion of that energy through its optical system and converts it into an estimated surface temperature. The laser is normally an aiming aid; it does not perform the temperature measurement and it does not show the full measured area.
The sensor averages energy from a circular or elliptical measurement spot. As you move farther away, that spot becomes larger. If the spot includes the hot pipe you intended to measure plus a cooler wall behind it, the display reports a blended result. The instrument cannot identify which part of the spot mattered to you.
Seven Factors That Change IR Thermometer Accuracy
1. Emissivity of the surface
Emissivity describes how effectively a surface emits infrared energy compared with an ideal emitter. It ranges from near zero to near one. Many painted, oxidized, organic, or matte surfaces have relatively high emissivity and are easier to measure. Bare polished metals can have low emissivity and reflect surrounding infrared energy, which may cause a reading that represents the room, the operator, or a nearby hot object more than the metal itself.
Fixed-emissivity thermometers are commonly optimized for high-emissivity targets. An adjustable-emissivity model gives you more control, but only if you know or can estimate the target’s emissivity. Incorrectly changing the setting can make results worse. For comparative troubleshooting, use the same prepared patch or same type of surface each time.
2. Distance-to-spot ratio
The distance-to-spot, or D:S, ratio describes how the measurement spot grows with distance. A nominal 12:1 instrument is often explained as measuring roughly a one-inch spot from twelve inches away. That is a useful planning concept, but the optics definition and percentage of captured energy vary by manufacturer. The safest practice is to make the target substantially larger than the calculated spot and move closer when conditions allow.
Do not confuse the laser dot with the spot size. A tiny dot can sit in the middle of a measurement area several inches wide. For a narrow wire, pipe, vent, fuse, or food item, check the optical diagram in the manual before trusting the number.
3. Viewing angle
Point the thermometer as close to perpendicular to the surface as practical. At a steep angle, the instrument sees an elongated area and is more likely to include background surfaces or reflected energy. Consistent angle also improves repeatability when you compare several points.
4. Ambient temperature and acclimation
The thermometer itself needs time to stabilize after moving from a cold vehicle to a warm room or from an air-conditioned space into a hot garage. Internal sensor temperature affects measurement. The correct waiting time is model-specific; follow the manual rather than guessing. Avoid direct sun, drafts, radiant heaters, and abrupt environmental changes during a careful comparison.
5. Steam, smoke, dust, and dirty optics
Anything between the sensor and target can absorb, scatter, or add infrared energy. Steam above a pot, heavy smoke, dust, condensation, and a dirty lens can all reduce confidence. Keep the lens clean using the manufacturer’s instructions. Never use an aggressive cleaner or immerse the instrument unless its documentation explicitly allows it.
6. Glass and transparent barriers
Ordinary glass is not transparent to the long-wave infrared band used by many handheld thermometers. Pointing the tool through a window usually measures the glass surface, not the object on the other side. The same warning applies to some clear plastic guards and covers.
7. Target temperature changes
A pan just removed from heat, a compressor cycling on and off, a tire exposed to sun, or a wall affected by moving air may change temperature while you measure. An IR thermometer can respond quickly, but the target itself may not be stable. Record the time, operating state, location, and environment when trend comparisons matter.
Accuracy by Surface Type
| Surface | Typical challenge | Better approach |
|---|---|---|
| Matte painted wall | Usually easy, but drafts and sunlight change the surface | Shade the area and repeat from the same distance |
| Wood, rubber, soil, food | Texture and moisture can vary across the target | Measure several representative points |
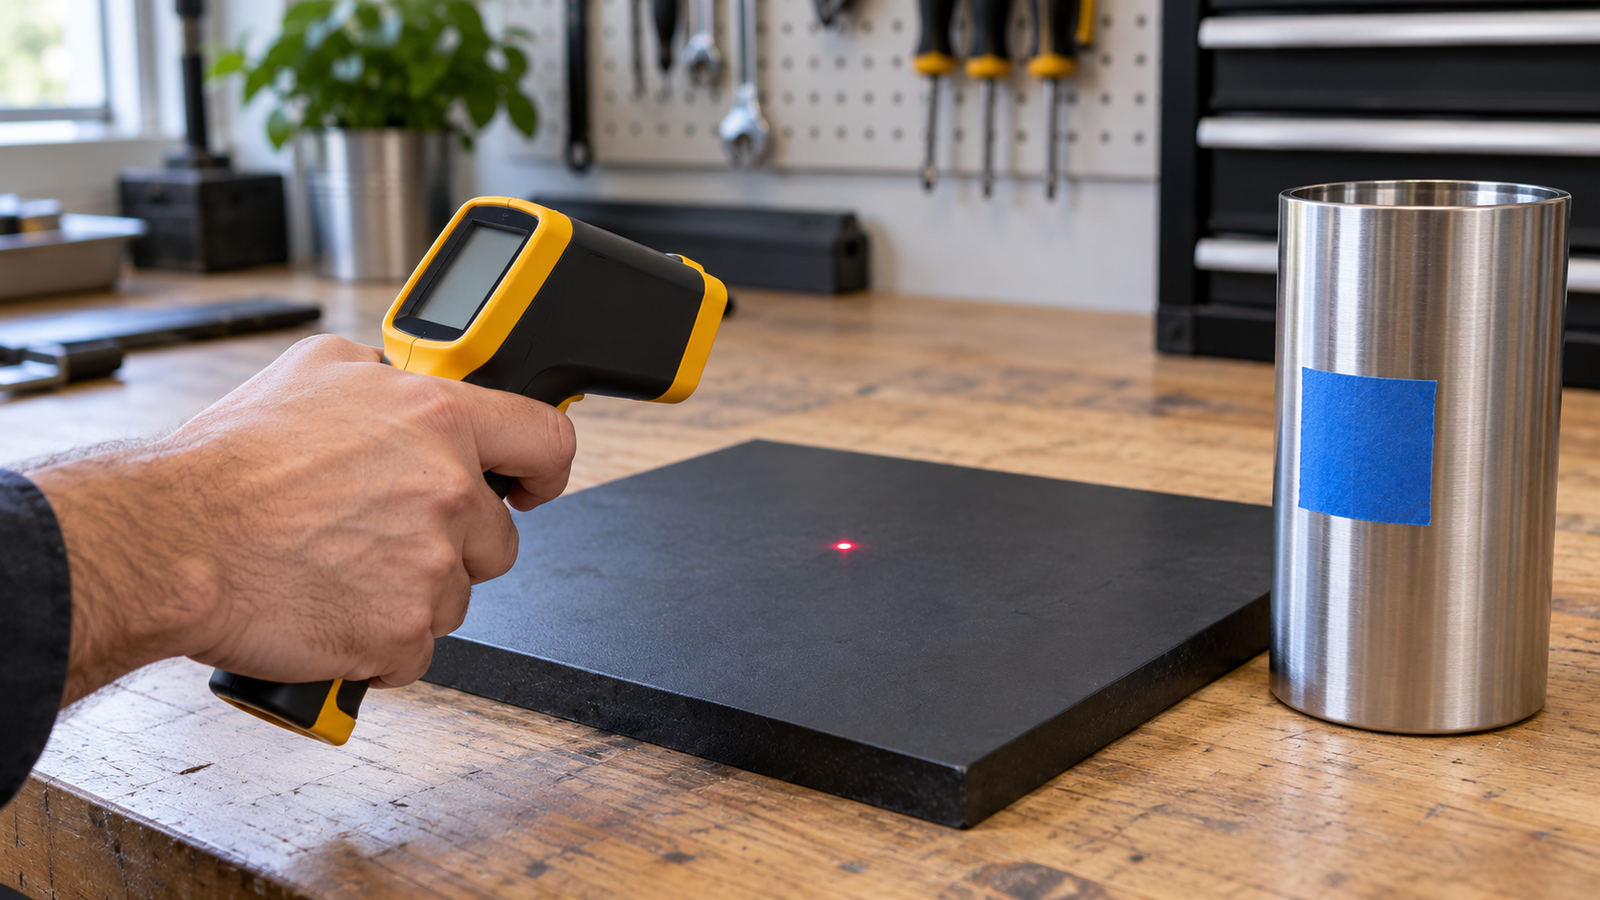
| Polished stainless steel | Low emissivity and strong reflections | Use a suitable high-emissivity patch and allow it to reach surface temperature |
| Glass | Tool reads the glass surface, not through it | Measure the accessible target directly |
| Small pipe or wire | Target may not fill the measurement spot | Move closer or use a contact probe designed for the job |
| Wet or steaming surface | Evaporation and vapor alter the reading | Wait for stable conditions when safe |
| Reflective foil | Reflected surroundings dominate | Do not trust a direct fixed-emissivity reading |
View Infrared Thermometers With Clear D:S Specifications
How to Get More Accurate Readings: Step by Step
- Confirm the instrument is appropriate. Check its intended use, temperature range, accuracy specification, spectral response, and D:S ratio.
- Inspect the lens. Make sure it is clean, dry, and undamaged. Follow the maker’s cleaning method.
- Let the tool acclimate. If it came from a different environment, allow it to stabilize for the time stated in the manual.
- Identify the surface. Decide whether it is matte, painted, oxidized, reflective, wet, or viewed through a barrier.
- Set emissivity correctly. Use the manufacturer’s table or a controlled high-emissivity reference patch where appropriate.
- Fill the field of view. Make the target much larger than the measurement spot. Move closer rather than trusting the laser dot.
- Aim squarely. Keep the sensing axis close to perpendicular and avoid reflections from your body, lamps, sun, or hot equipment.
- Take repeat readings. Release and measure again from the same distance. Then check adjacent locations for context.
- Compare with another method. When an exact number matters, use a suitable contact thermometer or calibrated reference.
- Document conditions. Note surface preparation, distance, angle, operating state, and ambient conditions for future comparisons.
How to Check an Infrared Thermometer at Home
A household check can reveal obvious problems and poor technique, but it is not a traceable calibration. Do not use a random shiny pot, a tiny ice cube, or boiling water viewed through steam and call the difference a calibration error. Those setups introduce emissivity, spot-size, environmental, and phase-change problems.
Simple repeatability check
Choose a large, stable, matte object indoors. Mark one location, fix the measurement distance, aim squarely, and take five readings with short pauses. The results should cluster reasonably closely. Wide jumps can indicate changing technique, a small target, drafts, a dirty lens, low battery, or an instrument issue.
Cross-check with a contact probe
For a more meaningful comparison, use a large, uniform target and a reliable contact sensor suitable for that surface and temperature. Give both the target and contact probe time to stabilize. Place a high-emissivity patch on reflective metal and allow the patch to reach the same temperature before taking the IR reading. Expect some difference because the instruments sense temperature differently and may have different response times and tolerances.
When professional calibration is warranted
Use a competent calibration service or proper blackbody calibrator when measurements affect safety, compliance, product quality, process control, or expensive maintenance decisions. Professional calibration controls the target emissivity, target size, distance, ambient conditions, traceability, and stabilization that a casual home test cannot.
IR Thermometer vs Contact Thermometer
| Question | Infrared thermometer | Contact thermometer |
|---|---|---|
| What does it measure? | Radiation from a surface area | Temperature at the probe contact point |
| Speed | Usually very fast | May require stabilization time |
| Best advantage | Remote scanning of moving, hazardous, or widespread targets | Less sensitive to surface emissivity |
| Main limitation | Surface, emissivity, optics, and reflections | Contact quality, response time, and access |
| Best for exact confirmation | Only with controlled conditions and suitable calibration | Often better when the correct probe is used |
Neither method is automatically perfect. A poorly attached contact probe can be influenced by air and may not match the true surface. A well-used IR thermometer can be highly repeatable and safe for remote scanning. Choose the method that matches the target, required uncertainty, and risk.
Medical Forehead Thermometers Need Different Rules
Non-contact clinical infrared thermometers estimate body temperature from a specified forehead measurement under manufacturer-defined conditions. The FDA advises users to follow the exact device instructions, keep the forehead clean and dry, use the specified distance, hold the sensor perpendicular, avoid direct sunlight and drafts, and allow the device to adjust to the room before use.
Head coverings, cosmetics, sweating, recent exercise, outdoor heat or cold, and incorrect positioning can change the result. A forehead device measures a surface signal and uses its own algorithm; it is not interchangeable with an industrial IR gun. If a reading conflicts with symptoms or medical guidance, confirm with an appropriate clinical method and contact a healthcare professional.
For an ear-specific option already covered on AccurateGoods, see our Braun ThermoScan 6 review. That device uses an ear measurement site and its own positioning instructions, so its technique differs from both forehead NCITs and workshop IR thermometers.
Best Uses Around the Home and Workshop
HVAC checks
Compare supply and return vents, radiators, baseboards, and accessible duct surfaces. Use consistent distance and allow systems to reach steady operation.
Automotive diagnosis
Compare tire, brake, hose, radiator, bearing, and exhaust-adjacent surfaces without touching hot parts. Respect reflective metal and moving-component hazards.
Electrical screening
Look for unusual temperature differences on closed, accessible equipment. Temperature alone does not establish electrical safety; use qualified help for live equipment.
Building inspection
Scan for surface patterns that may suggest insulation gaps, air leakage, or moisture. A temperature pattern is evidence to investigate, not proof of the underlying cause.
A thermal camera provides a whole image instead of one averaged spot. Our guide on what thermal cameras can and cannot reveal behind walls explains why they still measure surface effects. For damp-building investigations, see how thermal cameras help find water-leak patterns and how to confirm drywall moisture with a moisture meter.
Check Infrared Thermometers for HVAC and Home Inspection
Features That Improve Real-World Accuracy
- Published accuracy specification: Buy from a maker that states tolerance across defined ranges and conditions.
- Adjustable emissivity: Helpful for varied materials when the user understands the setting.
- Useful D:S ratio: A higher ratio can measure a smaller spot from the same distance, but optics and target size still matter.
- Clear optical diagram: Better documentation reduces field-of-view mistakes.
- Min/max or scan mode: Useful for locating hot and cold points across a surface.
- High/low alarms: Helpful for repeat inspections without claiming the reading is laboratory-grade.
- Contact-probe input: Some models let you compare IR and compatible probe readings with one instrument.
- Calibration support: Important for professional, quality-control, or compliance work.
A wider temperature range is not automatically better. Choose a range that covers your work while offering useful accuracy in the temperatures you actually measure. For home diagnostics, readable specifications and appropriate optics are often more valuable than the highest advertised maximum.
Common Mistakes That Cause Bad Readings
- Measuring the laser dot instead of the full spot.
- Standing too far from a narrow pipe or small component.
- Pointing through glass or clear plastic.
- Using fixed emissivity on polished metal without accounting for reflections.
- Changing emissivity until the display shows the expected answer.
- Measuring immediately after moving the thermometer between hot and cold environments.
- Aiming at wet, steaming, smoky, or dusty targets.
- Comparing unlike surfaces, angles, or distances.
- Assuming a surface reading equals internal food, fluid, or body temperature.
- Using a workshop IR gun as a medical thermometer.
If you are investigating a wall rather than machinery, combine thermal patterns with an appropriate confirmation tool. Our guide to normal moisture readings for drywall explains why temperature and moisture measurements answer different questions. For electrical projects, first understand how to check whether a wire is live; an IR reading never proves a circuit is de-energized.
Frequently Asked Questions
How far away should I hold an infrared thermometer?
Use the model’s distance-to-spot diagram. The target should be substantially larger than the spot. If you are unsure and it is safe, move closer while keeping the instrument within its specified minimum distance.
Why does my IR thermometer give different readings on metal?
Shiny metal has low emissivity and reflects surrounding infrared energy. Use an appropriate high-emissivity patch, an adjustable setting based on reliable guidance, or a suitable contact probe.
Can an infrared thermometer measure through glass?
Usually no. Most handheld IR thermometers measure the glass surface in their operating wavelength rather than the object behind it.
Does the laser measure temperature?
No. The laser is an aiming guide. The infrared sensor measures energy from a larger spot determined by the optics and distance.
Can I use an infrared thermometer for cooking?
It is useful for griddles, pans, pizza stones, oil surfaces, and food-surface screening when used properly. It does not measure the internal temperature of meat or other food; use an appropriate probe thermometer for doneness and food safety.
How do I know if my infrared thermometer needs calibration?
Suspect a problem when controlled repeat readings are unstable, results differ materially from a suitable reference beyond combined tolerances, the lens is damaged, or the instrument has been dropped or exposed outside its limits. Professional applications should follow a scheduled calibration program.
Are cheap infrared thermometers accurate?
Price alone does not determine accuracy. Look for a complete specification, appropriate range and optics, useful documentation, warranty support, and repeatable performance. A low-cost tool can be useful for comparisons, but do not assume laboratory performance without evidence.
Are forehead infrared thermometers accurate?
They can be useful when designed for medical use and operated exactly as directed. Environment, distance, angle, forehead condition, and acclimation affect results. Confirm unexpected readings with an appropriate clinical method.
Compare Professional Infrared Thermometer Options
Final Verdict
Infrared thermometers are accurate enough for many inspection and troubleshooting jobs when the tool, surface, distance, and environment are matched correctly. The stated tolerance matters, but technique determines whether your measurement qualifies for that tolerance. A reputable device cannot correct for a reflective target, oversized spot, dirty lens, unstable environment, or incorrect emissivity.
For the best results, fill the field of view, aim perpendicular, let the instrument acclimate, use a suitable emissivity strategy, repeat the measurement, and confirm high-consequence decisions with a contact probe or calibrated reference. Treat the IR thermometer as a fast surface-measurement tool—not as a device that sees through materials or reads internal temperature.
