
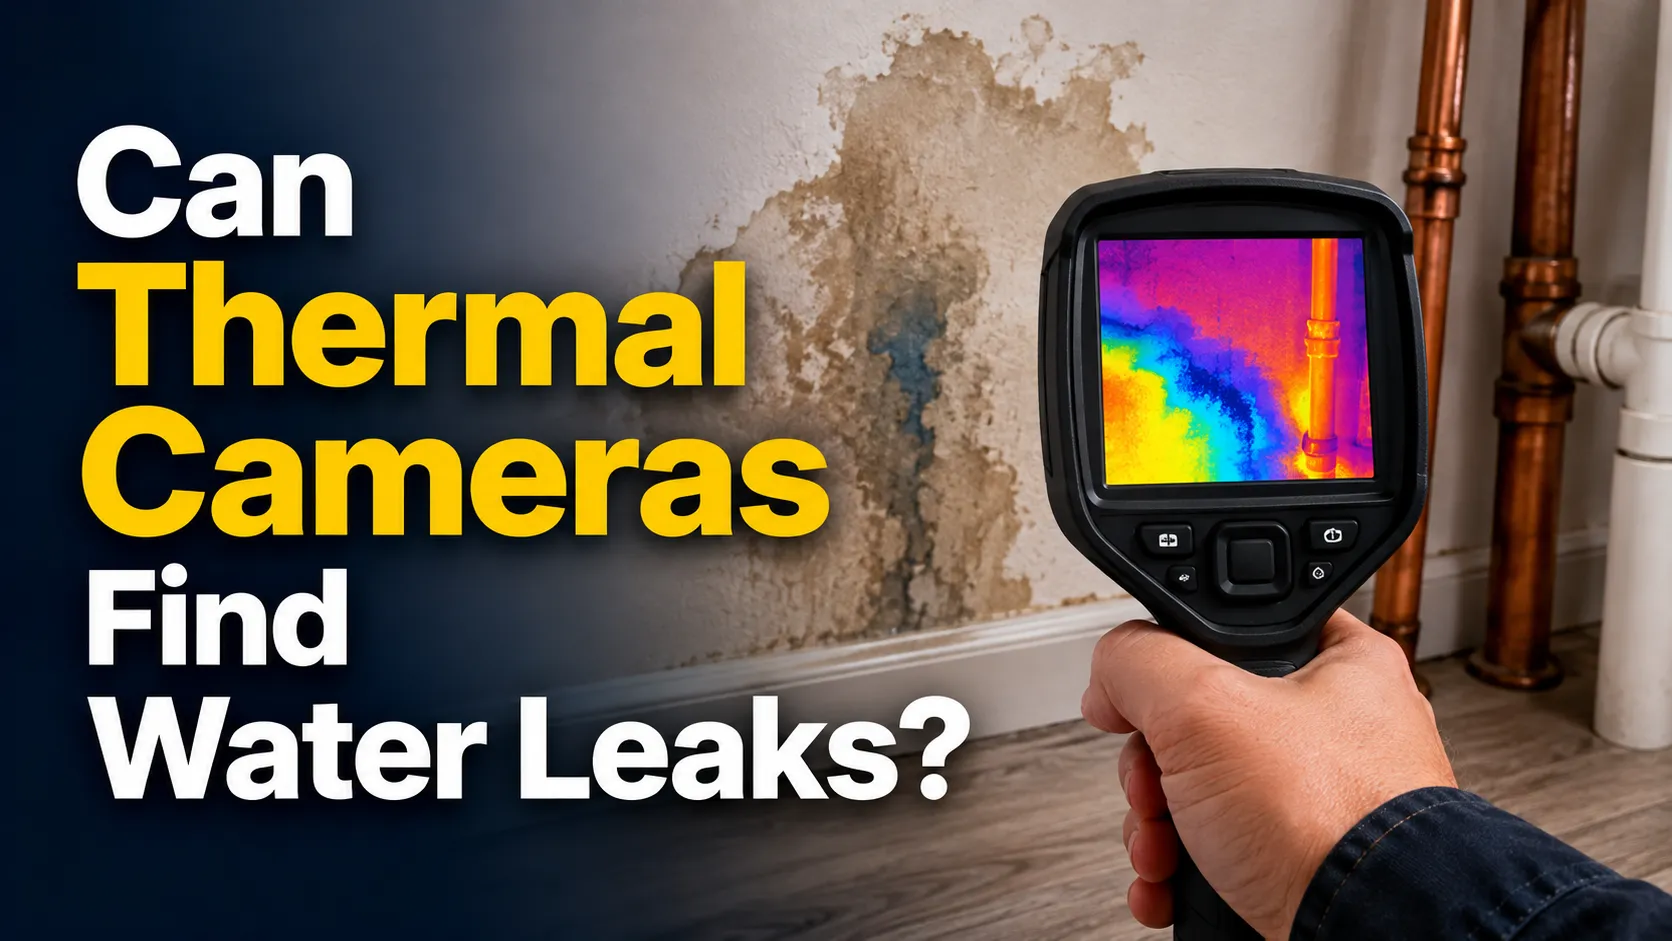
Yes, thermal cameras can find many water leaks by spotting temperature changes caused by moisture, but they do not detect water directly. They work best for hidden leaks behind walls, under floors, and around plumbing, and they usually need a moisture meter or a visual check to confirm the leak.
If you have a damp patch, a mystery stain, or a room that keeps smelling musty, a thermal camera can be a very useful first step. We use them as a fast, non-invasive way to narrow down where water may be hiding before opening anything up.
In this guide, we explain what thermal cameras can and can’t show, where they work best, and how to tell a real leak from a false alarm.
Can Thermal Cameras Find Water Leaks? What They Can and Can’t Detect
How thermal imaging identifies temperature differences caused by moisture
A thermal camera reads surface temperature, not water itself. When moisture is present, it often changes how a surface warms or cools. That temperature shift shows up on the camera as a cooler or warmer area compared with the surrounding material.
This is why thermal imaging can be so helpful for leak hunting. If water is spreading behind drywall or under a floor, the affected area may stand out as a temperature pattern before the damage becomes obvious.
The difference between detecting a leak and detecting leak damage
This part matters. A thermal camera may show the effect of a leak, but not always the leak source. For example, it might reveal a damp ceiling spot, but the actual pipe leak could be several feet away.
It can also show damage caused by past moisture, not active water intrusion. That means the image is a clue, not final proof.
Common leak scenarios thermal cameras handle best
Thermal cameras tend to work best when the leak creates a clear temperature difference. That includes hot-water line leaks, cold-water leaks that cause evaporative cooling, and moisture trapped in enclosed spaces.
They are especially useful for hidden plumbing leaks, roof leaks after rainfall, and wet insulation inside walls or ceilings.
Many building inspectors use thermal cameras as a screening tool, then confirm findings with a moisture meter or another inspection method.
How Thermal Cameras Find Water Leaks in Real Homes
Cold spots from evaporative cooling
When water is leaking into a surface, evaporation can pull heat away and create a cooler spot. This is common with cold-water leaks, roof leaks, and moisture on porous materials like drywall or wood.
A cool patch on a thermal image does not always mean a leak, though. Drafts, insulation gaps, and shaded surfaces can look similar.
Warm spots from hot-water line leaks
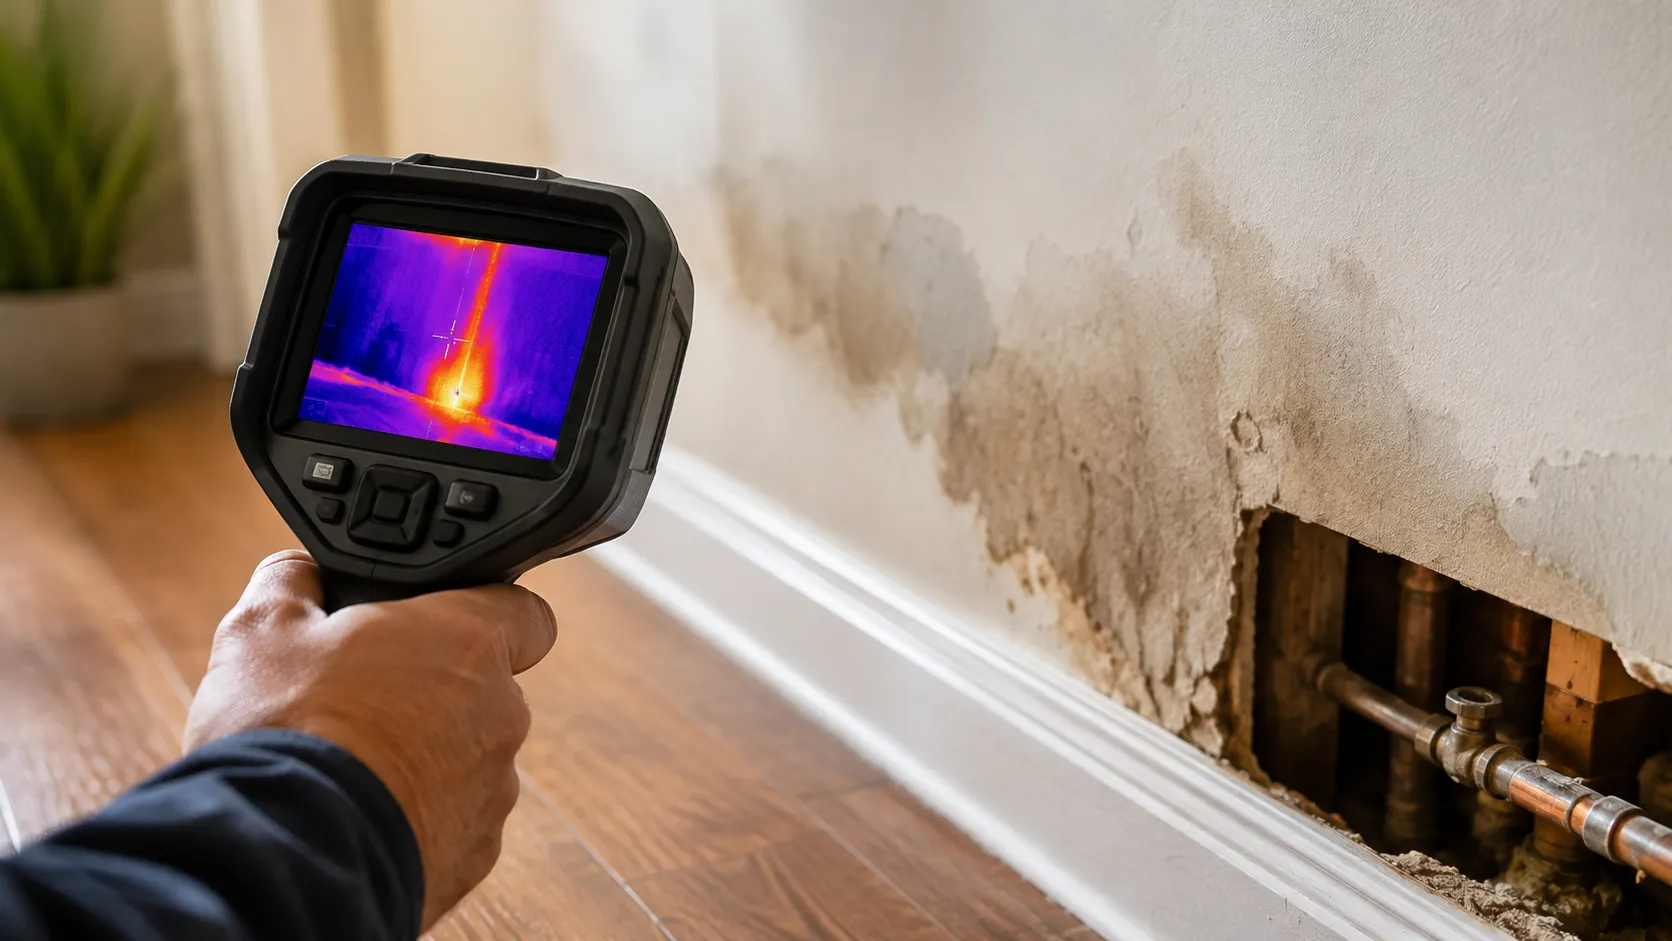
Hot-water leaks are often easier to spot because the leaking water warms nearby materials. That can create a visible hot streak or warm blob along the pipe route, under a floor, or inside a wall cavity.
If a hot-water line is leaking slowly, the temperature pattern may be faint. In that case, comparing the suspect area with nearby surfaces helps a lot.
Moisture spreading behind drywall, ceilings, and floors
Water does not always stay where it starts. It can travel along wood framing, insulation, and ceiling materials before it shows up as a stain or soft spot.
Thermal cameras can reveal that spread by showing an unusual temperature shape larger than the visible damage. That can help you trace the path back toward the source.
Why insulation, airflow, and surface materials affect results
Thermal imaging is only as good as the conditions around it. Insulation can trap heat and make a leak stand out more, while airflow from vents or open windows can create misleading patterns.
Surface materials matter too. Tile, concrete, drywall, carpet, and painted wood all respond differently. That is why the same leak can look obvious in one room and almost invisible in another.
For a better read, scan after the area has been unused for a while. A stable room temperature makes leak-related temperature changes easier to spot.
Best Places to Use a Thermal Camera for Leak Detection
Under sinks and around plumbing fixtures
Cabinets under sinks are a great place to start. Small leaks from supply lines, traps, shutoff valves, and drain fittings often create hidden moisture that thermal imaging can help reveal.
Behind tubs, showers, and toilets
Bathroom leaks are common and often hidden. A thermal camera may show cool or damp-looking areas behind a shower wall, around tub plumbing, or near the toilet base if moisture has spread into the floor or subfloor.
Ceilings below bathrooms and laundry rooms
If a ceiling below a bathroom or laundry area has a stain, thermal imaging can help show whether the moisture is still active. It may also point to the wettest part of the ceiling, which can guide further inspection.
Near water heaters, supply lines, and shutoff valves
Water heaters, hose bibs, appliance supply lines, and main shutoff valves are all common leak points. Thermal imaging can help spot slow drips or pipe sweating before they become major issues.
Around windows, exterior walls, and basement foundations
Not every water problem comes from plumbing. Rain intrusion around windows, wall penetrations, and foundation cracks can also create temperature patterns if moisture has entered the building material.
For a broader view of moisture and building inspection methods, the U.S. Environmental Protection Agency has useful guidance on moisture control and mold prevention at EPA mold and moisture resources.
Thermal cameras are most useful when you already have a reason to suspect a leak. They are a detection aid, not a stand-alone diagnosis.
Signs a Thermal Camera Is Showing a Possible Water Leak
Irregular cold patches that don’t match room conditions
A cold patch in an otherwise stable room can be a clue, especially if it has no clear source like a vent or direct sunlight. If the shape is uneven or spreads in a way that follows framing or pipe paths, it deserves a closer look.
Damp-looking patterns paired with temperature changes
When a temperature difference appears next to visible staining, bubbling paint, or soft drywall, the odds of moisture go up. The thermal image and the visual evidence should support each other.
Repeating hot/cold streaks along pipe routes
If a streak follows the expected route of plumbing, that is a strong clue. Hot-water leaks often show as warm streaks, while cold-water leaks can show as cooler lines or patches.
Areas that change after water use or rainfall
One of the best clues is change over time. If a spot looks different after a shower, laundry cycle, or rainstorm, the temperature pattern may be connected to active water entry.
When to confirm with a moisture meter
A thermal camera tells you where the temperature is unusual. A moisture meter tells you whether the material is actually wet. If the thermal image is suspicious, confirmation with a moisture meter is the smart next step.
Do not assume every cold spot is a leak. Drafts, insulation voids, and cool plumbing lines can create similar patterns and lead to unnecessary repairs.
How to Use a Thermal Camera to Look for Water Leaks Step by Step
Close windows and doors if possible, turn off fans that are not needed, and let the room settle. Stable conditions make unusual temperature patterns easier to spot.
Move room by room. Focus on plumbing walls, bathrooms, kitchens, laundry spaces, ceilings below wet areas, and exterior walls near known problem spots.
Look for a pattern that stands out from nearby areas. A single hot or cold pixel is not enough. You want a shape that makes sense with the room and the likely leak path.
Look for staining, peeling paint, musty smells, soft drywall, or warped trim. These clues make the thermal reading more believable.
Use painter’s tape or a note to mark the spot, then check it with a moisture meter or another inspection method. Verification helps avoid cutting into the wrong area.
If the leak is visible and simple, a DIY fix may be enough. If the source is hidden, active, or near electrical components, it is usually safer to bring in a plumber or qualified leak detection pro.
- Take a visible-light photo and a thermal photo of the same area so you can compare them later.
- Scan after showers, laundry, or heavy rain if you suspect an active leak.
- Look for temperature patterns that follow building materials, not random shapes.
- Check both sides of a wall if you can access them. The source may be easier to find from the opposite room.
Thermal Camera vs Moisture Meter for Water Leak Detection
| Tool | What it measures | Best use | Main limitation |
|---|---|---|---|
| Thermal camera | Surface temperature differences | Finding hidden leak clues and scanning large areas fast | Cannot measure moisture directly |
| Moisture meter | Moisture content in a material | Confirming whether a suspicious area is actually wet | Only checks one spot at a time |
What each tool measures
A thermal camera measures heat patterns on the surface. A moisture meter measures water content inside or on the material, depending on the type of meter.
For hidden leaks, the thermal camera is often better at finding the general area quickly. The moisture meter is better at confirming whether the suspicious area is actually damp.
Best results when both tools are used together
The strongest approach is to use both. First, use thermal imaging to spot the unusual area. Then use a moisture meter to confirm the presence of moisture before any repair or wall opening.
Situations where one tool outperforms the other
If the area is large and you need a fast scan, thermal imaging wins. If you already know the exact spot and need proof of moisture, the moisture meter is the better tool.
Pros and Cons of Using Thermal Cameras to Find Water Leaks
- Non-invasive scanning with no wall damage
- Fast coverage of large areas
- Helpful for hidden leaks behind surfaces
- Useful for documenting problem areas with images
- False positives from drafts, sunlight, or insulation gaps
- Cannot directly measure moisture content
- Harder to read on some surface materials
- May miss very small leaks with little temperature change
The biggest benefit is speed. You can scan a room without opening walls, lifting flooring, or removing fixtures. That makes thermal cameras a great first-pass tool for homeowners and DIYers.
Advantages: helpful for documenting problem areas
Thermal images can help you track how a problem changes over time. That is useful if you are comparing readings before and after plumbing use, rainfall, or a repair attempt.
Limitations: false positives from insulation, drafts, and sunlight
Insulation voids can look like wet spots. Drafts can create cool streaks. Sunlight on exterior walls can create warm patches. These are common reasons thermal images can be misleading.
Limitations: cannot directly measure moisture content
A thermal camera does not tell you how wet a material is. It only shows how the surface temperature differs from nearby areas. That is why confirmation matters.
When thermal imaging is not enough on its own
If you have visible mold, major ceiling sagging, electrical risk, or a fast-growing stain, thermal imaging alone is not enough. At that point, a professional inspection is the safer choice.
How Accurate Are Thermal Cameras for Water Leaks?
Factors that improve accuracy
Accuracy improves when the room is stable, the leak is active or recent, and the camera has enough temperature sensitivity to show small differences. Clear access to the surface also helps.
Good technique matters too. Slow scanning, side-by-side comparison, and checking the same area more than once can make the results much more reliable.
Factors that reduce accuracy
Accuracy drops when the room has strong airflow, direct sun, uneven insulation, or mixed surface materials. Very dry leaks, very small leaks, and reflective surfaces can also be hard to read.
Why professional-grade cameras usually perform
Professional-grade cameras usually offer better thermal sensitivity, clearer images, and more control over settings. That does not guarantee a correct leak finding, but it gives you a better chance of seeing subtle patterns.
Manufacturers such as FLIR thermal imaging cameras publish helpful product details and application guidance that can help you understand what different camera models can do.
The thermal image points to a leak but you cannot confirm it with a moisture meter, the stain is growing, or the affected area is near wiring, ceilings, or structural materials.
Thermal cameras can find water leaks by showing temperature patterns linked to moisture, but they work best as a detective tool, not a final answer. If you pair thermal imaging with a moisture meter and a careful visual check, you get a much clearer picture of where the leak is and how serious it may be.
FAQ
Not directly. They can show temperature changes on the wall surface that may be caused by water behind it, which helps you narrow down the problem area.
Sometimes, but very small leaks may not create enough temperature change to stand out. The leak is easier to spot if it has been active long enough to affect surrounding materials.
A moisture meter is usually the best follow-up tool because it helps confirm whether the material is actually wet.
Yes, especially after rain or when moisture has spread into insulation or ceiling materials. It works best when the leak has created a clear temperature difference.
Cold spots can come from drafts, insulation gaps, air leaks, or shaded surfaces. That is why thermal images should be checked against other evidence before you start repairs.
If you are trying to locate the problem before opening anything, a thermal camera is a smart first step. If the leak is active, severe, or affecting electrical or structural areas, call a plumber sooner.
- Thermal cameras can help find water leaks by showing temperature differences linked to moisture.
- They are best for hidden leaks, hot-water lines, and moisture behind walls or ceilings.
- They do not measure moisture directly, so a moisture meter is often needed to confirm the leak.
- Drafts, insulation, sunlight, and surface type can cause false readings.
- Using thermal imaging and a moisture meter together gives the most reliable results.
