
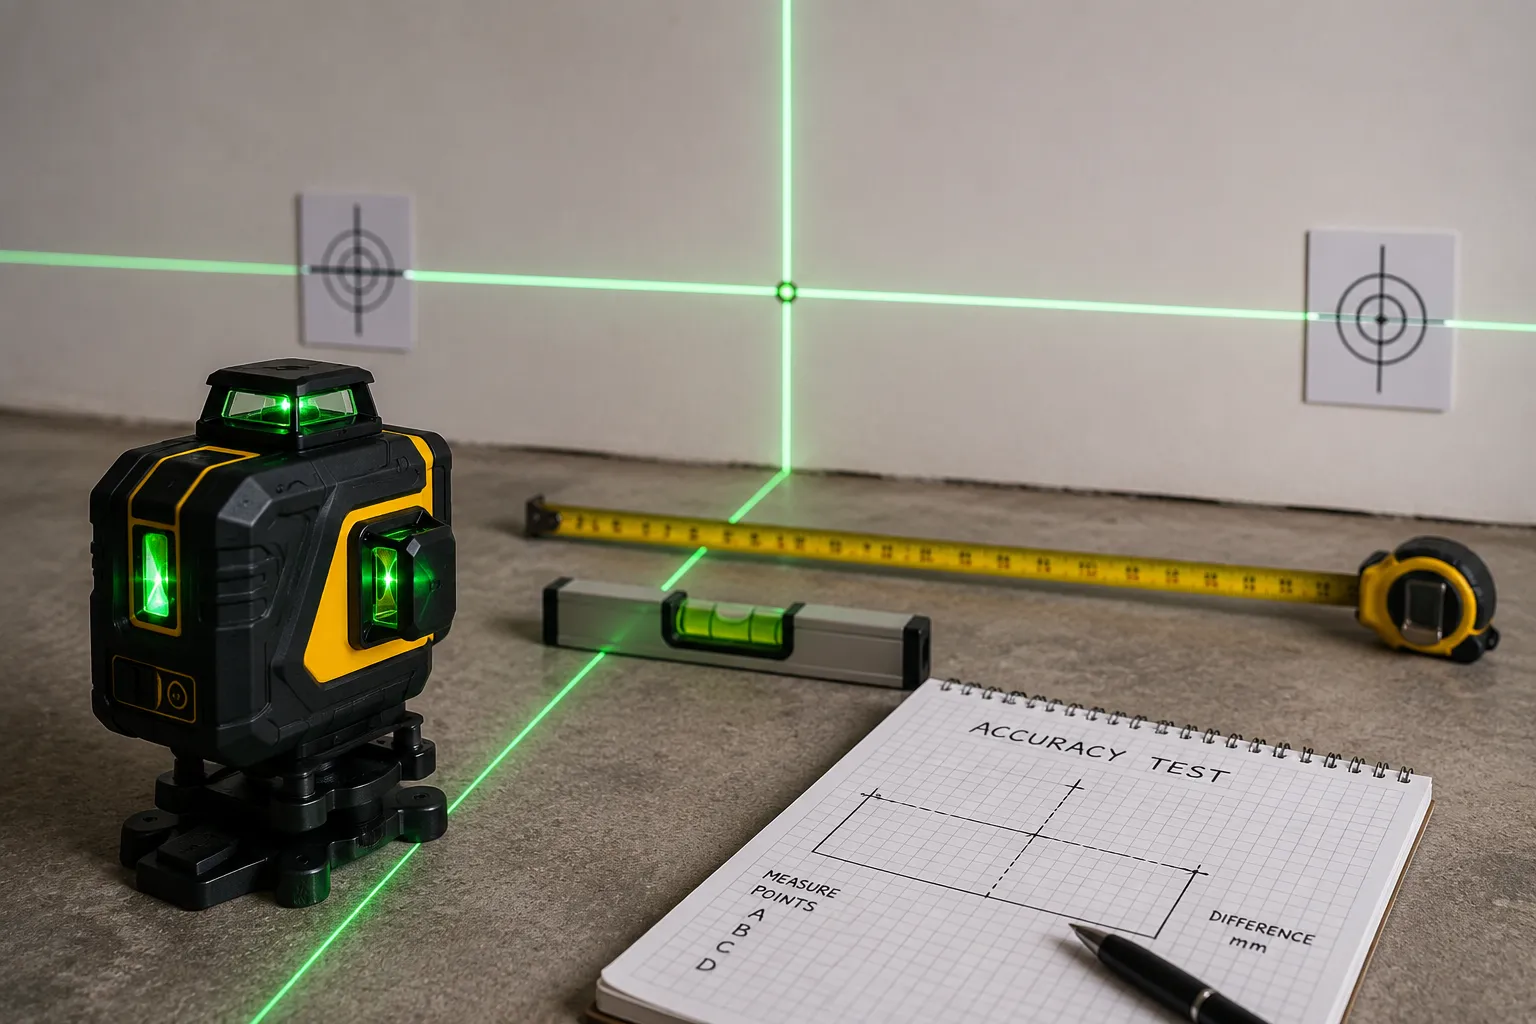
To check laser level accuracy, set the tool on a stable surface, mark its beam on a wall, rotate the laser 180 degrees, and compare the second mark to the first. If the marks stay within the manufacturer’s tolerance, the laser is accurate enough for your work.
If you use a laser level for shelves, tile, cabinets, or framing, accuracy matters more than most people think. A tiny error at the tool can turn into a visible slope across a room.
In this guide, I’ll show you how to check laser level accuracy at home, what the results mean, and what to do if your tool seems off.
- Set the laser on a stable surface and let it self-level.
- Mark the beam on a wall at one position.
- Rotate the laser 180 degrees and mark the beam again.
- Measure the gap between the two marks.
- Repeat the test at a longer distance.
- Check the vertical line if your laser has one.
- Compare the result with the manufacturer’s tolerance.
- Re-test or clean the unit if the result looks wrong.
Why Laser Level Accuracy Matters on Real Projects
A small error can look harmless at the tool but become much larger across a room. That is why laser level accuracy is checked in inches or millimeters at a set distance, not just by eye.
How even a small error can throw off shelves, tile, cabinets, and framing
Even a slight laser error can show up fast. A shelf may look level at one end but dip at the other. Tile lines can drift. Cabinets may stack poorly. Framing marks can move just enough to create a problem later.
The farther the beam travels, the more a small error can spread. That is why checking accuracy before a job can save time and rework.
When “close enough” is not actually close enough
For hanging a picture, close enough may be fine. For a backsplash, stair layout, or cabinet run, it usually is not. If you need parts to line up over several feet, even a small mismatch can be noticeable.
For general background on laser safety and use, I also like the guidance from DEWALT laser level product information and the safety basics from the OSHA laser hazards page.
What You Need to Check Laser Level Accuracy at Home
A flat wall or long straight surface
You need a surface where the beam is easy to see and mark. A smooth wall works well. A long hallway wall is even better because it gives you more distance to test.
Measuring tape or ruler
Use a tape measure or ruler to compare the marks. The goal is to see whether the beam shifts enough to matter for your project.
Pencil or painter’s tape for marking
Painter’s tape makes it easy to mark beam positions without damaging the wall. A pencil also works if you want a sharper point.
Tripod or stable surface
A tripod helps keep the laser steady. If you do not have one, use a solid table or floor area that does not wobble.
Optional: a second person for longer distances
At longer ranges, a second person can make the test easier. One person can move the laser while the other watches the marks and measures the gap.
How to Check Laser Level Accuracy Step by Step
Place the tool on a tripod or flat surface. Turn it on and wait until it finishes self-leveling. Do not start measuring while the beam is still moving.
Point the laser at a wall and mark the beam position with tape or pencil. Keep the mark small so you can measure it clearly later.
Without changing the height, rotate the laser around and aim it at the same wall. Mark the new beam position. If the laser is accurate, the two marks should be very close.
If possible, move farther from the wall and repeat the test. Errors are easier to spot at longer distances, and that helps confirm whether the result is real or just a setup issue.
If your laser projects a vertical beam, test it against a plumb reference or another straight vertical line. This helps you spot drift in the upright beam.
Measure the gap between marks and write it down. Then compare it with the accuracy rating in your manual so you know whether the tool is within spec.
How to Check Horizontal Laser Level Accuracy With the 180-Degree Test
Why the 180-degree test is the most common accuracy check
The 180-degree test is popular because it is simple and useful. It checks whether the horizontal beam stays in the same place after the laser is turned around. That helps reveal whether the line is truly level or slightly tilted.
How to measure the gap between the two beam positions
After you make both marks, measure the vertical gap between them. If the marks are almost on top of each other, the laser is likely fine. If the gap is easy to see, the tool may be out of calibration or set up incorrectly.
📝 Note
Try the test several times before you judge the result. One bad setup can make a good laser look inaccurate.
What difference is acceptable for DIY use versus professional use
For basic DIY tasks, a small gap may be fine if it stays within the manufacturer’s stated tolerance. For tile, cabinetry, and finish work, people usually want a tighter result because the error is easier to see.
Always use the tool’s spec sheet as the main guide. If the laser is outside that range, it is not meeting its own rating.
How to Check Vertical and Cross-Line Accuracy
Plumb-line check for vertical beam accuracy
A vertical beam should follow a straight plumb reference. You can compare it to a plumb bob, a known vertical edge, or another trusted reference. If the beam drifts away as it rises, the vertical line may be off.
Cross-line alignment check for intersecting beams
If your laser projects both horizontal and vertical lines, check where they cross. The intersection should stay square and consistent. If it shifts, the unit may not be projecting true lines.
Signs the vertical line is drifting or out of square
Watch for a beam that starts aligned at the bottom but moves away at the top. Also look for a cross-line that does not land where you expect when the laser is rotated. Those are common signs of a problem.
How to Read Laser Level Accuracy Specs and Tolerances
Understanding “± inches at 30 feet” and similar ratings
Laser level specs are often written as a tolerance at a certain distance, such as ±1/8 inch at 30 feet. That means the beam can be off by that amount and still be considered within spec.
How to convert manufacturer specs into practical project limits
To judge real-world use, think about the distance of your project. A small error at 10 feet may not matter, but the same tool at 40 feet can show more visible drift. The farther the line runs, the more important the spec becomes.
Table of common accuracy ranges for DIY, remodeling, and pro-grade lasers
| Use level | Typical accuracy range | What it means in practice |
|---|---|---|
| Basic DIY | About ±1/4 in. at 30 ft | Good for hanging, simple shelving, and casual home tasks |
| Remodeling | About ±1/8 in. at 30 ft | Better for cabinets, trim, and more visible finished work |
| Pro-grade | About ±1/16 in. to ±1/8 in. at 30 ft | Useful when small errors matter over longer runs |
What Affects Laser Level Accuracy During Testing
Sometimes the laser is not the problem. A shaky floor, weak battery, or dusty lens can make a good tool seem inaccurate during a test.
Surface stability and vibration
If the surface moves, the beam moves too. Even a small vibration from footsteps or a wobbly table can change the result.
Battery strength and low-power drift
Low batteries can affect performance on some tools. If the beam looks weak or unstable, try fresh batteries or a fully charged pack before you assume the laser is faulty.
Temperature changes and outdoor conditions
Cold, heat, and direct sunlight can affect visibility and performance. Outdoor work can also make the beam harder to see, which increases the chance of reading it wrong.
Dirty lenses, dust, and damage
Dust on the lens can blur the beam. A dropped tool may also lose calibration or suffer internal damage. If the housing is cracked or the laser has been knocked hard, retest carefully.
Incorrect setup height or angle
If the tool is mounted at a different height between tests, the result may not be valid. Keep the setup consistent so you are comparing the laser, not the placement.
What to Do If Your Laser Level Is Not Accurate
Run the test again from scratch. Many accuracy problems come from setup mistakes, not the laser itself.
Some models allow user calibration. Others need service from the manufacturer. Follow the manual so you do not make the problem worse.
Wipe the lens gently and look for cracks, loose parts, or signs of impact. If the unit was dropped, that matters.
If the laser is still outside its stated tolerance after careful retesting, it may need repair or replacement. For low-cost tools, replacement is often the simpler choice.
Is It Worth Calibrating or Replacing a Laser Level?
- The laser is only slightly off and the manual supports calibration
- The tool is otherwise in good condition
- It is a higher-quality model worth keeping
- The beam is far outside the stated tolerance
- The housing is cracked or the laser was dropped hard
- The tool is low-cost and repair would cost too much
Pros and cons of calibrating versus replacing
- Calibrate if the model supports it and the error is small
- Replace if the tool is cheap and repair is not practical
- Keep a trusted reference tool if accuracy matters often
- Keep using a laser that is clearly outside spec
- Assume the beam is correct without retesting
- Ignore visible damage after a drop
- Test the laser in the same room conditions you plan to work in.
- Use painter’s tape so you can move marks without leaving clutter.
- Check both horizontal and vertical beams if your project uses both.
- Retest after any drop, even if the tool still powers on normally.
- Keep the manual handy so you can compare your result to the exact spec.
Your laser level repeatedly fails the 180-degree test, shows obvious drift on vertical lines, or was dropped and now gives inconsistent results. If you rely on it for finish work, it is worth confirming the calibration before starting the job.
The best way to check laser level accuracy is to compare the beam against itself from opposite directions and measure the difference. If the result stays within the manufacturer’s tolerance, you can trust it for the job. If not, re-test, clean it, check the manual, and decide whether calibration or replacement makes the most sense.
FAQ
Run the 180-degree test and measure the gap between the two beam marks. If the difference stays within the stated tolerance, the laser is accurate enough for normal use.
Start at a distance that gives you a clear mark, then repeat the test farther away if possible. Longer distances help reveal small errors more clearly.
For many DIY tasks, around ±1/4 inch at 30 feet can be workable. For remodeling and finish work, tighter ratings such as ±1/8 inch at 30 feet are usually more helpful.
Yes. A drop, hard bump, or internal wear can affect calibration. If the tool starts giving inconsistent results, re-test it before using it on a project.
A tripod is not required, but it helps keep the tool steady. A solid, level surface can work too if it does not move during the test.
If the tool is low-cost, outside spec, and not easy to calibrate, replacement is often the most practical option. That is especially true if you need reliable results for visible work.
- Use the 180-degree test to check horizontal accuracy.
- Measure the gap and compare it with the manufacturer’s tolerance.
- Test vertical and cross-line beams if your laser has them.
- Watch for setup problems, weak batteries, dust, and damage.
- Re-test before you replace the tool.