
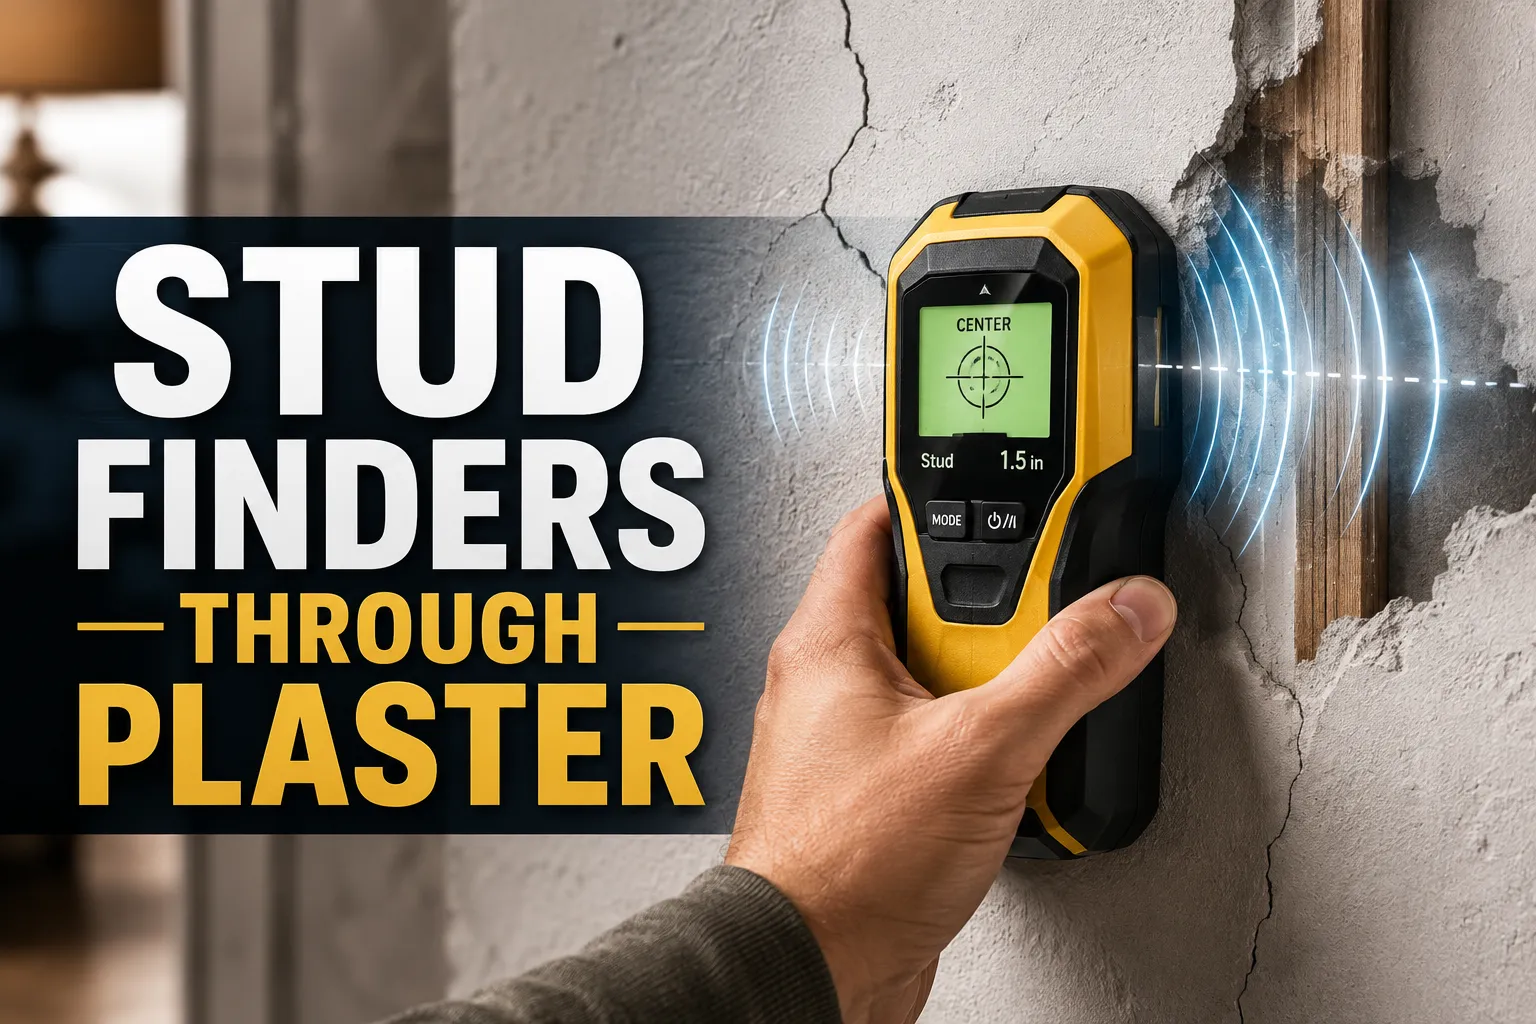
Yes, stud finders can work through plaster, but the results are less reliable than on drywall. Thin plaster over wood lath is often manageable, while thick plaster, metal mesh, pipes, and old repairs can confuse both electronic and magnetic tools.
If you’re hanging shelves, TVs, or heavy frames on an older wall, I know the big question is whether your stud finder will actually help. The short answer is that it often can, but plaster walls need a little more patience and the right tool. I’ll walk through what works, what fails, and how to improve your odds.
We’ll also cover how to tell if your wall is plaster, which stud finder types are best, and what to do when the readings keep jumping around. If you want a clean, safe mounting point, the wall material matters just as much as the tool.
Do Stud Finders Work Through Plaster? What the Short Answer Really Is
Why the answer is “sometimes” rather than a simple yes or no
Stud finders can work through plaster when the wall is fairly uniform and the tool is designed for deeper sensing. But plaster is not as predictable as drywall, so the same stud finder may give a clear reading in one spot and a messy one a few feet away.
Electronic models look for changes in wall density, and plaster walls often have layers, voids, and hidden materials that break that pattern. Magnetic tools can do well if they can find the nails or screws that fasten the lath or drywall patch underneath.
What kind of plaster wall you’re dealing with changes the result
A newer plaster finish over drywall is very different from an old lath-and-plaster wall. The newer setup is usually easier because the wall structure is more even. Older plaster walls are tougher because they may include wood lath strips, uneven thickness, and past repairs that change how a stud finder reads the surface.
Many older plaster walls were built with wood lath strips nailed to studs, then coated with plaster. That means fasteners are often hidden deep enough that a magnetic tool may still find them, even when an electronic tool struggles.
How Stud Finders Detect Studs Behind Plaster
Electronic stud finders and how they sense density changes
Electronic stud finders usually work by measuring changes in wall density or capacitance. When the sensor moves from hollow space to denser material, it signals a possible stud. On plaster, that reading can be thrown off by thick finish layers, uneven backing, and patches that do not match the rest of the wall.
Some models are edge-finding, which means they detect the sides of a stud. Others are center-finding and try to show the middle point directly. On plaster, center-finding models can be easier to use, but only if the wall surface is consistent enough for the sensor to read well.
Magnetic stud finders and why nails or screws matter
Magnetic stud finders do not detect the stud itself. They detect metal fasteners such as nails or screws. That makes them useful on plaster walls because old lath strips are often attached with many small nails, and those fasteners can reveal where a stud line runs.
The downside is simple: if the fasteners are buried too deep, sparse, or covered by heavy repairs, the magnet may miss them. Still, for many plaster walls, magnetic tools are one of the most dependable low-cost options.
For reference on wall construction and older building materials, the U.S. Department of Energy’s guidance on home insulation and wall systems can be a useful starting point: U.S. Department of Energy Energy Saver.
Deep-scan models vs standard models on plaster walls
Deep-scan stud finders usually have more sensitivity or a wider sensing range than basic models. That can help on thicker plaster, especially when the finish coat is heavy or the wall has multiple layers. Standard models may still work, but they are more likely to give weak or inconsistent signals.
A deeper scan setting is not always better. If the tool is too sensitive, it may start reacting to pipes, wiring, or old patch material instead of the stud.
Why Plaster Makes Stud Finding Harder Than Drywall
Thick plaster layers and lath can confuse sensors
Drywall is fairly uniform. Plaster is not. A plaster wall may have a finish coat, base coats, wood lath, air gaps, and then the stud. That layered construction makes it harder for sensors to tell where one material ends and another begins.
Even small changes in thickness can make an electronic stud finder think it has reached a stud when it has only reached a dense patch or a lath strip.
Metal mesh, pipes, and old repairs can create false readings
Some plaster walls include metal mesh, corner bead, wire lath, or patching materials that can interfere with detection. Plumbing and electrical lines can also cause false positives, especially if the wall has been modified over time.
If your home has had several repairs, the wall may contain areas that are denser than the original plaster. Those spots can trick both electronic and magnetic tools.
Why old plaster walls often produce inconsistent results
Older walls are rarely identical from one room to the next. Builders used different methods, repairs were added later, and settling can shift the wall slightly. That is why one scan might look perfect and the next one seems wrong even though you are only a few inches away.
Do not assume a single stud finder beep means you found the center of a stud. On plaster, repeated passes are much safer than trusting one reading.
Which Stud Finders Work Best Through Plaster?
Electronic edge-finding vs center-finding models
| Stud Finder Type | How It Helps on Plaster | Main Limitation | Best For |
|---|---|---|---|
| Electronic edge-finding | Can spot density changes across the wall | May be thrown off by thick plaster or patches | Basic checks on fairly even plaster |
| Electronic center-finding | Gives a more direct center point when readings are stable | Needs a consistent wall surface | DIYers who want simpler marking |
| Deep-scan electronic | Better chance of sensing through thicker walls | Can be overly sensitive on old walls | Thicker plaster and mixed wall construction |
| Magnetic stud finder | Finds nails or screws in lath or studs | Depends on fasteners being present and shallow enough | Older plaster-and-lath walls |
Strong magnetic stud finders for finding fasteners in lath-and-plaster
Strong magnetic tools are often a smart choice for lath-and-plaster walls because they can track the line of fasteners. If you can find several nails in a vertical line, you usually have a good clue where the stud is.
These tools are simple, quiet, and do not need batteries. They are also less likely to be confused by wall density changes. The tradeoff is that they only help when metal fasteners are close enough to the surface.
Deep-scan and multi-sensor tools for thicker walls
Some higher-end stud finders use multiple sensors or deeper scanning modes. These can be helpful on plaster because they may handle uneven surfaces better than basic models. They are not magic, though. If the wall has mesh, pipes, or heavy patching, even a good tool can struggle.
When you are choosing a model, look for one that clearly says it can handle deeper walls or plaster. Manufacturer guidance can also help you understand the tool’s limits. For example, Zircon’s stud finder product information explains how different sensing modes are meant to work on varying wall types.
Which type is best for DIYers vs homeowners
If you only need to hang light or medium items, a good magnetic stud finder may be enough for plaster walls. If you want more convenience and a clearer center mark, a deep-scan electronic model is worth considering.
For most homeowners, I would start with a magnetic tool or a reliable deep-scan electronic model, then confirm the result with repeated passes. That gives you a better balance of cost, simplicity, and accuracy.
On plaster, the best tool is often the one that gives you repeatable results, not the one with the most features.
How to Get the Most Accurate Stud Finder Reading on Plaster
Calibrate on a known clear section of wall
Start on a section where you do not expect a stud, like near the middle of a wall bay if you have already checked the area. Let the tool calibrate exactly as the instructions say. If the tool is not set correctly, every reading after that will be less useful.
Scan slowly and mark repeated signals
Move the stud finder slowly. Fast scanning often causes false readings. When you get a signal, mark it lightly with painter’s tape or a pencil. Then scan the same area again to see if the signal returns in the same place.
Verify with multiple passes from different directions
Scan horizontally and vertically if the tool allows it. If the same line keeps showing up from different directions, your odds improve. A single pass is not enough on plaster.
Confirm with a small test hole only when necessary
If you are mounting something heavy and the readings are still uncertain, a tiny test hole in an inconspicuous spot may be the safest way to confirm. Use this only when needed, and only after checking for wiring or plumbing risks.
You are mounting into plaster near electrical outlets, switches, radiators, plumbing, or any area where hidden services may run. If you are unsure, stop and verify before drilling.
- Use fresh batteries in electronic stud finders so weak power does not affect sensitivity.
- Keep the tool flat against the wall and move it at a steady, slow pace.
- Mark every repeat signal, not just the strongest one.
- Trust fasteners found by a magnet when they line up in a straight vertical path.
- When in doubt, test in a less visible area before drilling the final hole.
Signs Your Wall Is Plaster and Not Drywall — and Why That Matters
Tapping, thickness, and surface clues that suggest plaster
Plaster walls often sound harder and more solid when tapped. They may also feel thicker around window and door trim. Small cracks, uneven texture, and older paint layers can be clues too. These signs matter because they tell you the stud finder may need deeper sensing or a different method.
How lath-and-plaster walls affect stud spacing and detection
In many older homes, studs may still follow a fairly standard spacing, but the plaster and lath can make the wall surface look irregular. That means the center of the stud may not line up neatly with the most obvious surface clue. You may need to measure from a known stud rather than rely on the wall finish.
When a stud finder may still work better than expected
Not all plaster walls are difficult. If the plaster is relatively thin, the lath is wood, and the wall has not been patched heavily, a good stud finder can still give solid results. The tool is not the problem every time. The wall condition is often the bigger factor.
Newer plaster repairs over drywall can behave much more like drywall than old lath-and-plaster. If your wall was renovated, your results may be better than you expect.
Pros and Cons of Using Stud Finders Through Plaster
Advantages of using a stud finder on plaster walls
- Can speed up locating studs without guessing
- Helps reduce unnecessary holes in the wall
- Works well on some plaster walls with the right technique
- Magnetic tools are simple and affordable
- False positives are common on old walls
- Thick plaster can block weak sensors
- Repairs and mesh can confuse readings
- One pass is rarely enough for confidence
Common limitations and false positives
The biggest problem is trust. A stud finder may react to a patch, a lath strip, a pipe, or a nail that is not part of the stud line. That is why plaster walls reward patience and repeated checks.
When a magnetic tool beats an electronic one
If the wall has plenty of metal fasteners, a magnetic tool can be more reliable than an electronic one. It is especially useful when the wall surface is uneven or the plaster is too thick for the sensor to read clearly.
When both tool types may fail
If the wall has heavy repairs, metal mesh, or hidden services, both tool types may struggle. In that case, you may need to combine methods or choose a different mounting location.
- Use repeated passes before drilling
- Try both magnetic and electronic tools if needed
- Check nearby outlets and trim for stud clues
- Confirm the result with spacing measurements
- Do not trust one beep or one light flash
- Do not drill near unknown wiring or pipes
- Do not assume all plaster walls behave the same
- Do not ignore obvious signs of past repairs
Best Alternatives If Your Stud Finder Won’t Work Through Plaster
Using a strong magnet to locate nails or screws
A strong magnet is often the easiest backup plan. Move it slowly across the wall until it sticks or catches on a fastener. Once you find one fastener, look for others above and below it to trace the stud line.
Measuring standard stud spacing from a known stud
If you find one stud, measure from that point in likely stud increments. In many homes, studs are spaced at regular intervals, though older homes can vary. This method works best when combined with another clue, not by itself.
Looking for outlet boxes, switches, and trim clues
Electrical boxes are often attached to a stud on one side. Baseboards, window trim, and door casings can also hint at framing direction. These clues are not perfect, but they can help you narrow the search.
Using a borescope or inspection hole for confirmation
If accuracy matters and the wall area is hidden behind furniture or art, a small inspection hole may be the cleanest way to confirm what is inside. A borescope can help you see the cavity before you commit to a larger hole.
If you are unsure, combine two methods: use a magnet to find fasteners, then verify the location with an electronic scan. Agreement between tools is a strong sign you have the right spot.
FAQs About Do Stud Finders Work Through Plaster?
Sometimes, yes. A deep-scan electronic model or a strong magnetic finder may work, but thick plaster and lath can reduce accuracy. Repeated passes and confirmation from more than one method are important.
They often are, especially on older lath-and-plaster walls. Magnetic tools find fasteners, which can be easier to detect than the stud itself through uneven plaster.
Plaster walls can contain thick layers, repairs, metal mesh, or hidden pipes and wiring. Any of those can confuse the sensor and create false positives.
Start with a strong magnet, then verify with a deep-scan electronic stud finder if needed. Scan slowly, mark repeat signals, and cross-check the result from different directions.
Only if you really need confirmation and have already checked for wiring or plumbing risks. A tiny inspection hole in a hidden spot is safer than guessing on a heavy mount.
Stud finders can work through plaster, but the wall type makes a big difference. For old plaster-and-lath walls, a magnetic tool often gives the most reliable clues, while deep-scan electronic models can help when the wall is thick but still fairly uniform.
- Stud finders can work through plaster, but not always with the same accuracy as drywall.
- Magnetic tools are often strong choices for old lath-and-plaster walls.
- Deep-scan electronic models can help on thicker or more uniform plaster.
- Repeated passes and cross-checking are key to avoiding false readings.
- If the wall has repairs, mesh, or hidden services, verification matters more than speed.