
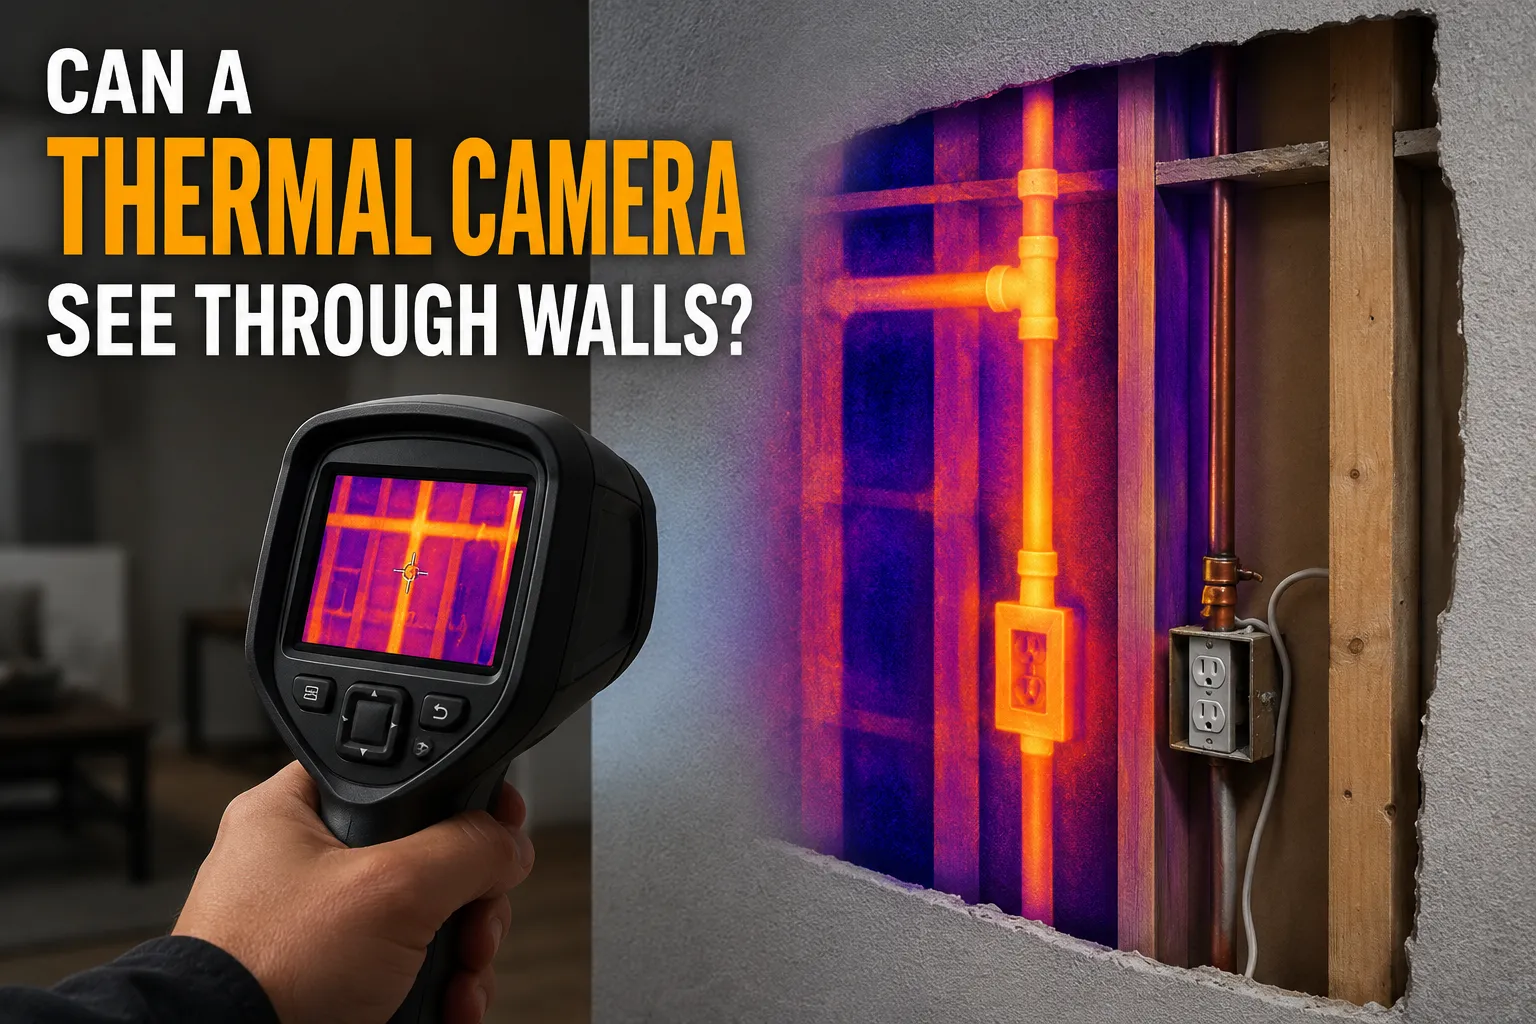
No, a thermal camera cannot see through walls in the way an X-ray can. It reads surface temperature, so it can only show clues on the wall’s surface that may point to heat loss, moisture, or hidden problems behind it. The camera helps you infer what may be inside the wall, not directly view it.
If you have ever wondered whether a thermal camera can see through walls, you are not alone. The short answer is no, but thermal imaging can still reveal a lot when you know how to read it.
In this guide, we explain what thermal cameras really show, what they cannot show, and how to get better results when checking walls, ceilings, and floors at home.
Can a Thermal Camera See Through Walls? The Short Answer and What “See Through” Really Means
Thermal cameras do not let you look inside a wall like a window. They detect infrared energy coming from the surface they are pointed at. That means they can spot temperature differences on the outside of a wall, which may hint at hidden issues behind it.
So when people ask if a thermal camera can see through walls, what they usually mean is this: can it reveal what is hidden inside? Sometimes it can reveal signs of a problem, but it cannot directly show the objects inside the wall.
A thermal camera is best thought of as a clue finder. It helps you spot patterns that deserve a closer look.
How Thermal Cameras Actually Work on Walls, Ceilings, and Floors
Detecting heat patterns instead of visible objects
A thermal camera measures infrared radiation, which is related to surface temperature. Warmer parts of a wall show up differently from cooler parts. That is why you may see bright or dark patches, depending on the color palette and settings.
These patterns do not show the hidden object itself. They show the effect that object has on the wall surface.
Why surface temperature matters more than what’s behind the wall
If a pipe behind drywall is leaking warm water, the wall surface may become warmer in that spot. If insulation is missing, that area may cool down faster in winter or heat up faster in summer. The camera sees the surface change, not the pipe or insulation directly.
That is why the same wall can look different at different times of day or in different weather.
How emissivity affects wall readings
Emissivity is how well a surface emits infrared energy. Most painted drywall reads well, but shiny, glossy, or reflective surfaces can give misleading results. A thermal camera may show odd readings on metal, glass, or high-gloss paint because those surfaces reflect heat from nearby objects.
For a basic reference on infrared imaging and how it is used in building work, the U.S. Department of Energy has helpful material on home energy assessments and thermal loss at energy.gov.
Flat-painted drywall usually gives more reliable thermal readings than glossy paint or reflective wall finishes.
What a Thermal Camera Can Reveal on a Wall Surface
Missing insulation and heat leaks
One of the most useful jobs for a thermal camera is finding insulation gaps. If part of a wall is missing insulation, that section may show a clear temperature difference from the surrounding area. This is common around attic knee walls, rim joists, and exterior walls.
Moisture intrusion and water damage
Wet building materials often behave differently from dry ones. A damp section of wall may cool down more slowly or appear as a distinct patch. That said, thermal imaging does not prove there is water by itself. It only shows a pattern that should be checked further with a moisture meter or visual inspection.
Electrical hotspots and overloaded circuits
Thermal cameras can help spot warm outlets, switches, breakers, or junction boxes. Heat around electrical parts may point to a loose connection, overloaded circuit, or failing component. This is one of the more useful safety checks a homeowner can do from a safe distance.
HVAC duct leaks and airflow paths
Air leaks from ducts, vents, or returns can leave temperature trails on nearby walls or ceilings. You may see a streak or patch where conditioned air is escaping or being pulled in. In some homes, this helps identify duct problems without opening finished surfaces.
Thermal cameras can sometimes show studs or framing because wood and insulation transfer heat differently. This is not the same as directly seeing the stud. It is more like seeing a pattern caused by the framing layout.
For best results, compare the suspicious area with similar spots nearby. A real issue often stands out when you look at the whole section, not just one pixel or one hot spot.
What a Thermal Camera Cannot See Through Walls
Why drywall, plaster, brick, and insulation block direct vision
Common wall materials block direct thermal “vision” because the camera is not looking through them. Drywall, plaster, brick, concrete, and insulation all separate the camera from the hidden object. The camera only measures the surface temperature at the point it sees.
Thicker or denser materials can also blur the surface pattern, making it harder to tell what is causing the change.
Why pipes, wires, and studs are only inferred, not directly seen
A thermal camera may suggest where a pipe, wire, or stud is located if that item changes the temperature of the wall surface. But the object itself is still hidden. This is why thermal imaging is best used as a guide, not as final proof.
When wall coverings, paint, and surface finishes distort readings
Wallpaper, tile, textured finishes, shiny paint, and wallpaper glue can all affect how heat moves across a wall surface. Even furniture, curtains, and sunlight can change what the camera shows. A reading that looks important may just be a surface effect.
Do not assume a thermal image proves a wall has mold, a leak, or a wiring fault. It can point you in the right direction, but you still need confirmation.
Factors That Affect Whether a Thermal Camera Can Detect Hidden Problems in Walls
Temperature difference between indoors and outdoors
Thermal cameras work best when there is a clear temperature difference between inside and outside. In cold weather, missing insulation often stands out more on exterior walls. In hot weather, heat gain may show more clearly.
If indoor and outdoor temperatures are too close, hidden patterns may be harder to spot.
Wall thickness and construction materials
Thin drywall usually shows surface changes more easily than thick masonry or layered construction. Brick, concrete, stone, and multiple wall layers can reduce the sharpness of the thermal pattern. Homes with older plaster walls may also give less consistent results.
Time of day and sun exposure
Sunlight can warm a wall unevenly and create false hot spots. For exterior scans, early morning or late evening often gives cleaner results. For interior scans, try to avoid times when the wall has just been heated by direct sunlight or nearby appliances.
Moisture content and air movement
Moisture changes how materials hold and release heat. Air movement behind walls, around outlets, or through gaps can also affect the surface temperature. That means a thermal image may show a problem area even when the cause is not obvious.
Camera resolution and thermal sensitivity
Higher-resolution cameras usually show finer details, while better thermal sensitivity helps reveal small temperature differences. Entry-level cameras can still be useful, but they may miss subtle changes or make patterns look blocky.
If you are comparing devices, check manufacturer specs and real-world use cases. Brands such as FLIR publish useful product and application information at FLIR’s official thermal imaging site.
Best Real-World Uses for a Thermal Camera on Walls
Finding insulation gaps before energy audits
Homeowners often use thermal cameras to look for cold spots, missing insulation, and air leaks before an energy audit. This can help narrow down where to seal or add insulation first.
Locating plumbing leaks without opening walls
If you suspect a hidden leak, thermal imaging can help identify the area that needs a closer look. It is especially helpful when warm water lines are involved or when the leak changes the wall temperature enough to stand out.
Spotting overheating breakers and outlets
Thermal cameras are useful for checking electrical panels, outlets, and switches from a safe distance. A warmer-than-normal spot may be worth a licensed electrician’s attention.
Tracking drafts around windows, doors, and outlets
Air leaks around trim, window frames, door casings, and outlet boxes can show up as temperature changes on surrounding walls. This helps you find places where caulk, foam, or weatherstripping may improve comfort.
- Clear temperature difference from nearby surfaces
- Pattern matches a known leak or draft path
- Reading repeats when you scan again
- Random hot or cold spots near sunlight
- Glossy or reflective wall finishes
- One-off reading with no other evidence
How to Use a Thermal Camera on Walls for Better Results
Choose the right time for scanning
Scan when the wall has had time to show a temperature difference. Early morning, evening, or during strong indoor heating or cooling often gives better contrast. Avoid scanning right after direct sun hits the wall.
Set the camera correctly for the wall material
Check emissivity settings if your camera allows it. Painted drywall is usually easy to measure, but reflective surfaces may need special care. If you are not sure, compare the reading with a known nearby surface and use the same settings throughout the scan.
Scan slowly and compare nearby surfaces
Move the camera slowly across the wall. Look for patterns, not just single spots. Compare the area to similar walls, ceilings, or floors nearby so you can tell whether the reading is unusual.
Confirm suspicious spots with a second method
Use a moisture meter, outlet tester, stud finder, or visual inspection to confirm what the thermal camera suggests. If you suspect an electrical problem, stop and call a licensed electrician. If you suspect a leak, a plumber or building pro can help verify it.
Pick a time with strong temperature contrast and low sun interference.
Match emissivity as closely as you can to the wall surface.
Compare the suspicious area with nearby sections of the same wall.
Confirm the finding with another tool or a qualified pro.
Thermal Camera Pros and Cons for Wall Inspection
Pros of using thermal imaging on walls
Thermal cameras are fast, non-invasive, and useful for finding patterns you cannot see with your eyes. They can help you prioritize repairs and inspect large areas without cutting into walls.
Cons and common false readings
Thermal imaging can be fooled by sunlight, reflective finishes, airflow, and surface texture. It also cannot tell you the exact hidden object behind the wall. That can lead to wrong guesses if you rely on the image alone.
When another inspection tool is better
If you need to find the exact location of a stud, a wire, or a pipe, a stud finder, inspection camera, moisture meter, or professional inspection may be more useful. Thermal imaging works best as part of a bigger toolbox.
| Situation | Thermal Camera | Better Option |
|---|---|---|
| Finding insulation gaps | Very useful | Thermal camera plus visual check |
| Checking for hidden moisture | Useful for clues | Moisture meter for confirmation |
| Locating wires or pipes | Sometimes indirect | Stud finder, plans, or pro inspection |
| Finding overheated outlets | Very useful | Thermal camera and electrician follow-up |
| Seeing through a wall | Not possible | Open access or specialized inspection |
- Keep the camera moving slowly so you do not miss subtle patterns.
- Compare the same wall at different times if the first scan looks unclear.
- Use a known normal surface as your baseline before trusting a hot or cold spot.
- Take photos or notes so you can compare results later.
- Do not treat one thermal image as final proof without a second check.
You see a strong thermal anomaly near electrical parts, repeated moisture patterns, or a wall area that keeps changing in a way that suggests a leak, heat loss, or unsafe wiring. A thermal camera can point you to the issue, but a qualified pro should confirm anything that affects safety or building damage.
A thermal camera cannot truly see through walls, but it can reveal surface temperature patterns that often point to hidden problems. Used carefully, it is a powerful inspection tool for insulation, moisture, drafts, and electrical heat.
Common Questions About Whether a Thermal Camera Can See Through Walls
Not directly. It may show a pattern that suggests where studs are because wood and insulation affect surface temperature differently, but it is still an inference, not a direct view.
Sometimes it can hint at their presence if they change the wall’s surface temperature. It cannot identify every wire or pipe, and it should not be used as the only method for locating them.
No. Thick materials like concrete and brick block direct thermal vision. The camera can only measure the surface and may show limited clues if something behind the wall changes that surface temperature.
No. Insulation can make hidden patterns harder to see, but it can also be the thing you are trying to evaluate. Thermal cameras are often used to find missing insulation or uneven coverage.
It can be helpful, but it is not a final diagnosis by itself. Thermal imaging is best used to narrow down the area, then confirmed with a moisture meter, visual inspection, or a professional assessment.
- A thermal camera cannot see through walls like X-ray vision.
- It measures surface temperature and shows clues, not hidden objects.
- It is useful for insulation gaps, moisture, drafts, and hot electrical parts.
- Wall material, sunlight, moisture, and camera settings all affect results.
- Always confirm suspicious readings with another tool or a qualified pro.