

Your laser level is usually blinking because it needs attention, not because it is broken. The most common reasons are low battery power, the unit is outside its self-leveling range, the transport lock or pendulum is engaged, or a special mode like pulse or manual mode is active.
If you have ever set up a laser level and seen it blink instead of project a steady line, you are not alone. In many cases, the blinking is a built-in warning. I’ll walk through what it means, how to check it, and what you can do to get back to work fast.
Why Is My Laser Level Blinking? The Most Common Reasons at a Glance
| Common cause | What the blinking usually means | What to do first |
|---|---|---|
| Low battery or weak rechargeable pack | The tool may flash to warn you that power is dropping | Replace or recharge the batteries |
| Out-of-level or self-leveling range exceeded | The laser cannot level itself because the surface is too far off | Move the tool to a flatter surface or adjust the mount |
| Tilt/lock mode or transport lock is engaged | The pendulum is locked, so the beam may blink or stay in warning mode | Check the lock switch before use |
| Manual mode, pulse mode, or receiver mode is active | Blinking can be normal in certain operating modes | Confirm which mode the tool is set to |
| Internal fault, dirty lens, or calibration issue | Repeated blinking may point to a problem with the tool itself | Inspect, clean, reset, or service the unit |
Low battery or weak rechargeable pack
This is one of the first things I check. Many Laser Levels Under 0 for 2026 – Expert Tested”>laser levels blink when the battery is low, especially if the beam starts to fade or the line becomes unstable.
If your tool uses rechargeable batteries, an aging pack can act weak even after charging. Cold weather can also make battery performance drop faster than expected.
Out-of-level or self-leveling range exceeded
Self-leveling laser levels can only correct a certain amount of tilt. If the tool is set on a surface that is too uneven, it may blink to show that it cannot level itself.
This is common on rough floors, loose tripods, stacked materials, or any spot that shifts while you work.
Tilt/lock mode or transport lock is engaged
Many laser levels have a pendulum lock for safe transport. If that lock is still on, the unit may blink or show a warning because it is not ready to self-level.
It is an easy mistake to make, especially if you moved the tool from the case to the job site in a hurry.
Manual mode, pulse mode, or receiver mode is active
Some blinking is normal. In manual mode, the laser may stop self-leveling on purpose. In pulse mode, the beam may blink so a detector can pick it up outdoors or over longer distances.
That is why the same blinking pattern can mean different things on different models.
Internal fault, dirty lens, or calibration issue
If the tool keeps blinking after you have checked the basics, the problem may be internal. Dirt on the window, a damaged housing, or a calibration drift can all affect how the laser behaves.
For product-specific guidance, I also like to check the manufacturer’s support pages, such as Bosch laser level support and product information or the manual that came with the tool.
What a Blinking Laser Level Usually Means on Different Models
Crossline lasers often blink when they are outside the leveling range or when the pendulum is locked. A steady line usually means the tool has settled and is ready.
Rotary lasers may blink to show low battery, out-of-level status, or that the head is not spinning correctly. Some models use a flashing beam to signal receiver mode.
Green lasers are easier to see, but their blinking does not always mean a different fault than a red laser. The color affects visibility, not the basic warning logic.
Some brands use blinking as a simple warning light, while others use a pattern of flashes. Always check the manual because one blink pattern can mean several things depending on the brand.
Did You Know? Many laser levels are designed to blink on purpose when they are not level. That blinking is a safety and accuracy feature, not just an error signal.
For a reliable reference on laser safety and basic use, I like the U.S. Occupational Safety and Health Administration’s laser hazard guidance. It is more about safety than troubleshooting, but it is still useful if you work around construction tools often.
How to Diagnose Why Your Laser Level Is Blinking Step by Step
Start with power. Remove the batteries, look for corrosion, and reinstall them firmly. If the tool uses a rechargeable pack, test it after a full charge.
Set the laser level on a flat area or secure tripod. If the surface moves or slopes too much, the unit may keep blinking because it cannot level itself.
Make sure the lock is off before normal use. If the pendulum is locked, the laser may blink or refuse to self-level.
Reposition the tool and watch whether the blinking stops. If it does, the issue was likely the angle or setup, not the tool itself.
Dust, paint, and drywall debris can interfere with the beam path. A cracked window or loose housing can also create unstable behavior.
Some tools use a slow blink for low power and a fast blink for out-of-level. The manual is the best way to match the pattern to the exact meaning.
If the laser level blinks only when you switch modes, that may be normal. If it blinks in every mode, the tool may need service or recalibration.
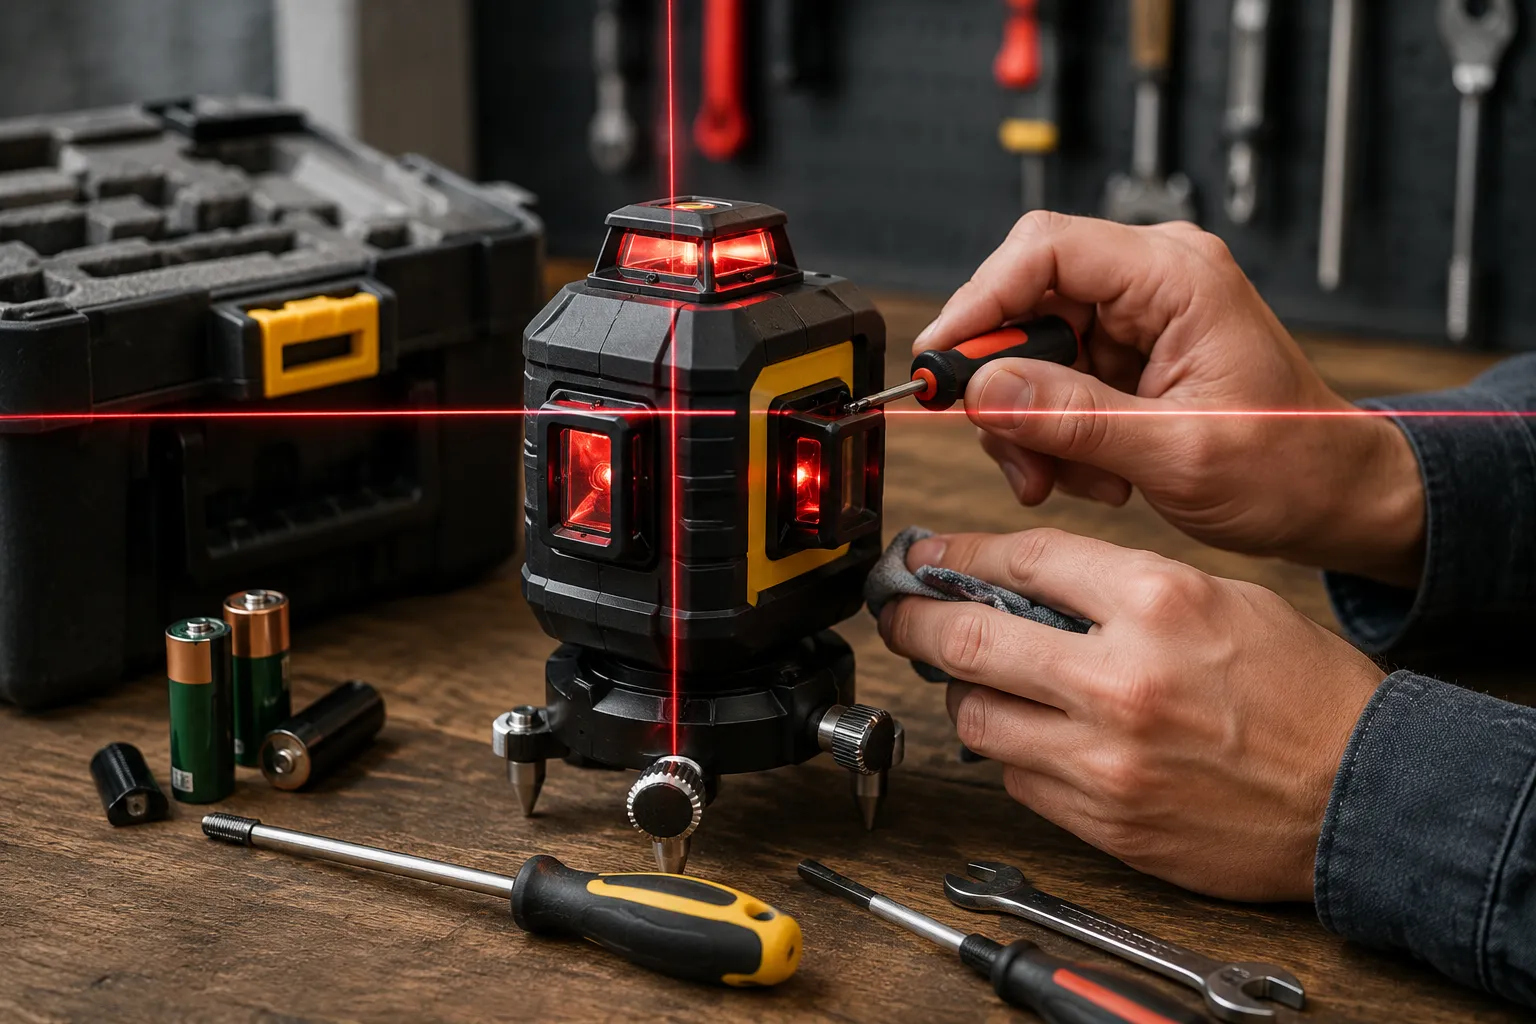
Fixes for a Blinking Laser Level You Can Try Right Away
Fresh batteries solve a lot of blinking issues. If the tool starts behaving normally after a battery change, you have found the cause.
Move the laser level closer to level and give it a stable base. Even a small adjustment can stop the warning blink.
Check the switch before every job. A locked pendulum is one of the most common reasons a self-leveling laser blinks.
Use a soft, dry cloth or a gentle brush. Avoid harsh cleaners that could scratch the lens or leave residue.
Some models have a reset sequence or power cycle that clears temporary faults. Follow the brand instructions carefully.
Make sure the mode matches your task. Outdoor work may need pulse mode, while indoor layout usually needs self-leveling mode.
Do not keep using a blinking laser level for precision work if you do not know why it is blinking. You could transfer a bad line to tile, cabinets, framing, or trim.
When a Blinking Laser Level Is Normal vs. a Problem
- Blinking stops once the tool levels itself
- Flashing only happens in pulse or manual mode
- The manual says the pattern is a normal indicator
- The beam is steady and accurate after setup
- Blinking continues on a flat, stable surface
- The beam fades, jumps, or disappears
- The tool blinks even with fresh batteries
- The unit has been dropped, wet, or exposed to dust
Normal blinking: warning, leveling, or mode indicator
Normal blinking usually happens when the tool is telling you something useful. It might be leveling, waiting for you to unlock it, or working in a special setting.
Problem blinking: low power, calibration drift, or hardware fault
Problem blinking tends to repeat no matter what you do. If it stays on after a battery change and proper setup, the unit may need calibration or repair.
Pros of built-in blinking alerts for DIY users
Blinking alerts can save time because they warn you before you build on a bad line. They also help new users spot setup mistakes early.
Cons of ignoring repeated blinking during layout work
If you ignore the warning, your layout can drift. That can lead to crooked shelves, uneven tile lines, or framing that does not line up the way you planned.
- Keep a spare set of batteries in your tool bag so you can rule out power issues fast.
- Set the laser on a known flat surface before assuming the unit is faulty.
- Read the blink pattern before moving the tool, since some warnings only appear at startup.
- Use a tripod on uneven floors to reduce false leveling warnings.
Troubleshooting by Laser Level Type and Job Site Condition
| Laser level type or job condition | Common blinking cause | Best next move |
|---|---|---|
| Indoor drywall and tile layout issues | Low battery, wrong mode, or tool not fully leveled | Check power, then place the unit on a stable base |
| Outdoor grading and receiver-based use | Pulse mode blinking is often normal | Confirm receiver mode and line visibility settings |
| Ceiling, stair, and long-distance alignment setups | Range limits or unstable mounting | Move closer, secure the mount, and recheck level |
| Working on uneven floors, tripods, or vibrating surfaces | Self-leveling range exceeded or movement during setup | Stabilize the base and wait for the pendulum to settle |
Indoor drywall and tile layout issues
On indoor jobs, blinking often points to setup problems. A slightly uneven floor, a weak battery, or a locked pendulum can all interrupt a clean line.
Outdoor grading and receiver-based use
Outdoor work is different because bright light can make the beam hard to see. In these cases, blinking may be part of normal receiver or pulse operation.
Ceiling, stair, and long-distance alignment setups
At longer distances, small setup errors matter more. If the unit blinks, check the mount first because vibration or a loose bracket can trigger the warning.
Working on uneven floors, tripods, or vibrating surfaces
Construction sites are rarely perfectly still. If the base shifts, the laser may blink to tell you that the line is no longer trustworthy.
Some self-leveling lasers can keep trying to level for a short time after setup. If the surface keeps moving, the blinking may never stop until the base is stabilized.
How to Prevent Your Laser Level from Blinking Unexpectedly
This protects the pendulum and helps prevent damage that can lead to warning blinks later.
Check battery contacts for dust, rust, or bent terminals. Clean contacts help the tool get steady power.
If your model allows user calibration, follow the manual and check accuracy from time to time, especially after a drop.
Heat, cold, and water can all affect electronics and leveling parts. A protected tool usually gives fewer surprises.
Choose self-leveling for indoor layout, pulse mode for receiver work, and manual mode only when the job calls for it.
If you use your laser level often, write the blink pattern and meaning inside the case lid or keep a photo of the manual page on your phone. That saves time on busy job sites.
The laser still blinks after fresh batteries, a proper setup, cleaning, and a reset. If the unit was dropped, exposed to water, or no longer holds calibration, a repair shop or the manufacturer may need to inspect it.
When to Repair, Calibrate, or Replace a Blinking Laser Level
When repair makes sense
Repair is worth considering if the tool is a good model, the damage looks minor, and the blinking started after a specific event like a drop or battery issue. If the manufacturer offers service, that is usually the best place to start.
When calibration makes sense
Calibration is a smart next step if the laser still works but the line seems off or the blinking points to accuracy trouble. This is common after long use or a hard bump.
When replacement may be the better choice
If the tool is old, inexpensive, or has repeated faults, replacement can save time and frustration. A new laser level may be cheaper than repeated service on a worn-out unit.
A blinking laser level usually means the tool is warning you about power, leveling, mode, or a fault. Start with batteries, lock position, and surface stability, then check the manual before you assume the tool is broken.
Frequently Asked Questions
It usually means the unit is not level, the battery is low, or the tool is in a mode that uses blinking as a signal. Check the setup first.
No. On many models, blinking is normal in pulse mode, manual mode, or when the tool is leveling itself. The manual will tell you what is expected.
If the beam fades, the unit blinks more often, or the tool shuts off early, the battery may be weak. Try a fresh set or a fully charged pack.
Yes. If the surface is outside the self-leveling range, the laser may blink to show that it cannot correct the tilt.
Only if you know the blink pattern is normal for that mode. If the blinking is a warning, do not trust the line until the issue is fixed.
Send it for service if blinking continues after battery checks, cleaning, proper setup, and a reset. Drops, water exposure, and calibration drift are also good reasons to have it inspected.
- Blinking often means low battery, leveling trouble, or a mode change.
- Check the lock switch, surface stability, and battery power first.
- Some blinking is normal in pulse or manual mode.
- Repeated blinking after basic checks can point to calibration or hardware issues.
- When in doubt, use the manual and stop trusting the line until it is verified.