
Craftsman Air Compressor Manual: Find, Use and Maintain Your Model
Need the right Craftsman air compressor manual—or a clear explanation of the controls? Start with the model number. This guide shows you where to download the official manual, how to operate the compressor safely, what maintenance it actually needs, and which current model fits common garage jobs.
Always follow the manual for your exact model. Tank size and maximum PSI alone do not identify a compressor.
Locate the full model number on the product label, search it on Craftsman’s website, then open the product page’s Downloads and Manuals section.
- Use the complete letters and numbers
- Match voltage, tank size and pump type
- Do not substitute a similar-model manual
Compare current options before the guide
Choose by airflow and intended work—not tank size alone. Amazon availability and prices can change.
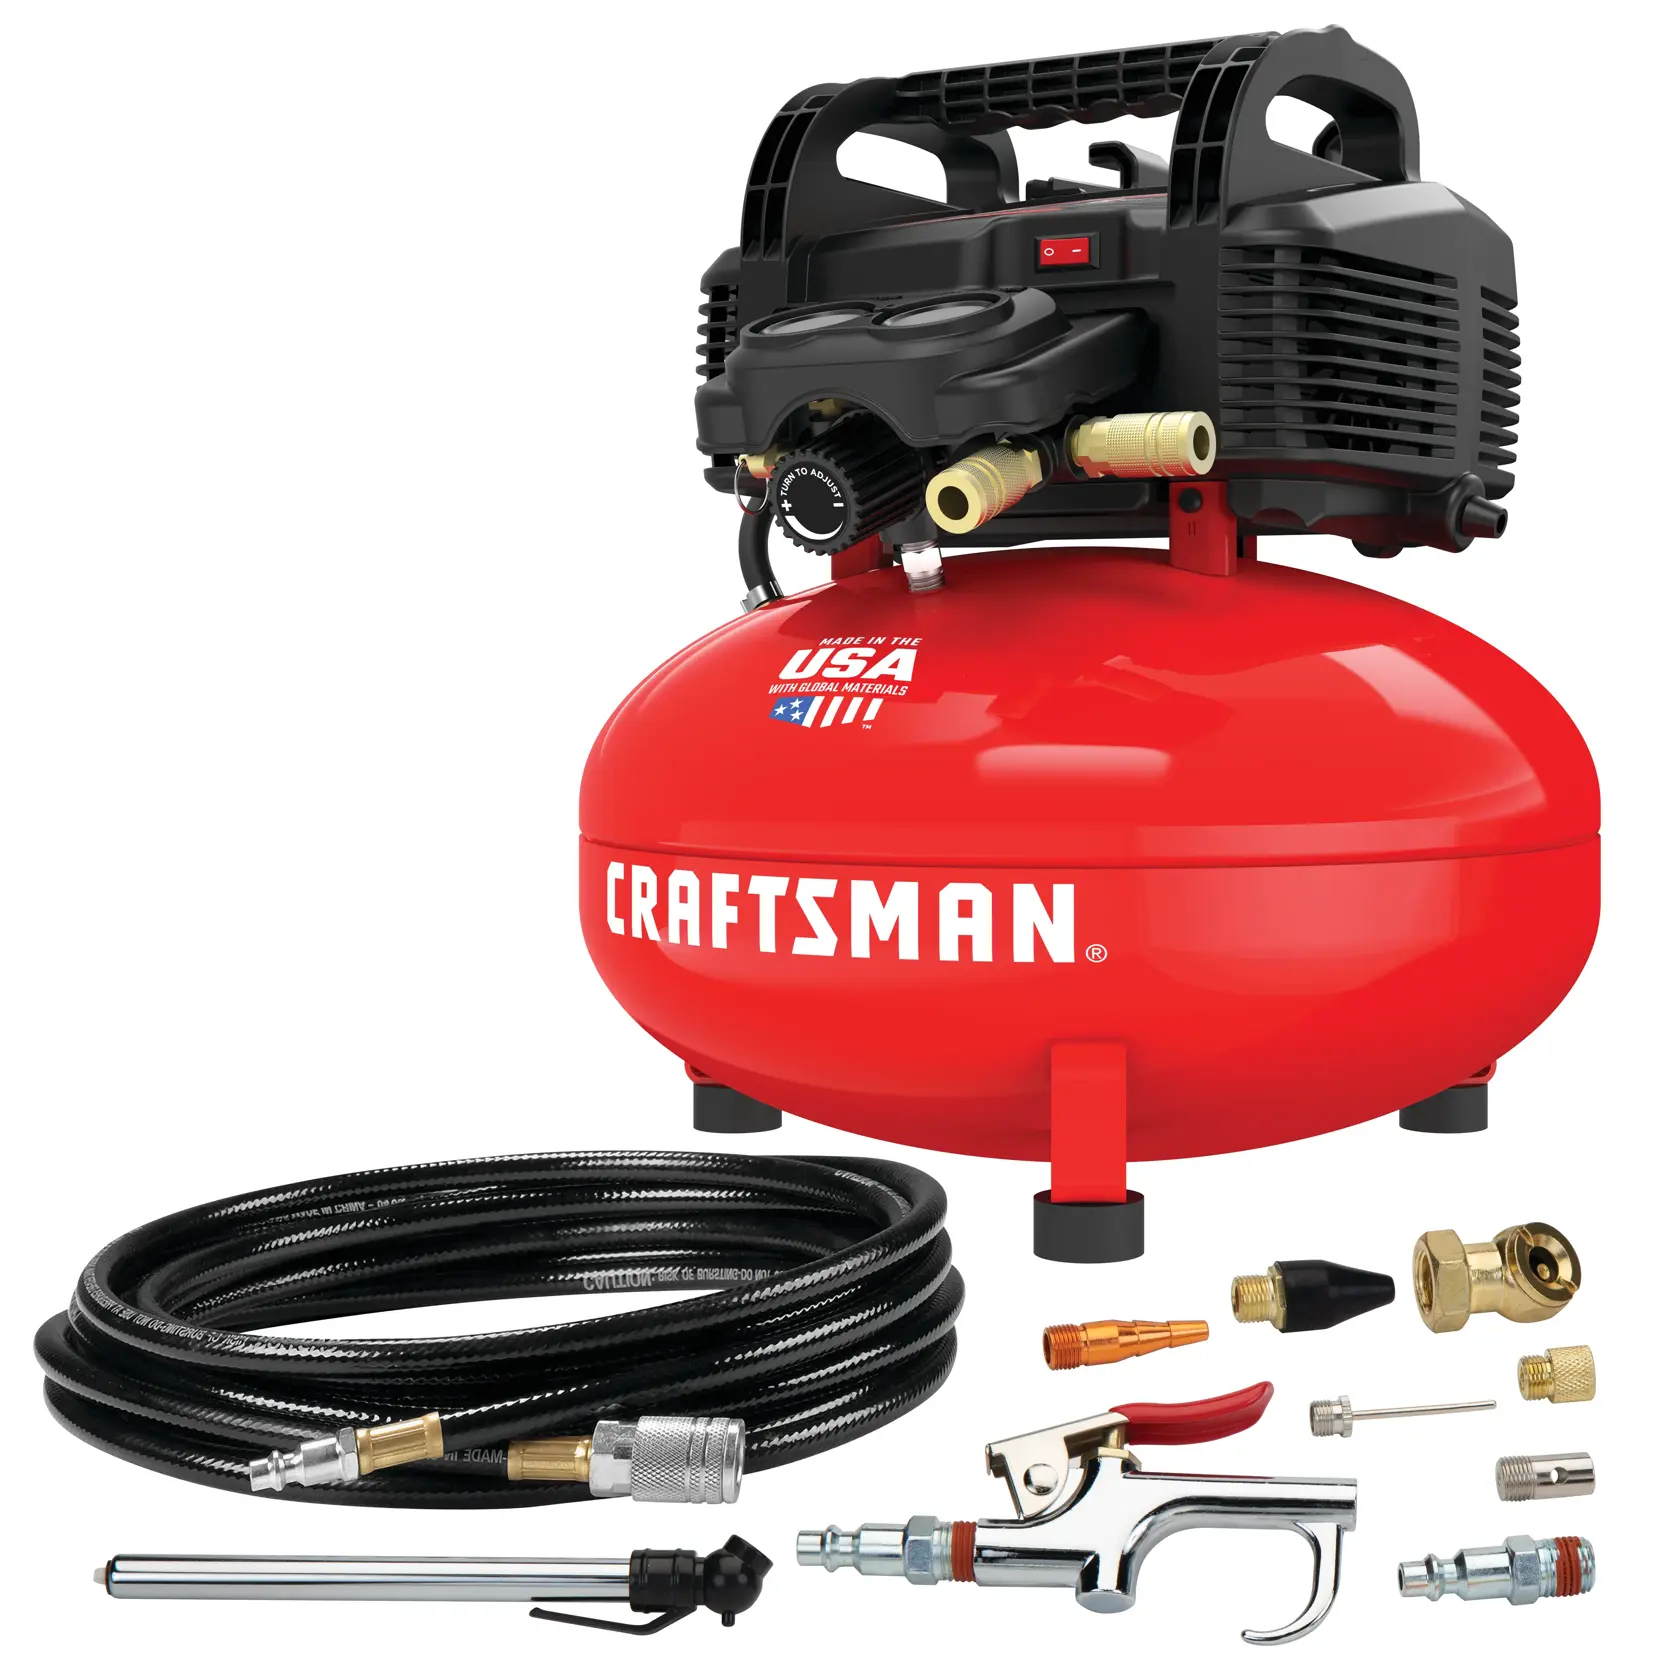
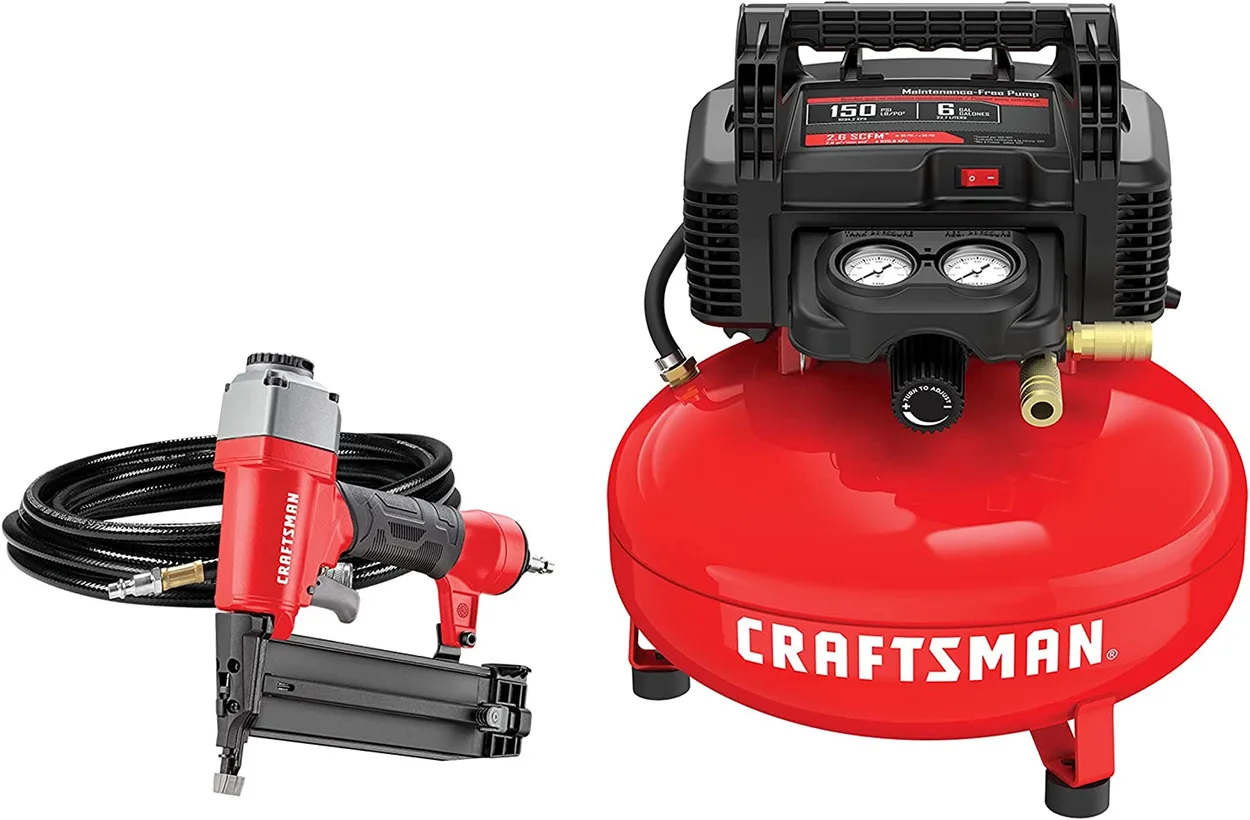
Craftsman 6-Gallon Pancake Compressor
Portable oil-free choice for inflation, cleaning and finish nailers.
Check Current Price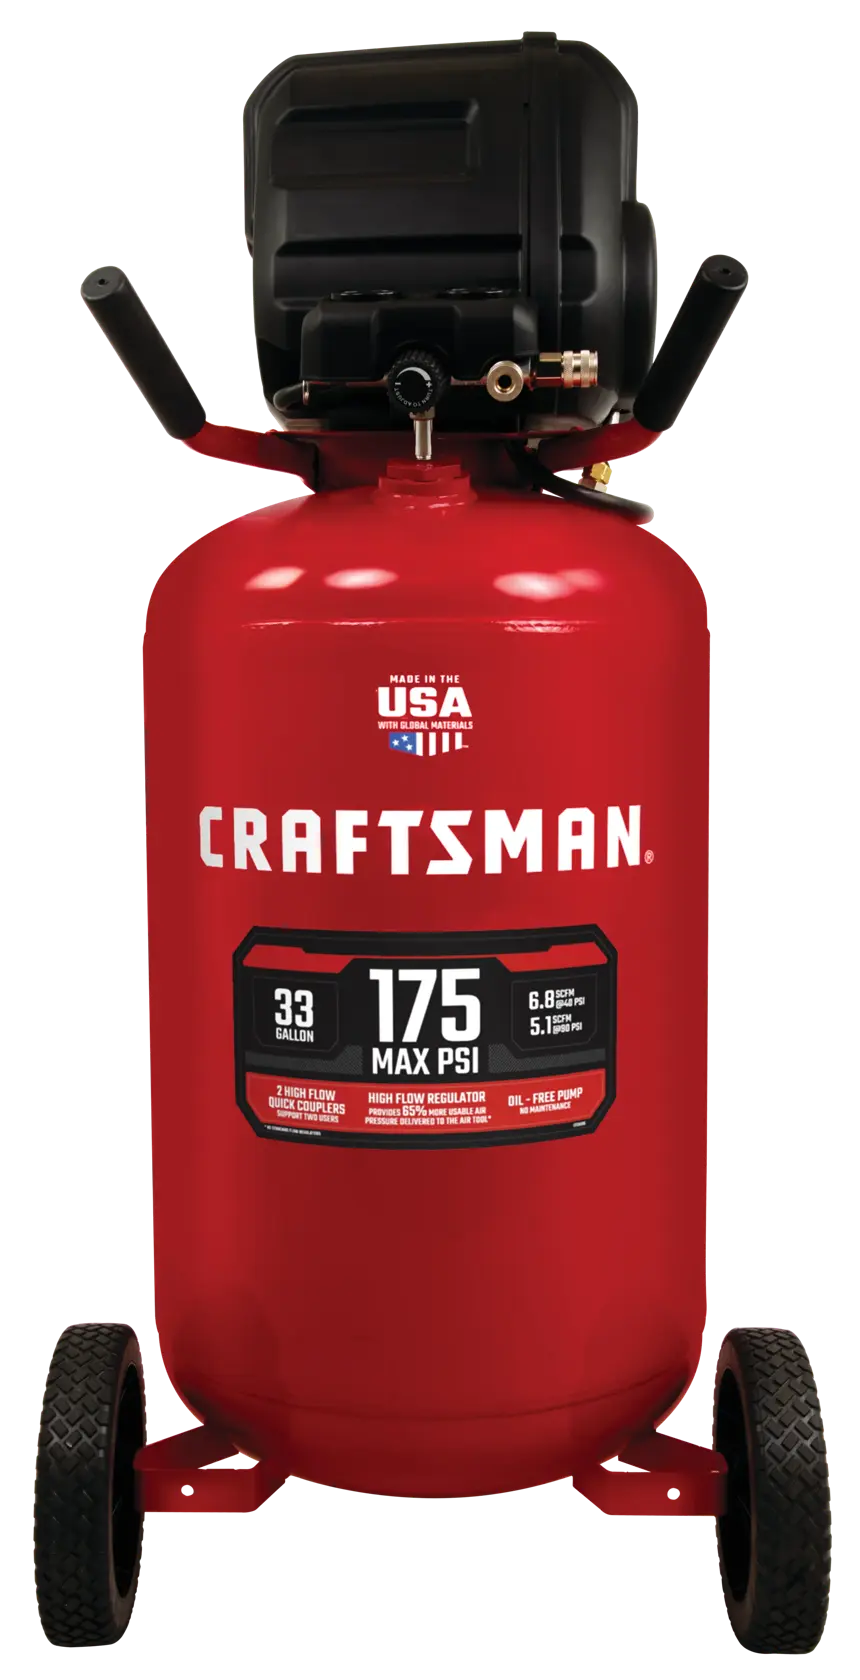
Craftsman 33-Gallon Vertical Compressor
More stored air and 5.1 SCFM at 90 PSI for frequent garage use.
Check Current Price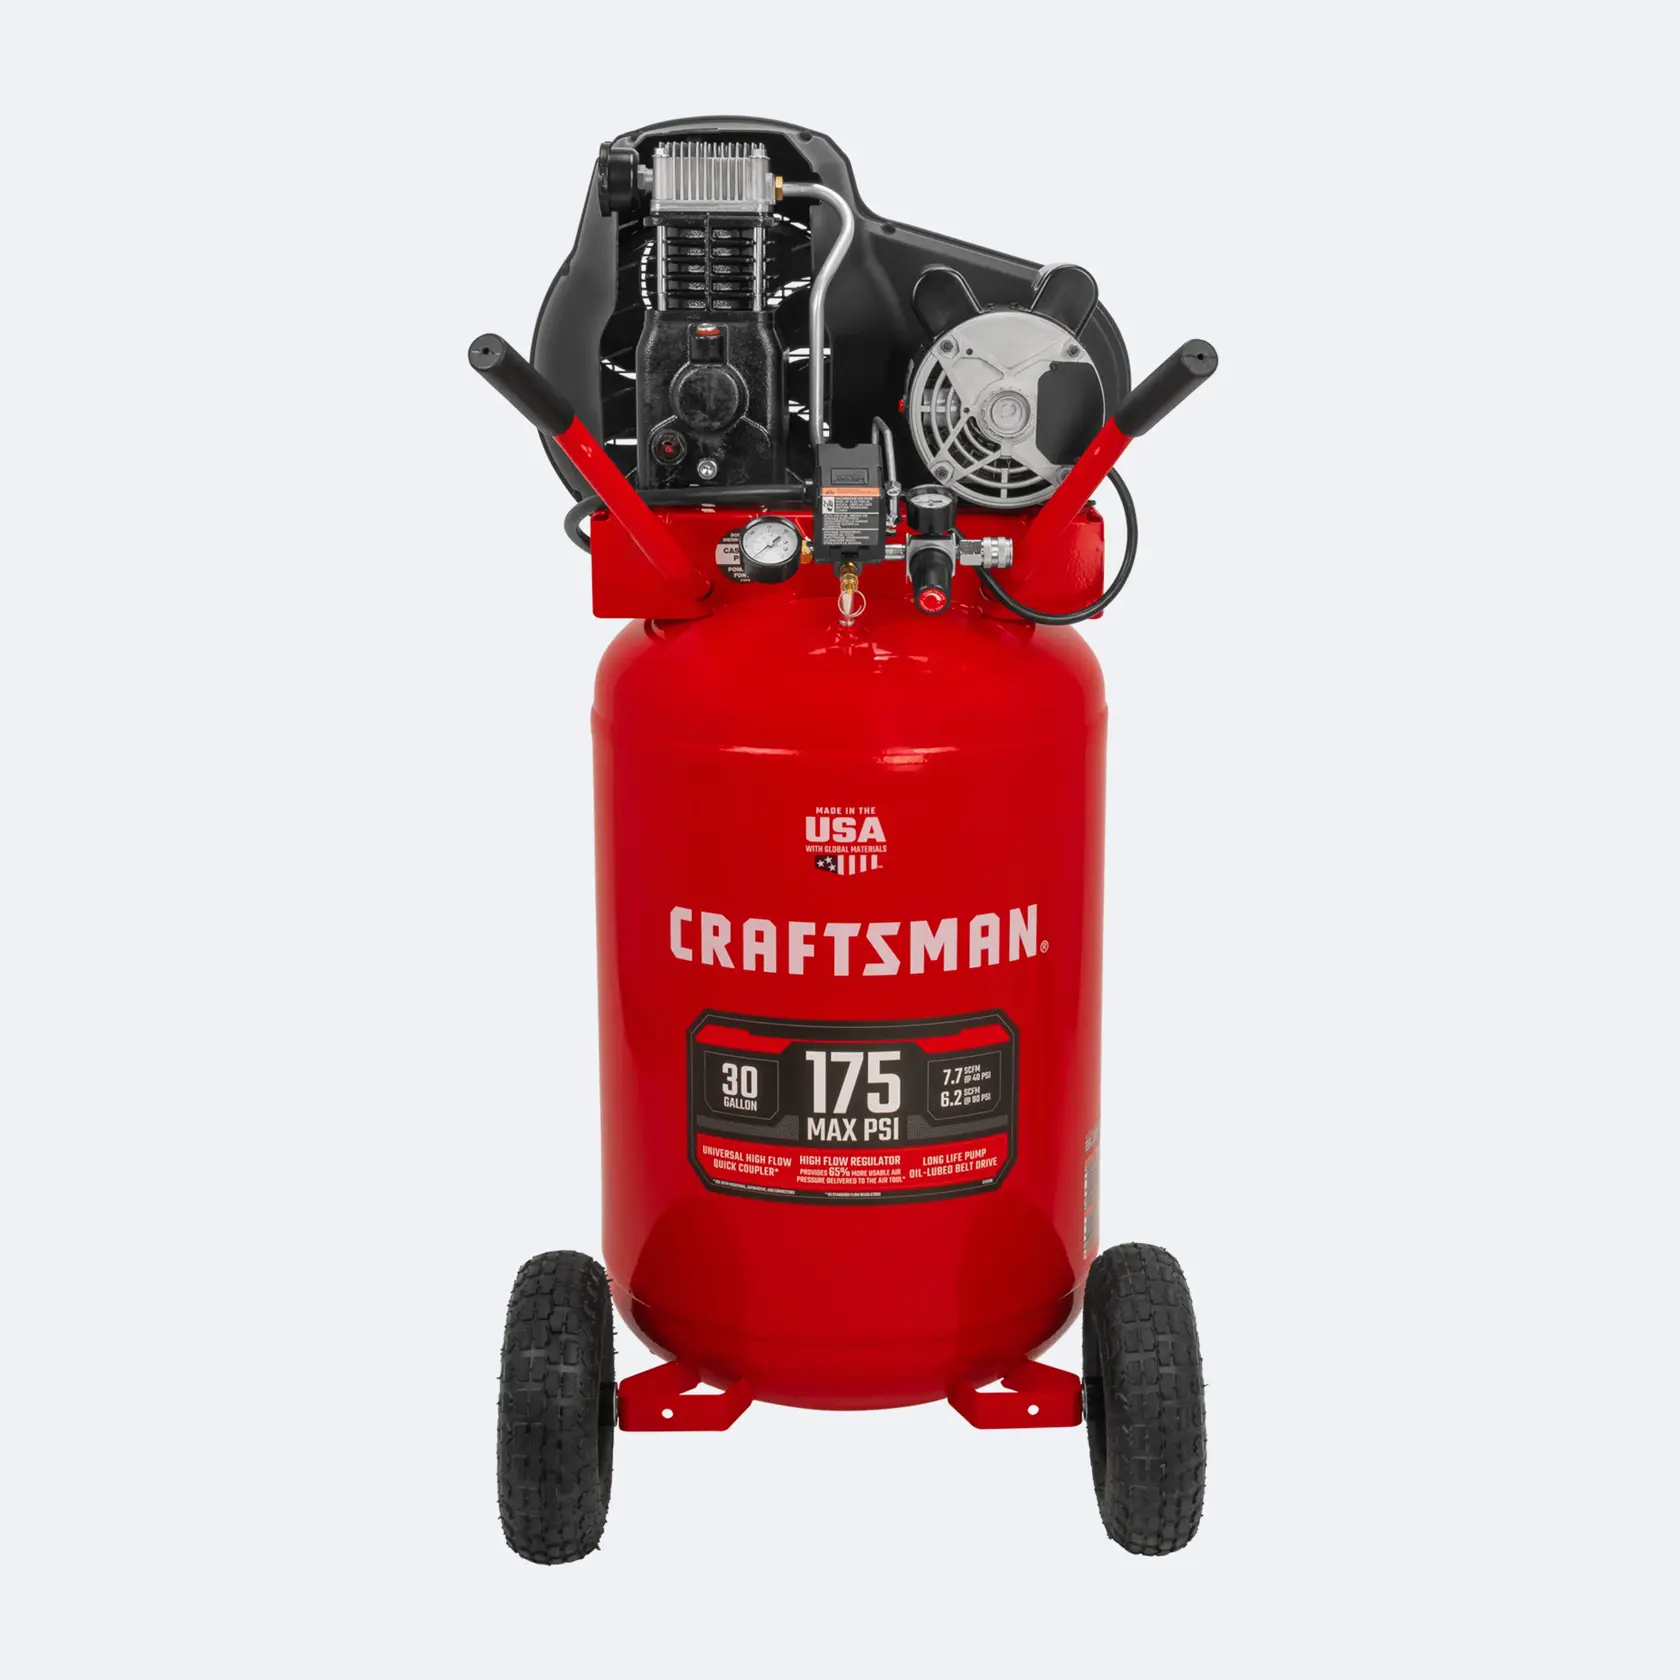
Craftsman 30-Gallon Oil-Lubricated Compressor
Higher airflow for medium-duty tools when portability matters less.
Check Current PricePrice is checked on Amazon so readers always see the current offer rather than an outdated price.
The fastest way to find your Craftsman compressor manual
Find the model number on the compressor’s data label—not the motor label. Search that exact number on the official Craftsman manual page. Select the matching product and download its PDF from Downloads and Manuals. If no PDF appears, contact Craftsman support rather than using instructions for a different machine.
Find the correct manual in three steps
The exact model matters because oil requirements, break-in procedures, electrical supply, drain location and service parts differ.
Locate the data label
Check the tank, frame, shroud or rear of the compressor. Write down the complete model number and serial number. Older units may begin with 919; newer products often use model codes beginning with CMEC or CMXEC.
Match the whole number
Do not search only “6 gallon” or “150 PSI.” Several compressors can share those headline specifications while using different pumps, parts and procedures.
Download or request it
Use the official product page’s manual link. If your model is no longer listed, use Craftsman Customer Support and provide both model and serial numbers.
CMEC6150 / CMEC6150K 6-gallon manual
Craftsman’s current product page lists the downloadable CMEC6150 manual and confirms an oil-free pump, 150 maximum PSI and 2.6 SCFM at 90 PSI for the kit version.
Common Craftsman compressor families
Use this only to narrow your search. The model number printed on your machine remains the deciding reference.
| Model family | Typical configuration | Pump type | What to verify in the manual |
|---|---|---|---|
| CMEC6150 / CMEC6150K | 6 gal., 150 max PSI pancake | Oil-free | Startup, regulator use, tank draining and accessories |
| CMXECXM331 | 33 gal., 175 max PSI vertical | Oil-free | 120 V supply, extension-cord limits and maintenance |
| CMXECXM301 | 30 gal., 175 max PSI vertical | Oil-lubricated | Oil type, oil level, break-in and belt inspection |
| CMXECXM601 | 60 gal., 175 max PSI stationary | Oil-lubricated | 208–230 V installation and local electrical requirements |
| 919-series | Legacy units in multiple sizes | Varies | Full suffix, parts diagram and pressure ratings |
Specifications shown for current models are based on Craftsman product documentation. Legacy 919-series specifications vary by full model number.
Depressurize and disconnect power before service
Turn the switch off, unplug the cord or isolate the electrical supply, and release tank pressure before draining, disconnecting fittings or inspecting the unit. Do not remove a pressure switch cover or change factory pressure settings unless your exact manual permits the work and you are qualified to perform it. Never repair a rusted, damaged or leaking receiver tank.
How to use a Craftsman air compressor safely
This is a general sequence for portable electric models. Your model-specific manual overrides every step below.
Inspect before power-up
Check the cord, hose, fittings, safety valve and tank drain. Confirm the tank drain is closed and the compressor sits upright on a stable surface with ventilation around the pump.
Check oil only if the model requires it
Oil-free compressors need no pump oil. For oil-lubricated models, check the sight glass or dipstick and use only the oil grade and fill level stated in the manual.
Set regulated pressure low
Turn the outlet regulator down before connecting the tool. Never confuse tank pressure with tool pressure—the tool receives the regulated outlet pressure.
Connect to the correct circuit
Use a properly grounded outlet that matches the compressor nameplate. Avoid light-duty or overly long extension cords; voltage drop can cause hard starting and motor overheating.
Let the tank reach cut-out pressure
Move the power switch to AUTO/ON as described in the manual. The pump should stop automatically at its factory-set cut-out pressure.
Set pressure for the tool
With the tool connected, adjust the regulator to the tool manufacturer’s required PSI. The compressor must also supply enough SCFM for the tool’s duty cycle.
Shut down and drain moisture
Turn the unit off, disconnect power and relieve pressure as the manual directs. Drain condensation from the tank after use, then store the compressor in a dry place.
Maximum PSI does not tell you whether a compressor can continuously run a tool. Match the tool’s SCFM at its operating PSI, then leave capacity for recovery and duty cycle.
What the gauges, regulator and valves do
Understanding these parts prevents most setup mistakes.
Tank-pressure gauge
Shows stored pressure inside the receiver tank. It rises as the pump runs and falls as air is used.
Outlet-pressure gauge
Shows the regulated pressure sent to the hose and tool. Set this to the tool maker’s requirement.
Regulator knob
Changes outlet pressure; it does not alter the compressor’s factory cut-in or cut-out settings.
Safety valve
Protects against excessive tank pressure. Do not plug, modify or use it as the routine tank drain.
Tank drain
Releases accumulated water from the bottom of the tank after the unit is shut down and depressurized.
Quick-connect coupler
Attaches the hose or tool fitting. Confirm the plug profile and thread size are compatible before use.
How much oil does a Craftsman air compressor need?
There is no universal “one or two quarts” answer. Many portable Craftsman models are oil-free; larger oil-lubricated models have model-specific capacities and fill procedures.
Do not add compressor oil
Models such as the CMEC6150 and CMXECXM331 use oil-free pumps. Adding oil where it is not designed to go can damage the compressor.
- No routine pump-oil changes
- Still requires tank draining and cleaning
- Check fasteners, hose and safety valve
Use the manual’s level—not a guess
Models such as the CMXECXM301 and CMXECXM601 use oil-lubricated pumps. Fill to the manual’s sight-glass or dipstick mark.
- Confirm the specified oil type and capacity
- Keep the compressor level while checking
- Do not overfill; recheck after service
How to drain a Craftsman compressor tank
Condensation promotes internal corrosion. Drain it using your manual’s method and never try to “pour air” from the tank.
Switch the compressor off and disconnect electrical power.
Reduce tank pressure to the range specified by the manual for draining.
Place a suitable container below the drain and wear eye protection.
Open the tank drain slowly. Tilt only if the manual specifically tells you to.
After moisture and pressure are released, close the drain without overtightening.
Which Craftsman air compressor fits your work?
If your older compressor is uneconomical to repair, choose by airflow, duty and portability—not tank size alone. Availability and prices can change.
Craftsman 6-Gallon Pancake Compressor
Best fit: tire top-offs, blow cleaning, trim and brad nailers
- 150 max PSI
- 2.6 SCFM at 90 PSI
- Oil-free, portable format
Craftsman 33-Gallon Vertical Compressor
Best fit: frequent garage tools and longer run time without pump-oil service
- 175 max PSI
- 5.1 SCFM at 90 PSI
- Oil-free vertical design
Craftsman 30-Gallon Oil-Lubricated Compressor
Best fit: medium-duty shop work where higher airflow matters
- 175 max PSI
- 6.2 SCFM at 90 PSI
- Oil-lubricated twin-cylinder pump
Craftsman 18-Piece Air Compressor Accessory Kit
Includes common 1/4-inch NPT fittings, blow-gun parts and tire-inflation accessories. Confirm the hose, coupler profile and required pressure suit your compressor and tools.
| Model | Best for | Air delivery | Maintenance | Our take |
|---|---|---|---|---|
| 6-gallon pancake | Inflation, cleaning, finish nailing | 2.6 SCFM @ 90 PSI | Oil-free | Best overall value |
| 33-gallon vertical | Frequent garage use | 5.1 SCFM @ 90 PSI | Oil-free | Easy-care upgrade |
| 30-gallon vertical | Medium-duty air tools | 6.2 SCFM @ 90 PSI | Oil-lubricated | Workshop choice |
Only need fast roadside inflation? A compact inflator may be more practical than a tank compressor. See our best car tire inflator guide.
Simple maintenance checklist
Your manual may require additional service. This checklist covers the habits that protect most portable compressors.
- Drain tank condensation
- Inspect hose and fittings
- Wipe dust from cooling areas
- Check the safety-valve function as directed
- Inspect cord, plug and mounting hardware
- Clean or inspect the intake filter
- Service oil on oil-lubricated pumps
- Inspect belt and guard where fitted
- Replace worn model-specific parts
Common Craftsman compressor problems
Use these checks to identify simple setup issues. Electrical, pressure-vessel and internal pump repairs should go to a qualified service provider.
Motor will not start
Check: outlet power, breaker, switch position, extension-cord gauge, tank pressure and thermal-overload cooldown instructions.
Pressure builds slowly
Check: open tank drain, leaking connections, dirty intake filter, excessive tool demand or a worn pump component.
Air leaks at a fitting
Check: correct plug profile, damaged O-ring, loose connection or incompatible thread. Depressurize before inspection.
Tool feels weak
Check: outlet regulator setting, hose diameter/length, restrictive couplers and whether the tool’s SCFM demand exceeds compressor output.
Compressor cycles often
Check: leaks and tool demand. Small tanks cycle more during continuous use; do not exceed the listed duty cycle.
Water reaches the tool
Check: tank-draining routine, air-line routing and whether your application needs a moisture separator or dryer.
Craftsman air compressor manual questions
Where can I download a Craftsman air compressor manual?
Use Craftsman’s official manual locator: find the compressor’s complete model number, search for the matching product, and open the Downloads and Manuals section. Contact Craftsman support if the older model is not listed.
Where is the model number on a Craftsman air compressor?
Look for the product data label on the tank, frame, shroud or rear of the unit. Use the compressor’s label rather than the separate electric-motor label. Record the full model and serial numbers.
Does a Craftsman air compressor need oil?
It depends on the model. Many portable models, including the CMEC6150 and CMXECXM331, use oil-free pumps. Larger models such as the CMXECXM301 and CMXECXM601 are oil-lubricated. Check the exact manual before adding oil.
How much oil should I put in it?
Use the capacity and fill indicator in the exact model’s manual. Do not assume one or two quarts. Keep the compressor level and fill only to the specified sight-glass or dipstick mark.
Should I drain the tank after every use?
Regular draining removes condensation that can corrode the receiver tank. Follow the manual’s shutdown, pressure-reduction and drain procedure after use or at the stated interval.
Does my compressor need a break-in period?
Only if the manual for your model specifies one. Craftsman advises owners to follow the product-specific manual rather than applying a generic break-in procedure.
Can I adjust the pressure switch?
Do not change factory cut-in or cut-out settings unless the exact manual authorizes the adjustment and you are qualified to perform it. Use the outlet regulator to set normal tool pressure.
What size compressor is best for home use?
A 6-gallon pancake model suits inflation, blow cleaning and many finish nailers. Air-hungry tools need more SCFM and often a larger tank. Compare the tool’s SCFM requirement at its operating PSI with the compressor’s rated output.
Use the exact manual—and choose airflow for the job
The correct Craftsman air compressor manual is the one tied to the complete model number on your machine. It protects you from the two biggest mistakes in older online guides: adding oil to an oil-free pump and following electrical or pressure instructions meant for a different compressor.
For a new purchase, the 6-gallon pancake compressor is the practical choice for most homeowners. Move to the 33-gallon oil-free model for longer garage-tool use, or the 30-gallon oil-lubricated model when higher airflow and workshop capability matter more than easy maintenance.
