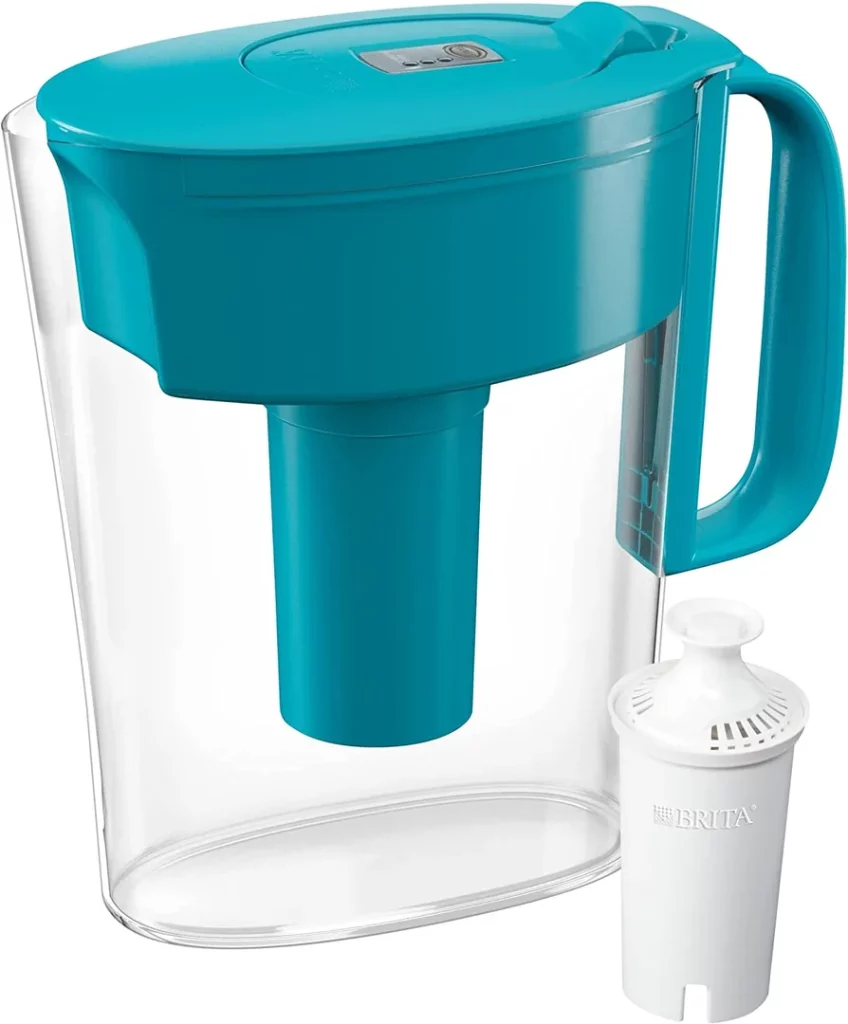
The Brita Water Filter Pitcher is a simple and easy way to have clean, filtered water. The pitcher comes with a filter that removes impurities from the water, such as chlorine, lead, and other contaminants. Once every two months, the filter needs to be changed.
To use the pitcher, simply fill it with water and let it sit for several minutes before drinking.
If you’re looking for a way to ensure that your water is clean and free of contaminants, a Brita water filter pitcher is a great option. Here are instructions on how to use one:
Contents
- 1 How Do You Use a Brita Water Filtration Pitcher?
- 2 How To Setup The BRITA Water Filter?
- 3 How Long Do You Run Water Through a New Brita Filter?
- 4 Do Brita Filters Need to Be Soaked?
- 5 How Do I Know If My Brita Filter is Working?
- 6 How to Remove Brita Filter Cage
- 7 Brita Pitcher Filter Replacement Instructions
- 8 New Brita Filter Instructions
- 9 Brita Filter Indicator Replacement
- 10 How to Put Lid on Brita Pitcher 6 Cup
- 11 How to Change Brita Filter – Maxtra
- 12 Brita Filter Indicator How Does It Work
- 13 How High Can You Fill a Brita Pitcher
- 14 Conclusion
How Do You Use a Brita Water Filtration Pitcher?
Assuming you would like tips on how to use a Brita water filtration pitcher:
It is recommended that you clean your water pitcher every two weeks. To do so, disassemble the lid and filter.
Clean all components with warm water before laying them out to dry. Once everything is dry, reassemble your pitcher. It is also important that you change your water filter every 40 gallons or about every 2 months – whichever comes first.
To change the filter, simply unscrew the old one from the bottom of the pitcher and screw in a new one. Make sure it is tightened properly. When it comes time to actually use your filtered water, Brita recommends your cold storage method.
This means storing your filtered water in the refrigerator for optimal taste.
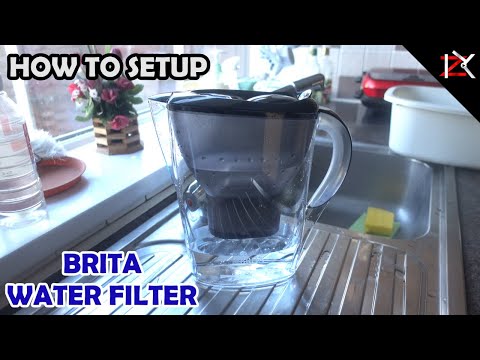
How To Setup The BRITA Water Filter?
How Long Do You Run Water Through a New Brita Filter?
If you’re wondering how long it takes to run water through a new Brita filter, the answer is about four minutes. That’s according to the Brita website, which recommends that you do a “first-time fill” of your pitcher or dispenser by letting the water run through the filter for four minutes. After that, your filtered water should be ready to drink.
Of course, you don’t have to wait four minutes every time you want a drink of filtered water. The Brita website says that once you’ve done the initial filter “break-in,” you can expect your pitcher or dispenser to filter one full tank (about 4 cups) of water in about two minutes. So if you just need a quick drink of filtered water, there is no need to wait around for four minutes – two should do it.
It’s also worth noting that if you have hard water, it might take longer for your Brita filter to work its magic. That’s because hard water has more minerals in it that can clog up the filter and slow down the flow of water. If you live in an area with hard water, the Brita website recommends running water through the filter for five minutes before using it for drinking or cooking.
Do Brita Filters Need to Be Soaked?
Yes, Brita filters need to be soaked before use. This is because they are made of activated carbon, which needs to be saturated with water in order to work properly. Soak your filter in a bowl of cold water for at least 12 hours before use.
How Do I Know If My Brita Filter is Working?
If you’re wondering whether or not your Brita filter is working, there are a few ways to tell. First, take a look at the indicator light on the pitcher itself. If it’s lit up, that means the filter is still good.
If it’s not lit up, that means it needs to be replaced. Another way to tell if the filter is working is by looking at the water itself. If it’s clear and free of sediment, then the filter is doing its job.
However, if you notice that the water looks cloudy or has sediment in it, then it’s time to replace the filter. Lastly, you can also tell if the filter is working by taste-testing the water. If it tastes fresh and clean, then congratulations!
Your Brita filter is working properly.

Credit: www.amazon.com
How to Remove Brita Filter Cage
Brita is a popular water filter brand that many people use to purify their drinking water. The Brita filter cage is part of the Brita system that holds the filtering cartridge in place. If you need to remove your Brita filter cage, there are a few simple steps you can follow.
First, locate the small release button on the top of the filter cage. This button will be located near the handle of the cage. Press and hold this button while simultaneously twisting the top of the cage counterclockwise.
This will cause the top of the cage to come off, revealing the cartridge inside. Next, grasp the cartridge and pull it straight out from its housing. You may need to wiggle it a bit to get it loose, but be careful not to damage or break any of its parts.
With the cartridge removed, simply discard it according to your local waste disposal guidelines. Now that your Brita filter cage is empty, you can put it back together by aligning the tabs on the top half of the housing with those on the bottom half. Once aligned, twist it clockwise until it snaps into place.
Your Brita filter cage is now ready for use once again!
Brita Pitcher Filter Replacement Instructions
If you own a Brita pitcher, it’s important to keep up with regular filter replacements. Not only will this help ensure that your water tastes great, but it will also prolong the life of your pitcher. Luckily, replacing the filter is quick and easy to do.
Here are the simple steps:
1. Start by soaking the new filter in cold water for 15 minutes. This will assist in removing any potential contaminants.
2. Next, remove the old filter from your pitcher. To do this, simply twist it counterclockwise until it comes out.
3. Now insert the new filter into the pitcher, twisting it clockwise until it’s securely in place.
4. That’s it! Your Brita pitcher is now ready to use with fresh, filtered water.
New Brita Filter Instructions
If you’re like most people, you probably use a Brita water filter to get clean, fresh-tasting water from your tap. But did you know that there are new Brita filter instructions that can help you get even better results? Here’s what you need to know:
1. The first thing you need to do is soak your new filter in cold water for 15 minutes. This will help remove any impurities that may be present in the filter.
2. Next, flush the filter with clean water for two minutes.
This will help remove any loose particles from the filter and prepare it for use.
3. Once the filter is flushed, install it according to the manufacturer’s instructions. Make sure that the O-ring is properly seated and that the lid is tightened down securely.
4. Fill up your pitcher or dispenser with cold water and let it sit for 30 minutes before using it. This will give the filter time to work its magic!
Brita Filter Indicator Replacement
If you have a Brita pitcher or other type of water filtration system, it’s important to regularly replace the filter. The company provides a “filter indicator” that is supposed to help with this, but many users find that it stops working after a short amount of time. If this happens to you, don’t worry – there are ways to tell when your filter needs to be replaced without relying on the indicator.
One way to tell that your filter needs to be replaced is by looking at the flow rate of your water. Over time, the flow rate will slow as the filter becomes clogged with contaminants. If you notice a significant decrease in flow rate, it’s time for a new filter.
Another way to tell that your filter needs replacing is by looking at the water itself. If it starts to look cloudy or discoloured, that’s an indication that the filter is no longer doing its job properly and needs to be replaced. If you’re not sure whether or not your filter needs replacing, err on the side of caution and replace it sooner rather than later.
It’s better to replace a filter before it completely stops working than wait until after and risk having contaminated water.
How to Put Lid on Brita Pitcher 6 Cup
If you own a Brita pitcher, you know that it’s important to keep the lid on tight in order to prevent water from leaking out. But what do you do when the lid starts to come loose and won’t stay on tight anymore? Here’s how to put the lid back on your Brita pitcher so it will stay in place:
1. First, make sure that the rubber gasket is clean and free of any debris. If it’s dirty, clean it with a damp cloth.
2. Next, align the tab on the top of the lid with the notch on the side of the pitcher.
Then, twist the lid until it clicks into place.
3. Once the lid is in place, push down firmly around the perimeter to ensure that it’s sealed tightly. That’s all there is to it!
By following these simple steps, you can ensure that your Brita pitcher stays leak-free and keeps your water tasting great.
How to Change Brita Filter – Maxtra
If you have a Brita Maxtra water filter, you may be wondering how to change the filter. The process is actually quite simple and only takes a few minutes. Here’s what you need to do:
1. Locate the filter housing unit on your faucet. This is usually located under the sink, but it could also be in your fridge or on the countertop near your sink.
2. Unscrew the housing unit and remove the old filter cartridge.
3. Insert the new filter cartridge into the housing unit and screw it back on tightly.
4. Run some water through the filter for about 5 minutes to prime it and get rid of any air bubbles that may be present in the system. That’s all there is to changing a Brita Maxtra water filter!
Now you can enjoy fresh, filtered water anytime you want without having to worry about replacing your filters regularly.
Brita Filter Indicator How Does It Work
The Brita Filter Indicator is a simple, easy-to-use device that helps you keep track of when your water filter needs to be replaced. Simply insert the indicator into the top of your Brita pitcher or dispenser, and it will change colour to let you know when it’s time for a new filter. The indicator works by measuring the amount of time that has elapsed since your last filter replacement, and based on that information, it will change colour accordingly.
For example, if it’s been two months since you replaced your last filter, the indicator will be green; if it’s been three months, it will be yellow; and if it’s been four or more months, it will be red. This system is designed to help you maintain optimal water quality and ensure that you’re always using fresh, filtered water.
How High Can You Fill a Brita Pitcher
When it comes to filling a Brita pitcher, the sky is literally the limit. That’s because there is no set maximum fill line on these pitchers – so you can fill them up as high as you’d like!
Of course, if you do choose to fill your Brita pitcher to the very top, there are a few things to keep in mind.
First, be careful not to overfill it, as this could cause water to spill out when you go to pour it into glasses or use it for cooking. Second, remember that the more water you have in your pitcher, the longer it will take for all of the impurities and contaminants to be filtered out. So if you need filtered water in a hurry, it’s best not to fill your Brita all the way up.
Overall, there is no “right” or “wrong” answer when it comes to how high you can fill a Brita pitcher – it really just depends on your personal preferences and needs. Just be sure not to overdo it, and enjoy having access to clean and fresh-tasting filtered water whenever you need it!
Conclusion
If you’re looking for a way to make your tap water taste better, you may want to consider using a Brita water filter pitcher. Here are instructions on how to use one: 1. Fill the pitcher with tap water and let it sit for 30 minutes so the carbon can filter out impurities.
2. Pour the water into glasses or bottles and enjoy! 3. When the indicator light on the pitcher turns red, it’s time to replace the filter.